A simple tutorial to create your own battle backs for your RPG Maker Games.
RPG Maker VX: Battlebacks
In this article, we’ll explore the process of making battle backs for your RPG Maker games. The method described in this article is provided by a young French artist by the name of Sylvanor. For more information about his RPG game, Aedemphia, click here .
Note that some sort of graphic program is required to do what is mentioned in this tutorial (Adobe photoshop, The Gimp, and so on).
RPG Maker VX Battlebacks Step 0
Try to draw a rough draft as to where you’d like the characters and monsters to appear. This will give you a general idea as to design your battle back.
RPG Maker VX Battlebacks Step 1: Outlining
Use the pen and trace the shape of the objects you want to appear in the background of your map. Once the outline is traced, use the paint bucket the fill the shapes with the general color that you’re looking for each one of those shapes. Once you’re done, it should look something like this:
RPG Maker VX Battlebacks Step 2: Working on Volumes
Using the magic wand, select each separate shape and create a new layer for each one of them. Once each element is on its own layer, select the burn/dodge tool and change your brush size to 1 pixel. Use the dodge/burn tool to detail each element like so:
This will take a while but it’s worth it. Once you’re satisfied with the texture of each element, move on to step 3.
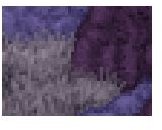
RPG Maker VX Battlebacks Step 3: Merging Elements Together
Although it’s looking pretty good at the moment, we still need to touch up a few things.
In case you’re using grass, move that layer on top of smaller elements and by using the brush, draw some shards of glass so that they overlap on the other elements. This will an impression that each element is part as a whole as opposed to being separate.
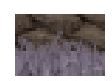
RPG Maker VX Battlebacks Step 4: Adding Shadows
It’s looking better but it’s still looking a little flat.
Take some time to create some areas of shadow on your map in order to give it more volume like so:
PS: Keep in mind where the light is coming from when doing your shadows.
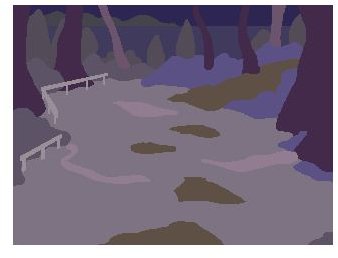
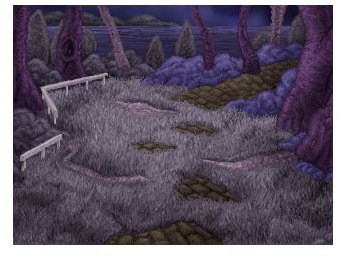
RPG Maker VX Battlebacks Step 5: The Finishing Touch
Time to add some detail. There are a lot of different things you can add such as a city in the far distance (use the brush tool):
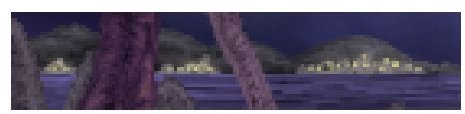
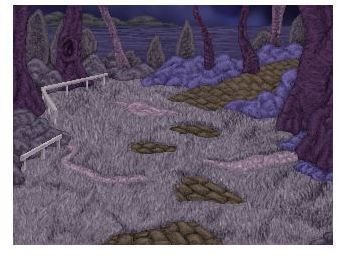
Or some strange eerie lights. In order to make lights, create a new layer and make some random spots on your battle back in white. Once you’re done add an outer glow of blue light to them and you’ll end up with something like this:
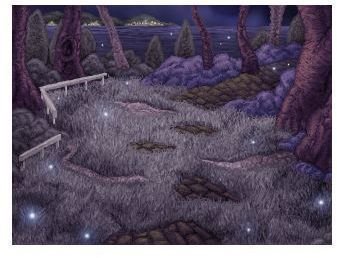
This is one of the ways to create your own custom battle backs. It might seem complicated but once you’ve practiced a bit you should be able to paint battle backs like this in about 2 hours.
This post is part of the series: RPG Maker VX: Custom Art
All sorts of custom art for RPG maker VX, from facesets to battlers.