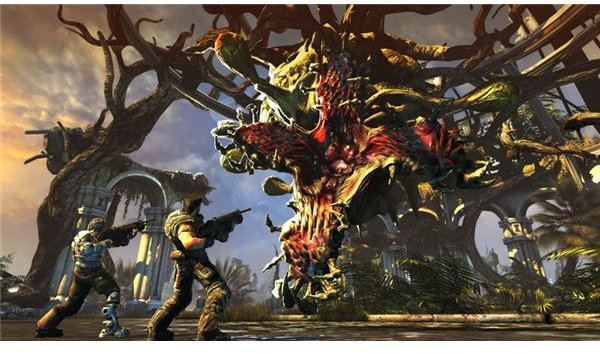
Bulletstorm features a wide array of over-the-top weaponry, including a portable cannon known as the Bouncer. Bright Hub’s Bulletstorm Bouncer Skillshot Walkthrough will tell you how to master all of the destructive Skillshots this mobile cannon has to offer.
The Bouncer
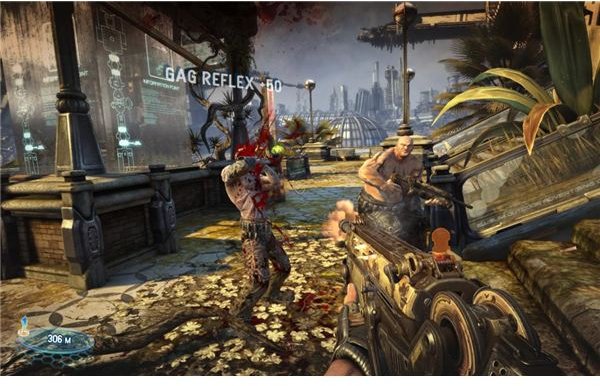
The Bouncer serves as a portable hand-cannon and deals crushing explosive damage. When firing, you can hold down the fire button to prolong the explosion of the ball, ensuring it reaches its intended target before detonation. The Bouncer’s Charge Shot causes a supercharged cannonball to bounce around the battlefield repeatedly, triggering small explosions every time it ricochets. Our walkthrough is here to tell you how to perform all of the Bouncer-specific Skillshots , as well as the point totals you’ll be awarded for each.
Regular Shot

Direct Hit (25 SP)** - Kill an enemy with a direct hit from the cannonball. Aim directly at an enemy and be sure to not release the fire button, as doing so will detonate the cannonball prematurely. Make sure that the ball does not bounce; it must hit the enemy directly.
- Money Shot (25 SP) - Kill an enemy by launching a ball at them and exploding it before it hits anything. Hold the fire button until the ball is in close proximity to an enemy then release the button to explode the cannonball.
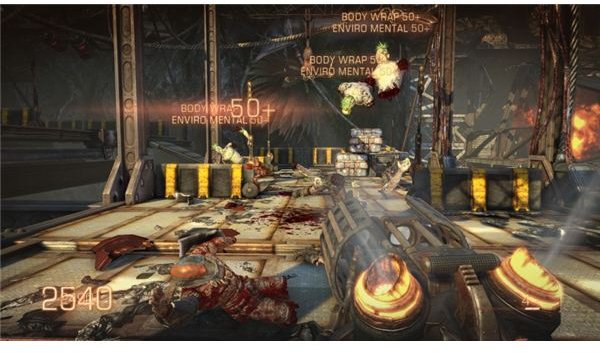
- Boom (50 SP) - Kill two or more enemies with one cannonball. When the ball explodes it kills everything in its blast radius, so ensure two enemies are near the cannonball before detonation.
- Carpet Bombing (50 SP) - Bounce a cannonball at least two times before killing an enemy with it. With an enemy in your line of sight, aim down at the ground before firing to ensure the ball bounces before reaching your foe.
- Bully (50 SP) - Detonate a cannonball to kill an enemy just after knocking them over with it. Shoot a cannonball directly at an enemy while holding the fire button. Release the button only after the enemy has fallen to the ground.
- Trickshot (50 SP) - Kill an enemy with a cannonball bounced off a wall or obstacle.
- Lucky Shot (100 SP) - Kill an enemy with a cannonball that traveled over 100 meters without bouncing. Give your ball as much airtime as possible when shooting at a distant enemy. Firing down a set of stairs at an enemy below is an effective method of increasing distance.
- Meat Fountain (100 SP) - Kill two or more airborne enemies with one cannonball. Use the Energy Leash’s Thumper ability to send multiple enemies into the sky then fire a cannonball at them.
Charge Shot
- Kick of Doom (50 SP) - CHARGED: Kill an enemy by kicking a cannonball. The Charge Shot cannonball can be both Energy Leashed and kicked. It will bounce multiple times before detonating entirely. Simply wait for an opponent to be in front of you and kick a cannonball into him.
- Sledgehammer (100 SP) - CHARGED: Kill three or more enemies with one charged cannonball. In Act 5 you’ll be introduced to the Burnout enemy type. They charge at you in large groups, so blowing up three or more with one Charge Shot is a piece of cake.
Check out Bright Hub’s Bulletstorm Skillshot Guide, Part 2 for General and Secret Skillshot guides.
All screenshots/references for the Bulletstorm: Bouncer Skillshot Walkthrough from Epic Games/People Can Fly’s Bulletstorm and author’s own experience.
This post is part of the series: Bulletstorm Skillshot Guide, Part 1
Bright Hub’s Bulletstorm Skillshot Guide breaks down all of Bulletstorm’s unique Skillshots into separate guides based on category. Part 1 of our guide covers the Boneduster, Bouncer, Flailgun, Head Hunter, and Peacemaker Carbine weapons.