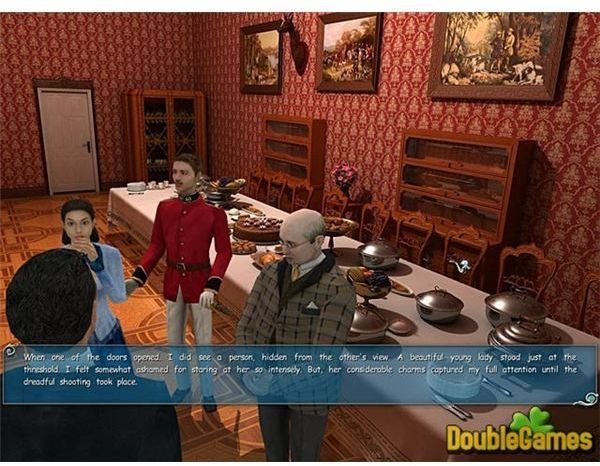
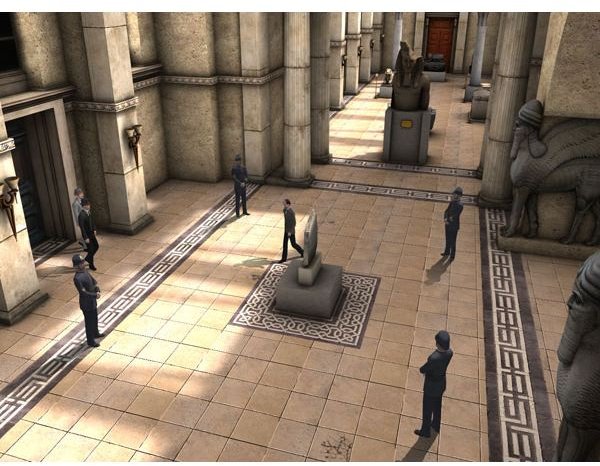
Enter into Buckingham Palace and meet the Prime Minister. You will not get to meet Queen Victoria, but you might be able to do something to alleviate her poor mood. Don’t forget that you’re trying to stop another theft by the master thief.
Good Old 221B Baker Street
Arsene Lupin outwitted Sherlock Holmes at the British National Museum. The next theft takes place in Buckingham Palace. You will return to Holmes and Watson’s lodgings at 221 B Baker Street before investigating the palace, however. Watson has a confession to make to Holmes.
Holmes listens patiently to Watson’s story and immediately picks up on the fact that the reporter’s name is an acronym for Arsene Lupin. Holmes, using his brilliant powers of deduction, has concluded that Arsene Lupin must be using a hideout somewhere in the area.
On Baker Street Itself
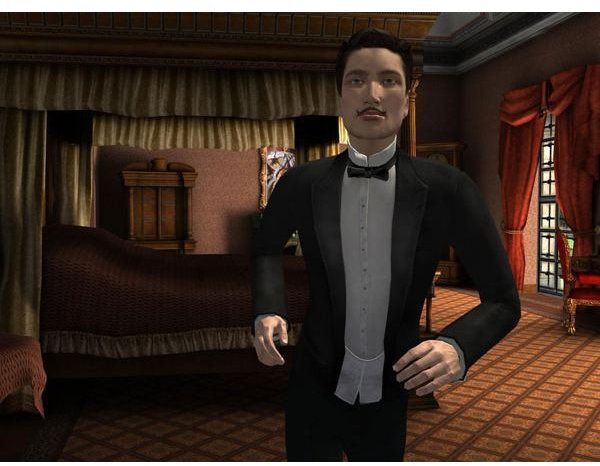
Pubs, bars and other places where alcohol is served tend to be good places for criminals to develop the social networks they need to ply their trade. The great detective certainly frequents many pubs in his adventures. The fact that he is in his own neighborhood leads Holmes to believe that donning a disguise might be necessary to proceed with the next part of his investigation.
The disguise you select from your apartment may or may not work. To find out whether it does or not, initiate a conversation with Sergeant Rufles after leaving the apartment. If he is fooled, head to the Golden Lion Pub.
The Golden Lion Pub
The tradition of drinking a pint of beer a day for optimal health has long since disappeared from England, but pubs still do a lively business in the late 19th Century. You are not after a drink, but rather some information. Talk to the bartender and find out your particular quarry has a room at Mrs. Fleming’s boarding house.
Mrs. Fleming’s Boarding House
The boarding house can be found to the right of the pub. The building where your quarry may or may not have a room is marked with flowers. The first thing is to see if there are any occupants in the rooms once you get into the hallway. Someone has strewn sand carelessly on the floors. There are also footprints here. Use the measuring type and the magnifying glass to determine the owners. The first set belongs to a young girl wearing size five shoes, the second set belongs to a person wearing size 9.5 work boots.
Find two more sets of foot prints. One belongs to a person wearing size 8 work boots who probably works at a slaughterhouse. The second set belongs to a person wearing size 9 footwear that seem to be of higher quality. You have most likely confirmed that someone wearing the same type of shoes that Lupin does is staying at this boarding house. Your next step is confirming that Lupin himself has been staying at the boarding house.
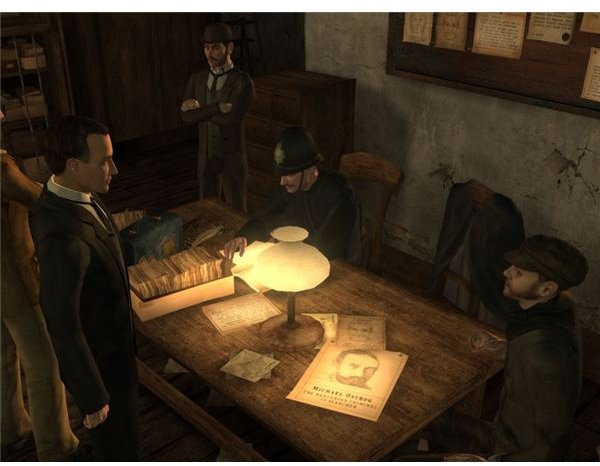
Talking to a Thief
The masked men does not have a name, but he does say that he worked with Rumpkin. The mysterious Rumpkin figure has identified himself as a famous thief. The bartender told him that this room had been empty for over an hour. Rumpkin told the masked figure that the take had been twice as large as expected and that the masked man would need to find another fence to move the stolen goods. With that taken care of, return to the Golden Lion Pub.
Back to the Golden Lion Pub
When you return to the Golden Lion Pub, you will find that some of the less savory patrons have been looking for Rumpkin. The person most interested in the famous thief is a character known as the Big Bruiser. This brute belongs to Luigi’s gang.
You need to pick up a few items from the bar area. The goal is to make a striped scarf. Pick up the knife and the bottle of wine. Pick up the rag cloth as well. Use the knife on the cloth and then use the cut pieces of cloth on the wine bottle. In no time at all, you should have a decorative scarf that the fifth Doctor Who would be proud to wear.
Sending Rumpkin Into Exile
Rumpkin, in other circumstances, might have been an excellent name for a talking teddy bear toy. In this case, he is a nuisance that must be removed so that you may continue the case. Of course, he might just be another alias for Arsene Lupin. (Perhaps he’s simply a distraction to give Lupin the time he needs to set up his next caper.)
Combine the knife with the colorful scarf in your inventory. You should now have an item that identifies you as a member of Luigi’s gang. Return to Miss Fleming’s boarding house to find the troublesome thief Rumpkin. Use the mask on the door and examine the suspicious looking sacks by them. It seems that Rumpkin has left his loot in his room. Pick up the piece of paper by the door and pick up some colored pieces of wood.
Return to Holmes and Watson’s apartment. Go to the work desk and use the pieces of wood on the desk. They will assemble into a small cage pattern.
Buckingham Palace
As neat as it would be to get a glimpse of Queen Victoria in this game, and perhaps it would be neater if a few steampunk contraptions decorated the castle, that likely will not happen during the course of this game. You do, however, get to chat with the Prime Minister in the White Room.
The Prime Minister seems worried. Her Royal Majesty does not seem to be in the best of moods as a poorly-behave canine has the been causing mischief all over the palace grounds. The dog, who goes by the name of Robila, needs to be caught.
Holmes and Watson will split up again. Watson gets to run more errands while Holmes gets to explore the palace. Start this section by having Holmes pick up some glasses off the table in this room.
Talking to Chauncey in the Kitchen
Chauncey, a cook employed by Buckingham Palace, tells you that Lord Robilar and the Queen have refused the breakfast that he has prepared for them. It seems that something about its ingredients have been slightly off. Holmes, being the helpful soul that he is, decides to help. It is up to you to have him put the ingredients together in the correct proportions. He needs to please not only a high ranking lord, but the Queen of England herself.
Find and place the following items on the tray: 16 anchovies and 6 strawberries in one pan. Place 15 mustards in the other. Take sausages and bananas from the room. Add the bananas, sausages and chocolate in your inventory. Place them in the bowl to get the bowl of dog food.
Lady Leomunda and Robilar
Lady Leomunda has been a companion of the queen for many years. The queen intended to give her the doll house as a gift. You will find Lady Leomunda and Lord Robilar’s door not far from the kitchen. Start this sequence by knocking on the door politely. Select the dog food from the inventory and Lord Robilar will let you in. Talk to them to find out about the four missing dolls.l
Find out that all of the missing dolls were red-headed. This information should make them easier to spot. Exit the room where the noble couple are staying and head back out to the kitchen. Dierdre informs you that all the dolls were red-heads. The astute player probably notices that Lord Robilar is following Holmes around.
Go into the White Room and talk to Chauncey and the Prime Minister. They tell you nothing about the location of the dolls, but they do say something about Lord Robilar’s mood change after he receives a visit from a red-headed nephew.
Finding the First Doll
Leave the white room. There two guards on the outside. The guards are not overly eager to help Holmes in his investigation, as might be expected. It takes a mention of the gratitude of Lady Leomunda before they will allow Holmes to pass by them.
Get the pike handle and clip from this area. Combine these items in your inventory to make a twisted pike. This twisted pike will be useful when you find the missing doll. It rests at the back of a hole in the wall. Use the twisted pike to retrieve the doll. Now you need to find the remaining three.
Finding the Second Doll
Go back to the kitchen and talk to Dierdre yet again. She mentions something about cleaning Lord Robilar’s snout when he got into the fireplace. (For those who have not yet figured it out, Lord Robilar is Lady Leomunda’s dog.) Go to the fireplace and get some tongs. Use the tongs to take the second doll out of the fireplace.
The Third Doll
Return to the kitchen and talk to Dierdre again. She will drop a bucket which starts another simple puzzle. Go to Leomunda’s room and open the curtain that conceals a basin. Use the bucket in the basin to get a bucket of water. You’ll find a hole in the basin. Return to the kitchen and empty the bucket into the barrel. If you try to pick the barrel up, Holmes notes that it is far too heavy.
The puzzle gets solved by talking to one of the guards. The palace staff keeps a bucket of water by the kitchen sink for the purpose of clearing the pipes in this bucket. Dump the water into the basin and get the third doll. One more doll. to go.
The Fourth Doll
The fourth doll, if you follow the clues about Robilar’s behavior given to you by Dierdre is contained in a chest with a sophisticated locking mechanism. Any experienced adventure gamer knows that complex locks are always a clue for another puzzle. The puzzle could be challenging, frustrating, or simple depending on your puzzle solving skills, but fortunately, if you follow the instructions below you do not need to worry about it.
Go to the chest by the dresser. Holmes needs you need to insert a star in order to open it. Assemble the pieces so they look like the picture shown in this section. When you have the right shape, the door opens and you can get the doll. Return to talk to Lady Leomunda.
After the Fourth Doll
Go to the White Room and talk to the Prime Minister again. You willl also see wet spots on the floor. The wet spots seem to be a rather unusual thing for inside the place. You should probably to talk to Chauncey and the prime minister to see if they have any information that might shed light on the topic. Learn about a gift that had been given to the queen that had to be fished up from the moat. It turns out that it is a grandfather clock.
Sherlock will turn to Watson and ask him what name he is thinking of. You have only found one name on a piece of paper. Type in Mayet and get ready to explore the basements of Buckingham Palace. You’ll get to watch another one of Lupin’s master thefts. He stole something that money cannot buy.
Getting to the Cellar
For some reason the queen’s bed chamber is found in the palace in this game. (Perhaps the author misunderstood its location.) Locate the candle holder and click on it. This will open a secret passageway that leads into different areas of the castle.
Gift Storage

The next room holds various gifts that people have given to the monarchs of England over the century. The room contains various grilled portals that make for interesting decorations. They may or may not have adorned prison cells at one time, although this use seems unlikely. Examine the grills. Lupin has left one of them locked.
Some of the tubes belong to an organ. There is an elephant in the room. When you find that the tubes are not broken, examine the elephant. When you are done examining these interesting items, turn your attention toward the door to the room. It slopes slightly upward. Put the metal tubes on the sloped area of the floor. The elephant has a use for the other tubes, although you probably do not want to know what that use is.
Push the elephant over the tubes and out of the grilled door.
The Trophy Room
The trophy room contains various heads and stuffed animals that other residents of Buckingham Castle have hunted over the years. The room has been unused in recent years, but you still must go through it to continue your investigation and see if you can prevent any more thefts by Arsene Lupin.
Examine the grilled floors until you find one with metal tubes. A simple puzzle has been set up that will test your math skills. (The picture, although shown here, will be difficult for most readers to read.) The grill contains roman numerals. The answer, which you will type in, is 81.
The Norman Era Room
William the Conqueror ruled England for 200 years. He is also responsible for the linguistic changes that caused Old English to shift towards Middle English. While this information is fascinating for the amateur historian, it has little bearing on the matter at hand.
Get the pieces of chain from the far wall. Open the inventory screen. Combine them to get one long piece of chain. There is a serpent on the bow of the Norman Era ship. Use the chain on it and find another door with metal rungs. Connect the chain to the rungs and open the trap door. Use the ladder on the door to get to the next room.
The Costume Room
Of the many interesting things here are a bagpiper and a Tarzan costume are the most interesting. Take the pipes from the bagpipers and take the darts from the bag in the cartoon costume. You cannot do much more in this room. Head forward into the North American Indian Room.
The Totem Pole Puzzle
There is another trap door above the totem pole in this room. It means you can get out, if you can just figure out a way to open it. Examine the totem pole and the pieces of totems of various heights around the room. This means this puzzle should be very easy to complete. Arrange the poles in a step fashion and climb up them. Open the trap door and get back to the ground floor of Buckingham Palace.
The Game Room
Although there is a door to your back when you enter this room, you cannot open it. In front of you lies a puppet stage, push it inside in order to get to the next puzzle. This takes you into a mirror room that starts another puzzle.
Completing the Mirror Climb
Before doing anything here, combine the bagpipe pipes with the darts you took from the costume room. This provides you with a simply blowgun which you will use at the end of the puzzle. There is a chest by the door with a grill. Get the wooden glass crate. The aim of this puzzle is to create a crosshair that will help Holmes target the rope. When you find the crosshair, use the blowgun on the rope. You should now be able to walk through the grate that leads to the weapons room.
All you need from the weapon’s room is Lupin’s letter. It mentions something about the place first entered by stone walls and wooden walls.
Return to Baker Street
Your adventure in Buckingham Palace is finished. You will return to Baker Street and meet with the prime minister. The Prime Minister asks the detective duo where Lupin’s next theft will take place and Watson selects the Tower of London. The Prime Minister disagrees, but does agree that Big Ben might be a possible target for the next theft. Watson and the Prime Minister head off to the famous clock while Holmes stays behind.
Sources
Author’s personal Experience
Sherlock Holmes Nemsis – Screenshots
This post is part of the series: Sherlock Holmes Versus Arsene Lupin Walkthrough (Nemesis)
Figure out how to outwit French Master theif Arsene Lupin in this adventure involving Sherlock Holmes.