Things are never easy. It seems like the ark that we need is buried in the middle of a canyon that currently houses heavily armored psychotic bandits. This final bandit raid will at least give you a chance to use all of your firepower and go out in style.
Taking on the Jackals
Make sure that you stock back up on gear. The Jackals are tough and you’ll want to have a lot of buckshot and assault rifle ammo to put them down.
When you’re ready, drive over to their clearly marked entrance. Then walk inside and engage the outer guards. Move up the path and around until you see the big building. There should be a number of fighters on top of the far away rooftops, and they’ll all be lobbing explosives at you. Use your crossbow or sniper rifle to pick them off. As a rule, fire a shot or two and then strafe to the side to avoid their fire. Once you’ve got a little peace, you should be able to flip the switch at the end.
This will open a gate that we passed on the way back up. Just follow the wire down and then go through it. As you walk along this hallway you should be able to see some jackals jumping onto the ziplines to swing in behind you. Watch your back and listen for the hooks coming in.
When you make it to the top, look out and you should see a zipline. Use it to reach the platform across from you, and quickly turn around. Shoot the jackal across from you, and then quickly use the zipline on this platform to get cross the canyon again.
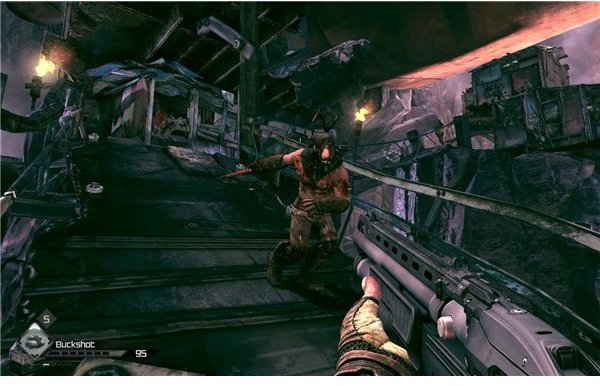
You’ll come under fire from a number of ranged attackers, and at least two that will lob fire at you. Don’t bother to engage them. Pull out your shotgun and move forward. The shack will block their line of fire, and you’ll be able to focus on enemies just coming from one direction. Use the shotgun to kill the wave of jackals moving down the ramps. If you wait by the corner of the shack it should be easy enough to massacre them as they round the edge of the shack. Switch to the assault rifle and move out onto the raised road. You will probably draw some attention from the guys throwing explosives. I suggest that you just kill the two jackals blocking your path, and run to the elevator. Use the panel in the elevator to get inside their base.
The Main Base
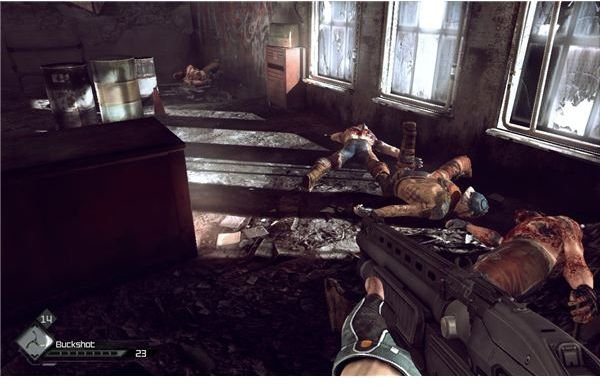
Once it reaches the bottom, run out and blast the guard ahead while his back is to you. Turn to the left to kill the one in the shack beside the elevator, and then watch for the rusher. There will be one more that comes in on a zipline as you move forward, so keep your eyes open. Loot the house and then approach the open ground.
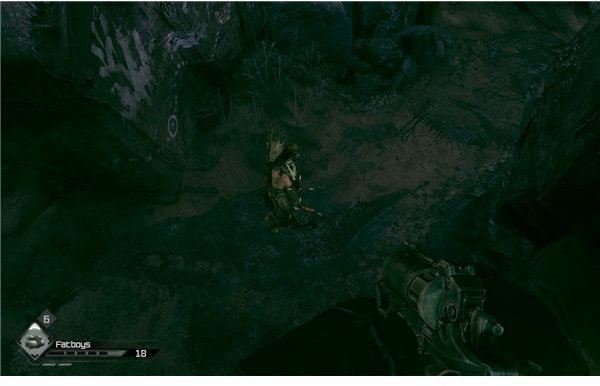
5 bandits will crawl out of their hiding spots in the ground, in two waves. Several more will also come out of the shacks above you. Fall back and use your shotgun to fend off the melee rushers. If you wait a moment, the bandits on the cliff will try to charge you. Once they’re within shotgun range, it’s easy to put them down.
Move up to the shacks and kill the stragglers. There should just be a few melee users, and one gunman on the big rock. Even the gunman will opt to charge you after the opening salvo. Once they’re dead, move forward to reach their very big ramp system.
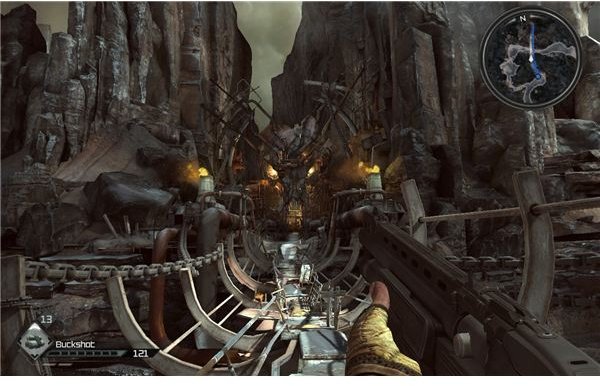
The Path to the Ark
These wooden ramps lead to the heart of the base. Unfortunately, this means that they’re heavily guarded. The jackals will unleash a steady wave of grenade balloons, so watch for the indicators. They’re fairly random, and they seem to be just as likely to kill the jackals as you, but they can really hurt if you’re not watching for them.
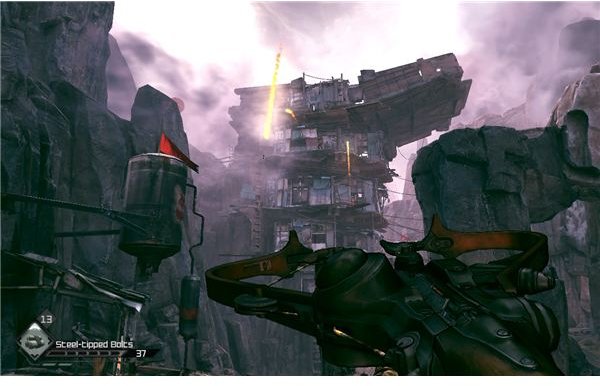
I suggest that you switch out for the crossbow or the sniper rifle. If you have dynamite bolts (there are a small number that you could loot throughout the level), then you’re fairly set. Move down the ramps carefully, and be ready to quickly strafe away from any of the explosives they send your way. Most of the enemies will be the ranged explosives launchers, but an occasional gunman or melee rusher will be in the mix.
Aggressively move forward using the crossbow’s special ammo to take out the ranged fighters along the way. Once you’ve cleared out most of the men up top, the lower levels will be fairly clear. At the bottom, you’ll find a few bandits with shotguns and melee weapons. Switch back to the shotgun and you shouldn’t have much trouble clearing a path.
Loot the building if you want, then advance to the final circle. There will be a decent number of bandits ahead, but some grenades will clear the field. Simply blowing up the explosive barrel behind them will do wonders. Use the rocks for cover and you’ll be fine. Move forward and into the broken remains of the vault. You can trigger the unlock introduction if you like, but what we need is the handprint scanner in back. Use it to unlock the nearby panel and grab the ark equipment. It’s time to go now.
Escaping Jackal Canyon
Walk back out and shoot the unfortunate bandit who was sent in to investigate. He’s got a shotgun, so be a little careful at this range. Move to the left and jump onto the makeshift elevator that in the canyon wall. When it stops, jump off and walk forward. You should come out at the entrance, right above a guard. Take him out in a little ambush, then drop down. There should be one more jackal left at the entrance. Kill him and you’ll be able to walk right out. Jump into your car and drive back to Subway Town. You can turn the equipment over to Lassard to trigger the new offensive.
Once it’s done, Marshall will point you to Portman, who will hand out some explosives and your next mission. We get to blow up the Authority again.
References
- All information from a “Hard” difficulty playthrough of Rage
- All screenshots from Rage
This post is part of the series: Rage Walkthrough - Parts 6-10
Our time in the wasteland is starting to get a little more violent. It seems that the resistance is quite interested in us. You’ll get a chance to do battle with the Authority, and then make your way to Subway Town to do a little more work before the grand finale.