It’s time to wrap things up. The Resistance just has a few missions left, and then it’ll be time to bring things to a close. I’ll tell you how to clear the path to Capital Prime and how to get inside the Authority fortress to upload the codes and save the day.
Assault the Security Bridge
There actually isn’t much preparation needed for this mission. Just swing by a shop and pick up some pulse ammo for the monarch’s pulse cannon. You’ll need it.
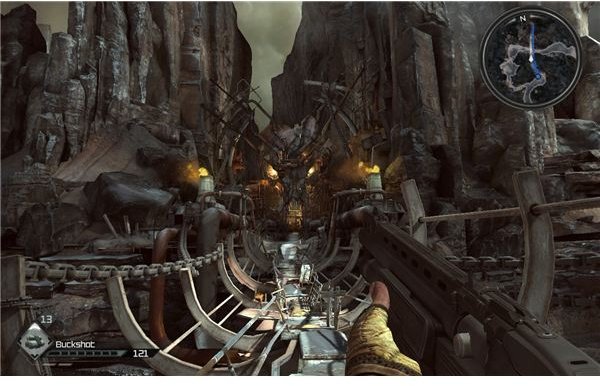
This is mainly a vehicle mission. Drive over to the marked gate near Jackal Canyon. There will be a few mutants who will rush out, but you’re in a car, so just run them over. Drive up to the gate and jump out, plant the explosives and then run to your car and back up. A few more mutants will come out of the hole in the gate. Just use the miniguns to cut them down and drive through.
Swing to the right and look for an authority patrol car. If you have the pulse cannon, one shot will destroy it. I suggest you use it, since it can really damage a car, even if you have heavy armor plating. Once it’s destroyed, drive up to the big base. One more patrol will swing out behind you, so pull a 180 degree turn and blow it up with the pulse cannon, too.
Drive your car onto the elevator platform, then jump out and hit the button to send yourself up. There’s not much point in getting back in your car. It will be trapped for the time being.
Once you’re at the top, get behind some crates and open fire on the lone guard up here, then turn to the right and see if you can hit the authority soldiers as they drop in on their jetpacks. If you can’t, switch to the machine gun or the feltrite rounds in the assault rifle. You can also toss a cooked EMP grenade into their mix to easily knock out the two shield carriers. Once the three soldiers are down, loot their corner of the bridge and plant the charges on the generator.
Another group, exactly like the first, will drop in on the left side. Engage them in the same way from the cover of the crates in the center. Once they’re dead, you can blow up the second generator. This will lower the barriers holding your car on the elevator, so you’ll be free to leave. Jump inside and drive back to Subway Town to report your success.
Assaulting Capital Prime

To get to Capital Prime, you have to fight a lot of heavily armored Authority vehicles. I suggest that you invest in some more pulse ammo and shields, since it’s a good idea to be able to shrug off some damage. When you’re ready, make your run across the security bridge. One shot from the pulse cannon will destroy an Authority enforcer, so fire away. Once you’ve punched a hole through, just keep driving; don’t stop to engage the spawning enforcers. There are too many of them. Focus on reach the side entrance to the wall and park right beside it. Jump out and use the keycard to gain access to the base.
The First Defenses
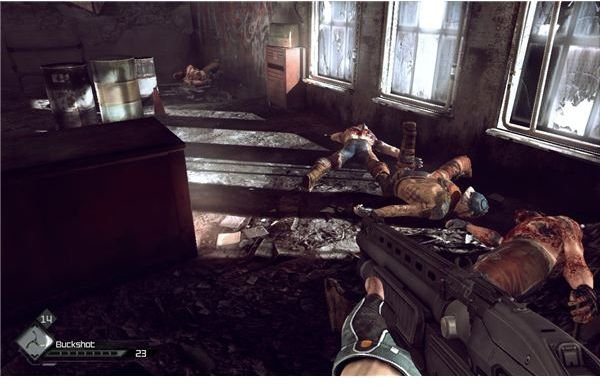
Once you’re in, move down the corridors and grab the BFG ammo lying on the crate. Once you reach the outside area, a drone will scan you and send the alarm. Go ahead and blow it up with whatever gun you wish, then move into the base. You’ll run right into two soldiers in the corridor ahead. A shotgun does wonders here.
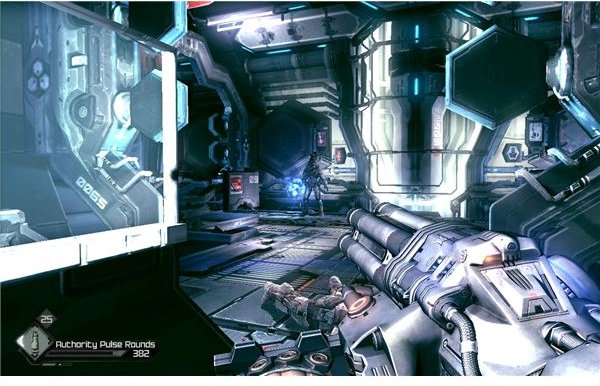
Turn the corner and a team will move in after you clear the inactive security gates. Get behind a crate and use the machine gun to ripe them apart. Turn the corner and go to the right. The glass here is actually bulletproof, so use it for cover to gun down the team that comes in. Again, the machine gun should make short work of any shield carrier or soldier. A heavy will walk in after they die, so fall back to behind the glass and switch to the new authority pulse gun. For once, we can finally go toe-to-toe with a heavy. Peek over the top and just pour some fire into him. He should stay stunned and go down after a solid burst. Reload after you’re done. If you want, you can keep using it for now. There should be enough ammo. The level isn’t that long.
Turn the corner and use the pulse gun to take down the third assault team. Once the path is clear, just get onto the elevator.
The Authority Mutants
Now that you’re at the top, switch back to the shotgun unless you have a lot of ammo for the pulse gun.
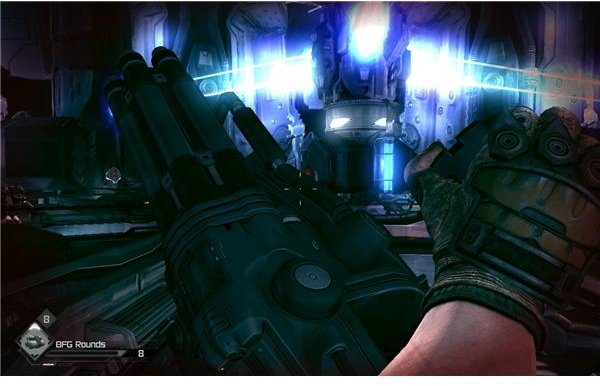
A whole bunch of authority mutants will start pouring out onto the catwalk. They actually aren’t that tough, or at least, they aren’t much tougher than normal mutants. Two shotgun blasts should kill one. Just remember to watch your ammo and reload when they aren’t on top of you. After the waves die out, move up and hit the panel to start initializing the core. Ride the core up to the next level.
When you step off of it, you’ll need to shoot two mutants that pop out of the side panels. Once they’re dead, go down the ramps and hit the button below to unlock the corridor. You can also grab some pulse ammo for the big gun off of the crate next to the button. A few more mutants will pop out, so blast them. You should be able to switch to the pulse gun again, if you want. There will be some authority soldiers located in the area ahead, so it’s good to have a versatile weapon.
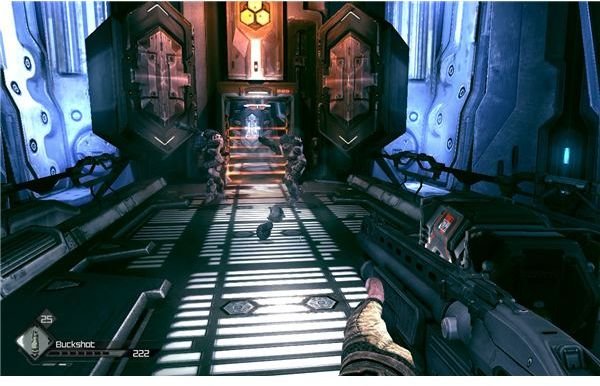
Move forward and engage the mutants and soldiers that are ahead of you. There are plenty of pillars and the pulse gun will make short work of the few soldiers, so you should be all right if you’ve made it this far. Just watch your back and don’t overextend yourself against the mutants. You should see a panel at the end. Active it to kill the nearby gate, and then jump onto the lift.
On the next level, watch out for some mutants that will jump in as you walk toward the center of the catwalk. Blast them and go down the sides. Switch to the shotgun and get ready to fight off a few groups of mutants as you look for the button to deactivate the gates. Go ahead and go back to the pulse gun. Clear a path to the center and cross over to run right into a few unfortunate authority soldiers. If you want, you can use a BFG on them to clear most of them out. If not, fall back. A few mutants will spawn behind you, so keep your eyes open as you cut down the basic soldiers in front of you. A heavy will walk out, but the pulse gun should cut him down in seconds.
After they’re dead, you can move into the next corridor. A few more mutants will pop out of the panels, but you should know what to do with them by now. Turn to the left to grab some ammo for the pulse gun, and then follow the path to the right to run into a few more mutants and soldiers. Kill the mutants that rush you, and watch for the heavy that will slowly make it to you. Cut him down with the pulse gun, and turn the corner. Shred the basic soldiers that are left behind, and just walk on up to the lift; it will take you to the final core.
The Last Core
Once you arrive at the top of the system, hit the button to start the upload process. Walk forward once the link completes, and then use the panel to unlock the other computers. Turn to the left and use the button to begin the satellite location process.
If you still have ammo for your pulse gun, and like using it to kill mutants, then stick with it and start moving around. If you have BFG ammo left, then consider using it to kill groups of mutants. It will pretty much clear out a room of their size, so just hold the trigger down and run while it charges. The blast will incinerate them all. Mutants will come out of the panels in the wall, although it shouldn’t be any more hectic than Bash TV. Just stay mobile, keep firing, and you’ll be fine. After a little time has passed, the computer will announce that the process is complete. Reload and then use the other panel.
The process will repeat itself, so just outlast the mutants one more time. Once the uplink is fully complete, you’ll be able to press the remaining panel on the central core to begin the unlocking process. With this, you’ll complete the game.
Enjoy your ending, and congratulations for completing RAGE.
References
- All information from a “Hard” difficulty playthrough of Rage
- All screenshots from Rage
This post is part of the series: Rage Walkthrough - Parts 6-10
Our time in the wasteland is starting to get a little more violent. It seems that the resistance is quite interested in us. You’ll get a chance to do battle with the Authority, and then make your way to Subway Town to do a little more work before the grand finale.