If you’re going to make it anywhere in the wasteland, you’ll probably need to get something a bit more powerful than the borrowed ATV. If you’re willing to kill some bandits, you can get the parts to fix up your new dune buggy, and you might even be able to make the run to Wellspring.
Finding the Buggy Parts
Once you have the quest from DR, you can go to the Outrigger settlement and talk to Johan. He’s the mechanic by the gate. He’ll point you toward the Wasted Garage, give you 12 fatboy bullets, the designs for the lock grinder and the equipment to make one. Go ahead and build one in your engineering screen now, because you’ll need it to advance the quest.
If you did “Mutant Alert,” go up the ramp and talk to Ramos while you’re here. You’ll get a little money and equipment, along with a new design.
Walk out and take the ATV down to the same trench that leads to the Radio Tower. Walk up to it and back around. You should run into a few guards in roughly the same spots as before, with two across from you in the little guardhouse and another watching the door to the Wasted Garage. Pick off the two from across the gap with your pistol, and then move down.
Approach the side path and kill the door guard with whatever you have. Walk down the little drainage ditch until you reach the ladder. Climb up and take out the final guard, then go inside the garage.
The Wasted Garage Entrance
I suggest that you switch to your combat shotgun now; it’s a very good weapon for this range. Just as you did before, watch for any glowing items, since you’ll want to be able to build a new lock grinder in a moment. Loot the desks in this opening area, and then use the grinder to break the lock on the door.
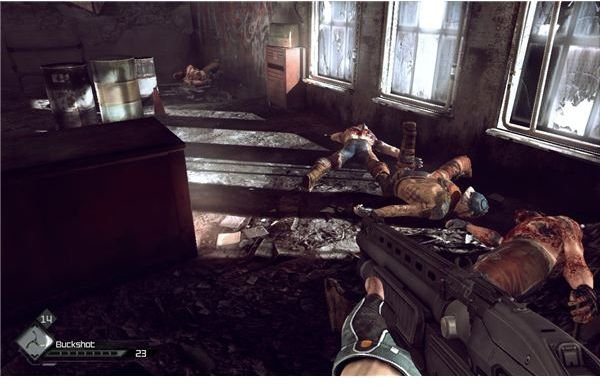
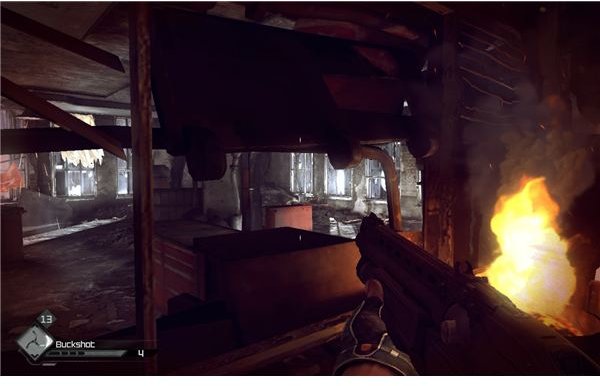
Go down the steps, and listen to the guards for a little foreshadowing. Sounds like we’re going to face a big machine gun at the end. Once they’re done talking, you should be able to swing through the opening in the wall and start shooting everyone with the shotgun. One or two hits with buckshot should kill any of these bandits, since they usually don’t have armor.
There are a ton of people in this room, so you’ll need to be very careful. Stick to the right side first and stay low. Clear the first section with a few quick blasts and make it to the corner of the cover so that you can look into the rest of the big room.
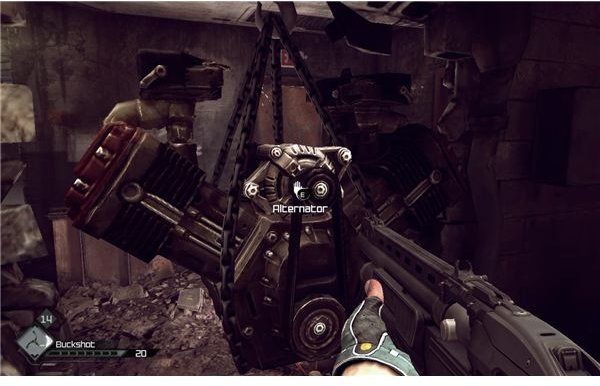
Switch out to the assault rifle and start laying down some suppression fire, then pick them off as you go. Stick to your cover and listen for them. You should hear them start to panic after you’ve killed a few and that’s your signal to move up. Pull out your shotgun again and watch for bandits aiming over the counter at you. Round the corner and you should see an engine powering an electrified door. Just walk around the wall poorly dividing the area. You should be able to get some gear off of the table before pulling the alternator out of the engine. That’s the first part that we need, and it has the added benefit of breaking their little trap. The door to the stairs is now open. Go through it and make it into the next room.
The Wasted Garage - Lower Level
Approach the door carefully and turn to the left with your shotgun drawn. You should be able to use your shotgun to kill several bandits near the front. When you start to take fire, just fall back and wait for a moment. You should be able to play a bit of peek-a-boo using the doorway or the holes in the wall to pick a few of them off.
I suggest that you switch to the pistol with some fatboy ammo at this point. It’ll kill any bandit in one or two shots, so push forward and clear out the stragglers that are inside. Once the area is clear, you should be able to note the locked door.
You can make a lock grinder if you’ve been picking up the gears throughout the level, the hardwire packet at the start and the electrical wires that are in the last few rooms. You can backtrack out of this room and go up a set of stairs to find an electrical wire kit, if you need one.
There are bandages, grenades, steel blades and ingredients for more bandages on the shelves. Take what you want and then go out through the door.
Watch out for a few more stragglers along this path. If you’ve made it this far, then they shouldn’t be a real threat. There should just be small pairs of them.
Push forward to one more big room of them. Just keep your eyes open and blast your way through it. Grab the gas cans and junk as you go through, and watch for a small corridor leading to some blocked stairs. There are a few more bandits inside. You should be able to just use your shotgun or an assault rifle burst to tear them apart at this range. The real prize is the car just ahead. Grab the distributor cap off of it to cause a nice little explosion and open the path up.
The Wasted Garage - Killing the Boss
Go through the newly opened door with your gun out. Just clear the room like you’ve done before, and look for the stairs down to the main garage. Note that there’s some buckshot and fatboy rounds on the main counter. Grab them; you’ll need them for the next fight.
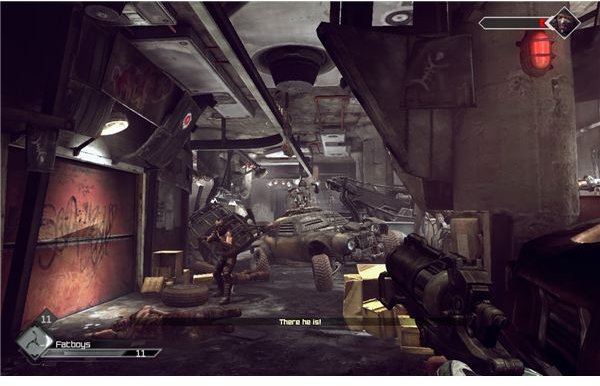
As you walk past the cars, you should hear one start and come rushing at you. Get behind the nearby barrels and watch as it wrecks. The Wasted bandits’ leader will jump up onto the turret and start firing at you.
Thankfully, that’s his only real attack. The gun hurts a lot, and has a nasty knockback effect, but you can avoid it fairly well by hiding behind the barrels. He will occasionally send someone out to rush you. Listen for the combat yells. I suggest that you just switch to the shotgun and nail them when they run past the barrels.
For killing the gunner, there are a few options. Grenades are never a bad idea. You can also switch to the fatboys in your pistol and wait for him to stop firing. The gun jams occasionally, and when it does he raises his head as he pounds on it. It’s quite easy to just fire a few shots into his head. Normal rounds don’t do a lot, but six of the fatboys should kill him.
You can also look just past the barrels that you should be hiding behind. There’s a panel on the pillar to the right that should be flashing. If you hit this, an explosion tank will start moving down the little crane above him. Watch for it to go right over his head and shoot the tank to blow it up and do a whole lot of damage.
Turn to the left and shoot the unfortunate bandit that decides to try to rush you, then move forward. If you go around the wreckage you should be able to find the piston that you need on a table. Grab the gas cans and oil cans around the shop, and look for a “wasted turret” collector card. The last thing of interest is a locked door near the exit.
As you approach the rear garage doors, one man will kick the doors open. Fill him with buckshot to clear the way. If you can make a lock grinder, use it to grind off the lock to the storeroom to get some feltrite crystals, buckshot and a bunch of oil cans.
When you’re ready, walk out the side door.
There will be two more bandits standing by their ATV. Two well-placed wingsticks will make it yours. Jump onto it and ride back to the Hagar Settlement and turn in your parts to finish the buggy.
While you’re here, you should really sell all the loot that you picked up. Also, you may want to invest in some ammo, especially if you burned through your fatboys and buckshot.
Once the buggy’s done, walk toward the dinner. You can pick up a collector card for the grenade if you look at the pipe next to Becky.
Destroy the Barricade
Talk to Dan to get your next mission. We need to clear out a blockade on the road, and this means that we get to use the sniper rifle and play with explosives. That sounds pretty good.
Note: Save First! It’s easy to die.
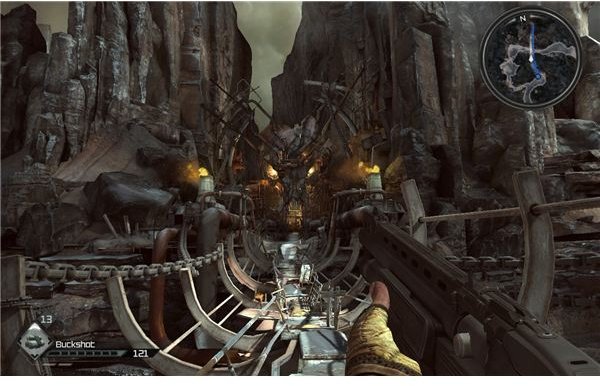
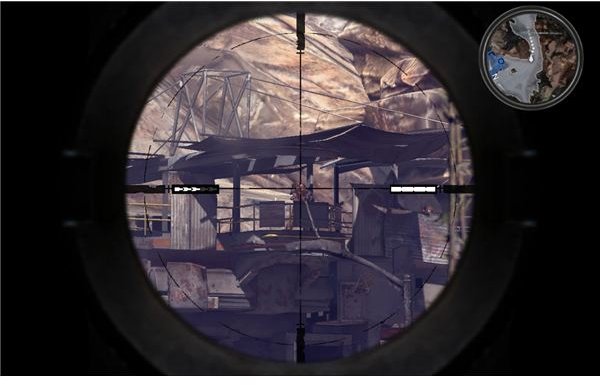
Don’t bother taking your buggy or ATV. They’ll lock onto it right away and pound you with rocket fire. Walk down the road and look a the large structure ahead. You should be able to start firing from right outside the settlement, after you round the rocks.
First, make a note of the rockets behind fired at you. They’ll probably kill you if they get a solid hit, so that gunner needs to die first. Duck back behind the rocks until the rocket hits, then step out, get your crosshairs over the rocket turret and hit “E” to zoom in further. Quickly shoot him in the head and get behind the rocks. Once the last of his fired rocket hits, you’ll be safe. The machine gunners won’t be able to hit you from this far out, so you should be able to just snipe them all as you approach.
Watch out for a lone reinforcement bandit that may try to get on a gun as you approach. Once he starts firing, just put a round in his skull.
Walk up to the locked checkpoint and hit the button to set up the charges. Run to the nearby cover and wait for the blast, then run back to town. Turn your quest in for a little extra cash, and to finish up the quest line.
Talk to Dan again to get your new mission. It’s time for us to see a real town. We’re going to Wellspring to bring a message to the mayor.
Before you go, I suggest that you stop and take Durar’s challenge. It’s an easy time trial and you’ve already run the route before. Just use boost in the straight parts whenever you can, and slide into the flag. If you drift it right, you’ll be make the 180 degree turn in one swing and be ready to boost your way back to the town in plenty of time.
Delivering Dan’s Message
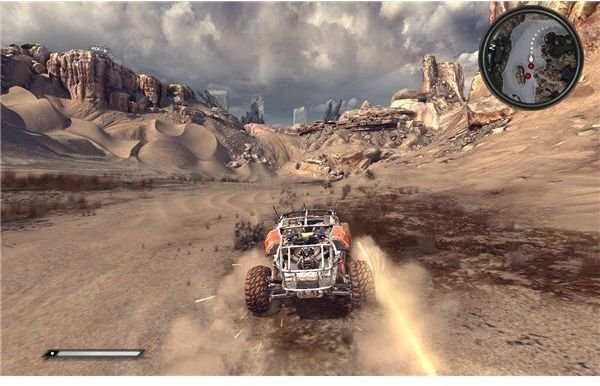
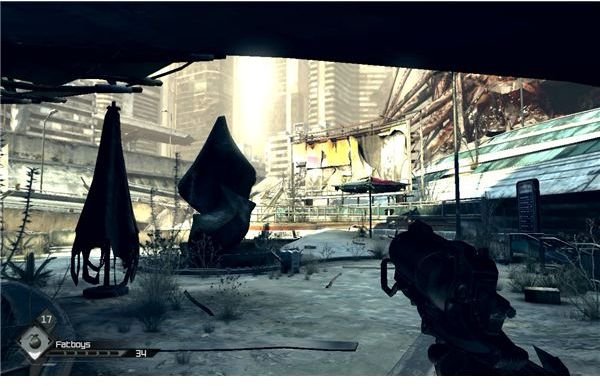
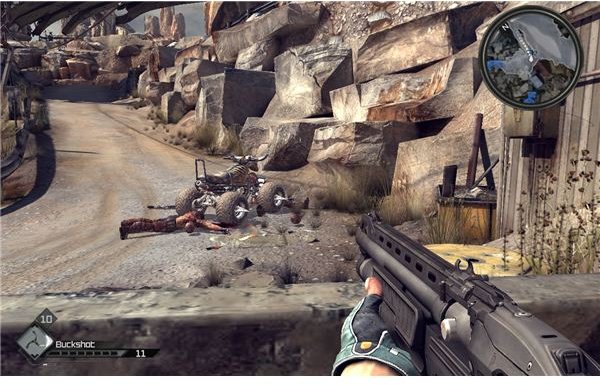
Once you have the extra boost on your buggy, it’s time for you to jump in and drive to Wellsprings. A pair of bandits will attack you in their armed buggies, but their guns aren’t that strong. They should barely chip your paint–just avoid them.
Watch out for a suicidal third buggy that may play chicken with you in a narrow stretch. In hard mode, ramming him at full speed and crushing the bandit buggy only took off 25% of my armor, so you may just want to get aggressive. Make the final turn and boost through the long stretch to Wellspring. Jump out at the gate and talk to the guard, Solomon. After giving you a little friendly warning, he’ll let you into town.
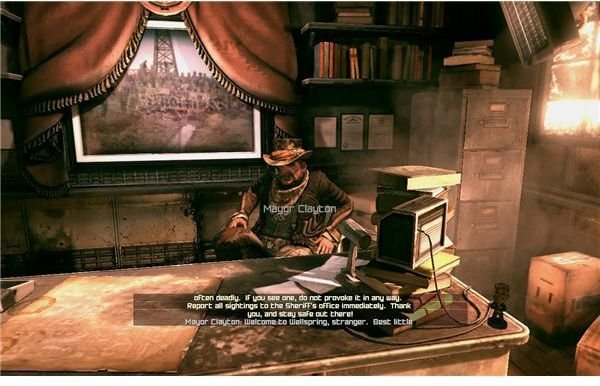
The mayor’s office is just to the right of the entrance. There’s a big sign above it, so it’s fairly hard to miss. Just walk inside and talk to the mayor. Note that there’s a Fallout bobblehead that you can grab off of the desk. This will sell for $150, so it definitely pays to take it.
Welcome to Wellspring
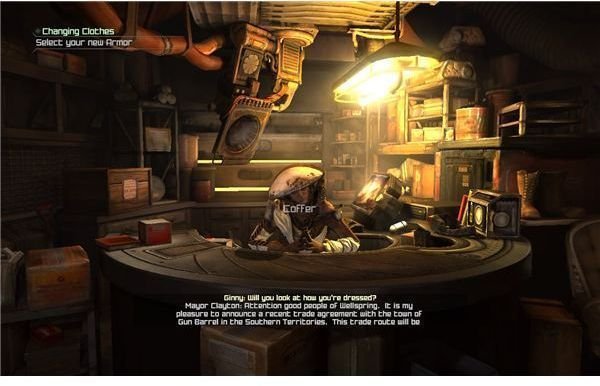
Once you talk to Mayor Clayton, he’ll send you off to finally get some clothes that aren’t the equivalent of a big target on your back. You can get to Coffer’s store by walking down the alley by the “Jackpots” sign. You’ll see a sign for an Outfitter’s store next to some men that are gambling in the street. Just walk inside and talk to Coffer to get the options for your new outfit.
You can either go for a merchant discount, an armor upgrade, an engineering upgrade, or cheat and get all three if you have the pre-order DLC. Just make your pick and walk back to the mayor. You’ll end up exploring the town naturally as part of the quest line, so I wouldn’t waste too much time wandering around just yet.
Walk back to the mayor to check in and get the next part of your little tour. He’ll point you to the Sheriff and Micky.
Go to Micky’s garage first. He’s just across the street from the mayor’s office. Once you walk inside, he’ll talk to you and set you up with your very own parking space in his garage. I suggest that you go ahead and use it to get some repairs on your buggy. I’m sure that it’s a little dented up. Note that if you pre-ordered the game you should also have the option of using the Rat Rod. It’s nothing special, really.
The next stop is Sheriff Black’s office. He’s above the mayor’s office. To get up there, you’ll need to walk down the alley next to the mayor’s office and look for the stairs up to a raised catwalk. You can then just follow this to the Sheriff’s office.
Go inside and walk past the reception area to find him. If you talk to him he should add the fairly reasonable point that it’s a bit stupid to try to run a bandit blockade without any guns on your buggy. That having been said, it’s obviously time for an upgrade.
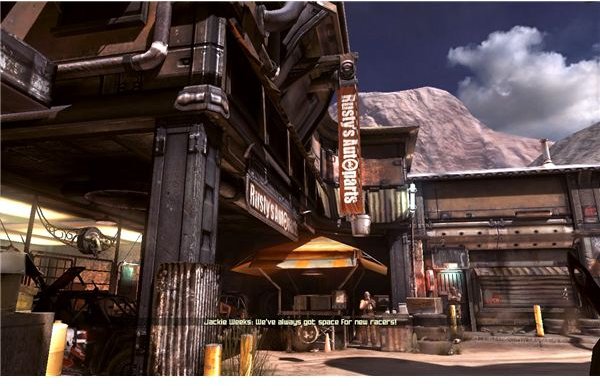
You can get these by going to the racetrack at the back of the town. Just go to Coffer’s shop and turn right. If you follow the street, you’ll find Rusty’s shop. You may want to go ahead and win a few races to get a couple of upgrades but it’s not necessary. When you’re ready, go to Rusty and add the miniguns to your buggy. He’ll include a fair bit of ammo, so we’re off to a relatively good start.
Report back to the Sheriff and he’ll decide that you’re armed well enough for the mission. You’ll then receive your supplies and be ready to go. Approach the garage and you should get a note that Sally, the bartender in Wellsprings, has a job for you. It’s easy money, so I suggest that you walk into the bar just off of the main square. Look for the entrance right next to the neon “Open” sign.
If you talk to Sally, she’ll offer to pay you for killing bandit buggies. Since that’s in our future anyway, it’s a good idea to accept the arrangement.
When you’re done exploring the town, just go to the garage and choose to leave in whichever car you armed. Choose to go back to the Wastelands, and soon you’ll be back outside with a lot of firepower.
Returning the Supplies
Move forward down the path until you run right into an ambush. This should start with an armed tower with a minigun on top. Just put some fire into the supports to destroy it. As you hit the more open areas, you should find three bandit cars moving in on you. As the tip notes, you can earn $75 for killing them. I suggest that you just pour some minigun fire into them. You’re fairly well armored, and they’re quite weak. Just driving backwards should be enough to avoid a fair bit of their attacks and it will let you take out the buggies one-by-one. Once the area is clear, you’re done. Enjoy the rest of the drive to the Hagar settlement.
Park the buggy and walk in to drop off the supplies with Dan. He’ll thank you and let you take the crossbow that’s been taunting us since we first arrived. Take your prize and walk back to your car. There’s not much else to do here, unless you want to buy something else from Halek.
We’ve got business back in Wellsprings, so take the long trip back and park your buggy in the garage.
References
- Screenshots from Rage
- All information from a “Hard” difficulty playthrough of Rage
This post is part of the series: Rage Walkthrough - Parts 1-5
It wouldn’t be much of a game if everything went according to plan. Our first steps out of the ark will lead us right into battle with the local bandit clans. To earn your buggy and secure a safe place in Wellspring, you’ll have a lot of work to do. Don’t worry, we’ll cover it all.