Things are going to get a little crazy. We’re not just raiding hideouts anymore. Our work for Mayor Clayton will led us to Doctor Kvasir, which will eventually take us to the mutant infested dead city. If you can manage to fight your way out, you’ll end up battling bandits for the Wellsprings well.
The Feltrite Refinery
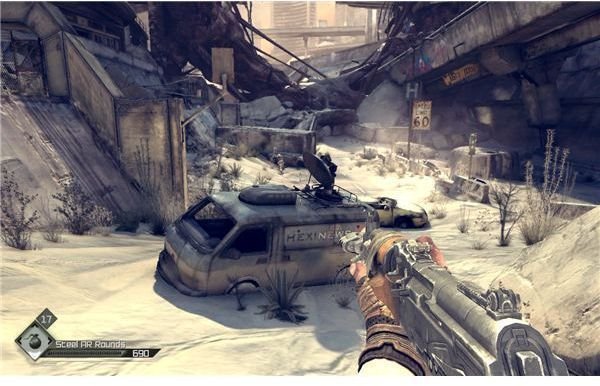
As you travel back to Wellsprings, you’ll get a chance to turn off onto a separate highway. Just follow it and destroy a few more bandit cars along the way. Pull up to the large refinery and see if you can strafe the guard post before you jump out. Be very careful up here, since the guards are heavily armed.
Quickly hit the first two guards, then get onto the rigging. Another two bandits will drop down onto the rigging from the office rooftop. Switch to the shotgun to bring them down quickly. Then just walk over to the marked switch and flip it to slowly bring a refined feltrite sample up to the surface. Pick it up and try to leave. One more bandit will drop down off of the office, but as long as you have your gun out, you’ll be able to take him down easily. Drive back and show the sample to Mayor Clayton, and he’ll send you right back out of town with it.
This part of the quest is actually quite easy. You just have to drive to Doctor Kvasir’s lab. You’ll run into some bandits along the way, but if you’re in the Cuprino then you’ll be fine. Just blow them up and park outside. Use the little communications box to get Kvasir to create the bridge for you. Once you’re in, just wait for him to come over and set the feltrite sample on the table. He’ll take it and begin analysis, and that’s it for this part of the mission…of course there will be an unrelated time killer mission.
Entering the Dead City
Doctor Kvasir appears to be a bit of an ally for us. Since the Authority are being set up as our nemesis, it looks like we need to be ready to help out the resistance. This means finding out about an upgrade for our defibrillator. And that means a trip to the mutant infested/eldritch horror filled Dead City.
Before you go, I strongly suggest that you stock up on fatboys and buckshot. You need to be able to kill a lot of mutants, and there’s not a ton of ammo lying around.
When you’re ready, drive over to the marked highway location. You need to park under the ramp and walk through the big sewer pipe to find the entrance to the Dead City Streets.
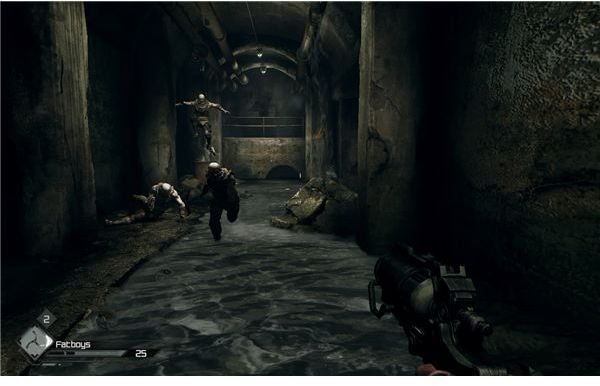
When you enter, you’ll find yourself in a tunnel with some mutants. There should be about four at the start. Use a wingstick to kill the first one and use the shotgun to keep the others at bay. Move forward and turn to the right to spot a lone rusher jumping over a rail. Take him out, and turn down the path to spot another two running at you from further down the tunnel. Blast them both.
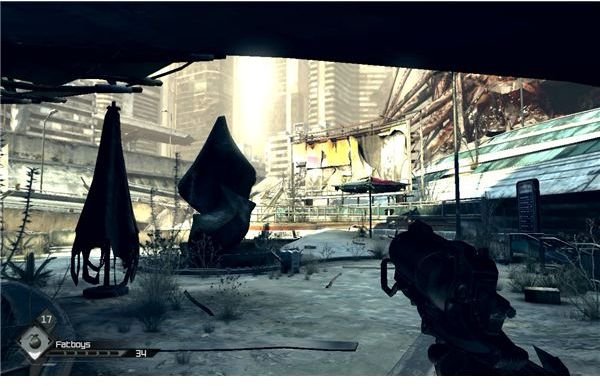
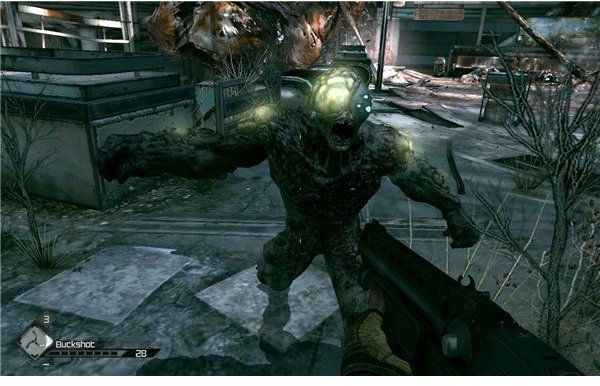
Once you make it to the end of the tunnel, you should see a nice open field. It won’t take too long for it to be full of horrifying things though. A bunch of mutants will start swarming the field from the loft complex and the buildings near it. The real problem is the giant mutant with the mortar, as you may have guessed.
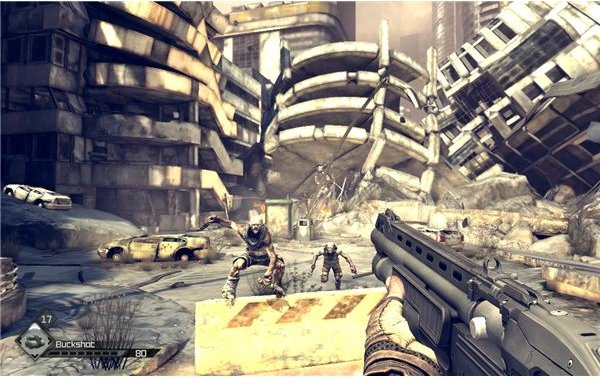
Start by just strafing around. This will give you time to clear out the field while dodging most of the mortars. Once you have some breathing room, just rush the big guy and start pouring buckshot into his face at close range while you strafe. You should be able to easily keep him from aiming at you at this range, and do a fair bit of damage.
Once he goes down, you’re free to move further into the city.
The Path to the City Center
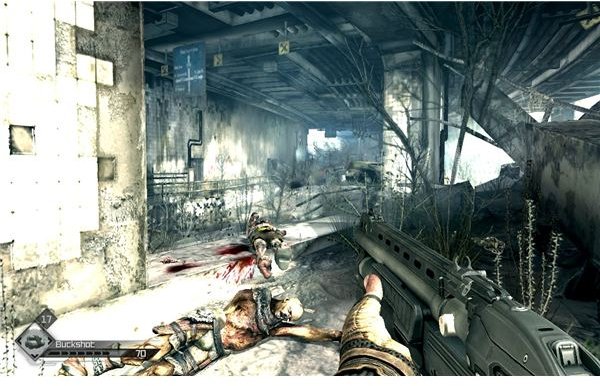
Move into the loft complex and loot the gear off of the tables. If you walk around for a bit, you should start to hear some mutants hitting the barricades on the wall. Just watch and wait for one of them to break through. Get your back to a solid wall and hold out against this short attack as mutants pour in through the windows and floor, with a few hanging back to just throw knives. The shotgun is quite good at this range, and since you can’t move that well, you’ll want to get into a good spot and just focus on holding your ground.
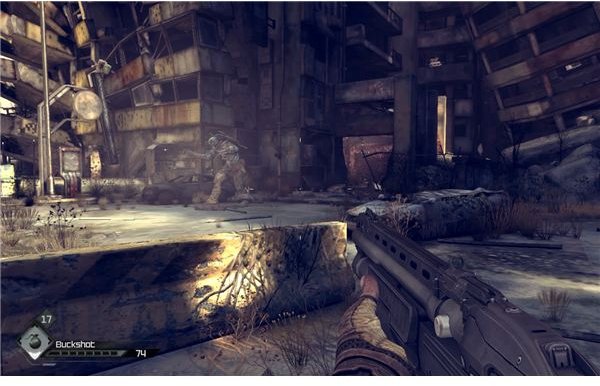
After a few groups of mutants, the steel door will fall off and reveal the path outside. As you walk through the ruins, you’ll come under fire from two mutants with an unlimited stockpile of molotov cocktails. Just strafe around the rubble until you can get a good sniper rifle shot on their positions. Once they’re dead, move down and around until you can make it to the big open street. You should know what’s coming if you can spot patterns.
A fair number of mutants will rush out into the streets, but they’re mainly a smokescreen for the massive kraken that bursts through the wall. Stay as far away from him as you can while you use the shotgun to run up to mutants and blast them. Once it’s just you and the kraken, focus on getting to about medium range. This one doesn’t seem to charge as much as the one in the Bash TV arena. Just keep a few steps back from tentacle range and use something with a bit of power to hit him in the throat. The shotgun actually seems to work well, but you might want to just switch to the assault rifle. He’s big enough that the recoil won’t matter and you should have picked up some ammo for it along the way.
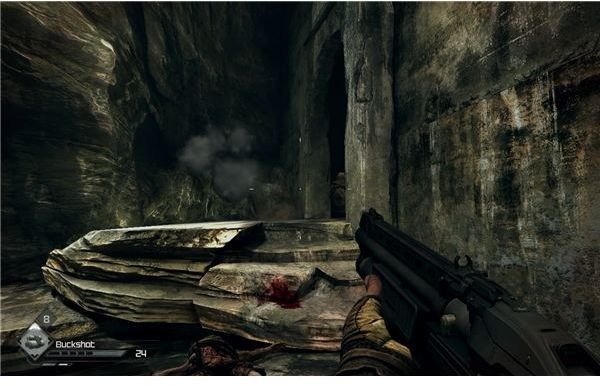
Before you leave, check the disgusting room that the kraken burst out of for the kraken collector card (which is a really nice card by the way).
When you’re ready, walk down the path and look for the locked staircase. Follow the wire into the store, and loot all of the little things off of the shelves. Pull out your shotgun and then flip the switch on the panel to power up the door lock properly. A few mutants will come out of the woodwork when you do, so push your way out of the store and hit the door lock to open your exit.
Move forward and watch out for the new slime mutant. These guys are a bit tougher than the normal ones, and they have the ability to spit at you. Buckshot isn’t that effective against them, so if you can, stick to things with better armor penetration (or be ready to hit them with at least four shots at point-blank range).
Go through the doors and to reach the new area.
The Path to the Hospital
There’s a collector card for the slime mutant on a table off to the side of the entrance. Grab it if you want it.
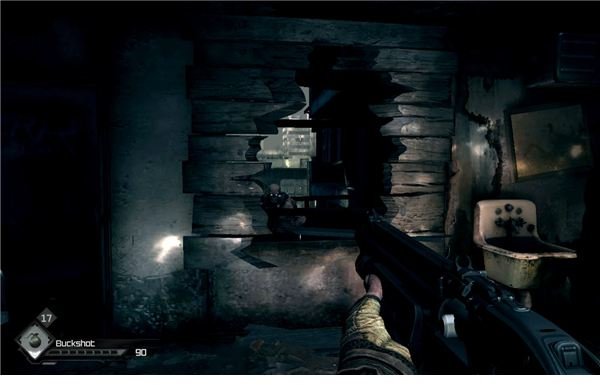
Move forward and note the path of the long wire. Follow it around until it goes through a wall. Walk forward a bit and look through the gate on the shop. Aim at one of the oxygen tanks and take a shot through the gate to make a nice hole in the wall. Go through your new path and go into the back room to turn the power on for the locked gate.
This will spawn a few mutants. Just use your shotgun to clear them out and make it through to the gate. There will be a slime mutant nearby, so don’t get too reckless. Before you flip the switch, you might want to look over at the locked door by the cafeteria. If you’ve got a lock grinder, then bust it open for some loot. If you don’t, don’t worry. We’ll be back later.
Reload your shotgun and then flip the switch on the gate. This will be a very slow opening gate, and a bunch of mutants will rush in while it opens. Keep moving through the sides of the room and fire on the mutants as they flood toward you. You should be able to thin them during the early rush, and then focus on clearing out the survivors.
The gate should open at this point, so go down and head toward the open street. The hospital is actually within sight, but is unfortunately blocked off by a laser wall. We’ve got to push forward. There’s a ditch ahead with a group of mutants. Just push through to the door at the end. Go up the steps to find a few shacks and obstacles in your way. Blast a few mutants until you can find the staircase to the hospital. There’s a lock that you can grind if you want, but your goal is the steps.
There’s a big fight coming up, so save now.
Killing the Giant Mutant
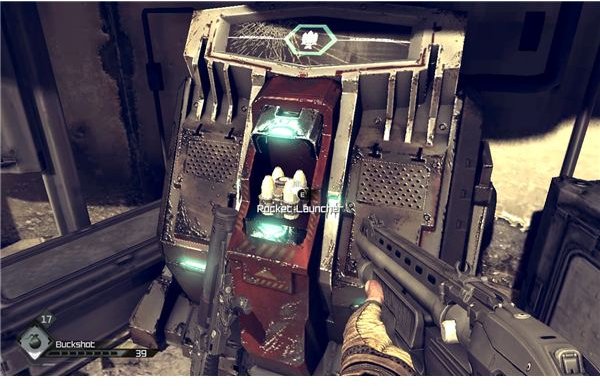
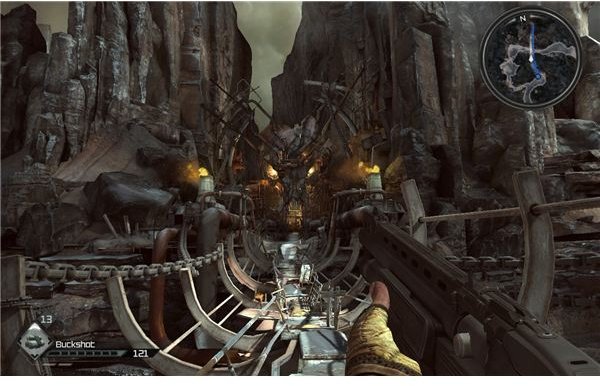
When you go up the steps, you should be able to see a nice view of the ruined city. While this is nice, you’re probably going to be more interested in the rocket launcher and rocket dispenser. Grab the rocket launcher to finally trigger the boss fight with that giant mutant that’s been wandering the city providing ample foreshadowing.
This is a fairly simple fight, in concept.
You’ll want to get a good shot into the mutant’s glowing chest while he rampages against the building at first, so that he’ll fall back and enter his routine.
This routine is pretty simple. If you do nothing, he’ll just rip chunks of concrete off of the building and toss them at you. His laser eye will mark where they’re going, so you have ample time to run out of the way. I suggest that you stick to the upper platform and stick to strafing back and forth.
When he throws the chunk at you, he’ll expose a glowing blue spot on his stomach. You need to hit this with a rocket. Note that it’s actually a pretty small window, and if you’re too slow in aiming at it you’ll easily miss the moment. You may want to watch him a few times and try to fire a second or so before it appears. Firing when he rears up to throw the slab at you is usually a good tactic at first though.
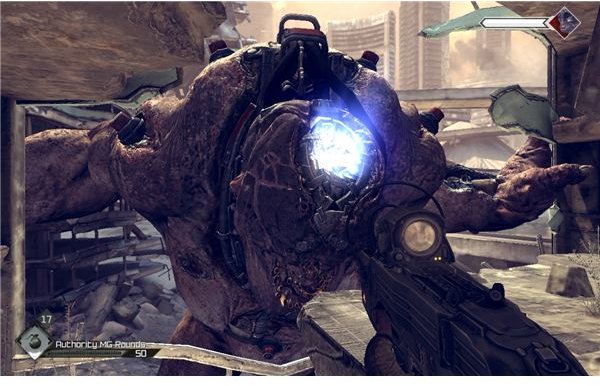
After this hit, he’ll be wounded and distracted for a moment. He’ll then rush the building and slam the upper platform with both hands. You need to be off of it when he does this. After that, his laser will search for you and pick a target. Your goal is to let him lock onto you, and then strafe away from the attack. After a few hits, he’ll just grab the building and start shaking it. When this happens, he’ll expose his big glowing brain. Fire a rocket into this to take off a third of his health. He’ll then fall back and start throwing chunks of the building at you again.
You just need to rinse and repeat, although he appears to get faster as he takes damage, so adjust your timing appropriately. You’ll really need to fire the third shot early. If you need more rockets, note that the dispenser below will produce new clips of four as you run out. If you get below four and a little time has passed, then just run down and check to see if there are any new ones waiting for you.
Also remember to reload. The rocket launcher holds 4 rockets at a time, so don’t lose track of how many you have that are actually in the chamber. It’s not fun to miss an easy shot because you need to reload.
Once you hit him a third time, he’ll turn and die, which will expose a side entrance to the hospital, over to the left. Walk inside and switch back to your shotgun. There are still normal mutants to face.
The Hospital
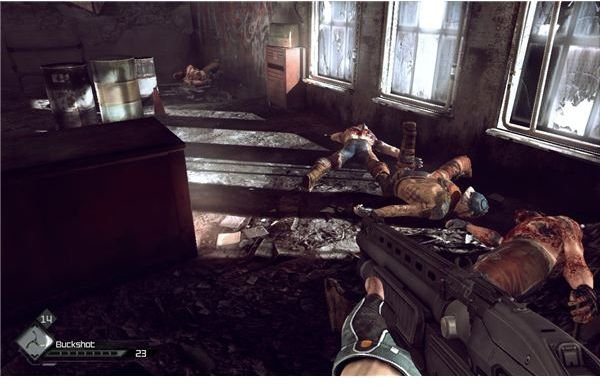
Walk down the steps and grab supplies as you go until you reach the first lab. Just use a wingstick to kill the first mutant quietly and avoid an unnecessary battle. Go forward to the hospital lobby, and shoot the mutant on the floor. A slime mutant will run down to attack, so blast him too. As you go up the escalator you’ll come under fire from a mutant with some molotovs on the floor above you. Shoot him with your pistol, or pull out something with a longer range to bring him down. Try to do this quickly, so that you can handle the other mutants that are coming. Expect another slime mutant on this floor too. Explore to your heart’s content and loot some books, before heading up the escalator to the second floor.
Just turn to the left and walk past the ranged mutant we just killed. Your goal is the very creepy looking examination room. Go through the sliding door and loot all of the equipment, then grab the defibrillator upgrade off of the desk. This will summon another attack.
A slime mutant will burst through the wall. Use a shotgun to dominate him in these tight quarters. If you can, get your back to a desk and just keep firing. If you run out of ammo, use the melee attack (hit “V”) to stun them so that you can reload. There should be two slime mutants and a few normal ones. Once they’re dead, just go through the hole that they created to find the steps to the tunnel that we first came in. You can just walk the little path through the wreckage to find the way out.
Jump into your car and use it to kill any bandits that arrived while you were gone, then take the short trip back to Doctor Kvasir to get your upgrade installed.
He’ll hand over his analysis of the feltrite sample after this, so you’ll be able to turn that quest in too.
Just drive back to Wellspring and talk to Mayor Clayton about the new bandit threat.
Trouble in the Well

When you turn the feltrite sample over to Mayor Clayton, you’ll hear the wellmaster’s alarm. Walk out of the mayor’s office and through the newly open door to the wellmaster’s office. You’ll find the wellmaster panicking inside. It seems that the bandits are up to a new attack. Agree to take the quest, happily take your electro-bolts and go down the well to face the bandits.
There are two things to note right away. First, electro-bolts are incredibly power. Second, the workers have a lot of money on them. Remember to search the bodies of the dead workers. You’ll usually get about $15 from each of them.
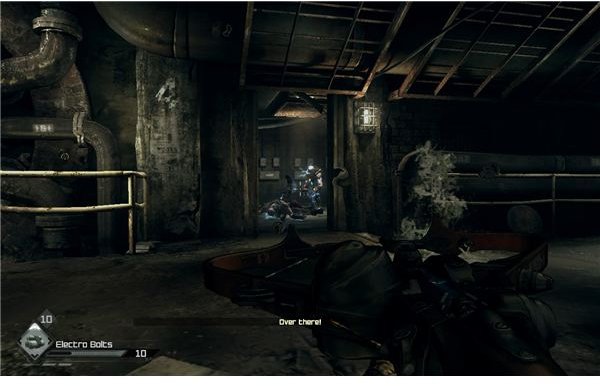
As the wounded worker suggests, round the corner while crouched so that you can approach the two ghosts crouching in the pool of water over the bodies of a few workers. Just fire a bolt into the water to toast them both. Advance and turn to the right. Fire one electro-bolt into the small room with three ghosts. The electricity will jump short distances, so you’ll kill the one standing in the door and hurt the other two. Finish them off with your shotgun.
Advance a bit with your shotgun and kill the bandit on the ramp, then turn to the left and walk toward the wooden door. It’s locked, so take the short ladder and walk around to the side. Get the crossbow with the electro-bolts out again and let the bandits see you. As the three bandits run to the steps, shoot a bolt into the water at the bottom to kill them all.
Move up a bit further and repeat this trick on another set of two bandits, then move toward the main room. There’s a lock that you can grind to the left, and a turbine room to the right. Grind the lock down (if you have a lock grinder), grab the ammo inside, and then walk into the turbine room.
Ghosts in the Well
You’ll probably want to switch to a pistol with fatboys for this one, or use your assault rifle. A few bandits will rush you, and a few more will take up firing positions on the level above you. Fall back a bit to handle the rushers, then move forward while firing to kill the shooters above. Move under the catwalk and use it for cover, and pull out your shotgun. A whole bunch of melee rushers will try to corner you. They’ll attack from both sides, so just get into a corner and keep firing. Hit them with the gun if you run out of ammo.
Once the lower level is clear, push over to the big room that is apparently acting as a body pile. There’s one bandit down here, so kill him. Try to walk out the raised gate and it will slam in your face to start off an ambush. Put your back to the gate and use the shotgun to fend off the rushers. You should be able to hold your ground just like you did before.
Follow the upper catwalk through the turbine room and switch to an assault rifle for now. It should help you handle the rushers and shooters that will move allow the catwalk. At the end, you’ll be able to go down a series of steps. Keep an eye out, and then move down into the room with the large ditch. Note that firing an electro-bolt into the ditch will electrify everyone, including the people standing next to it. You can clear the area by just repeatedly firing electro-bolts into the water as each waves comes.
Turn the corner and take out the two bandits trying to guard the gate. If you have any electo-bolts left, use them. If not, then use normal bolts or your sniper rifle to pick them off. The gate will open when they die.
The next room is another ambush. When you walk in, a gunman on the upper level will slam the gate in front of you and send in two melee attackers. I suggest that you switch to the assault rifle for this one. Use a quick burst to at least wound the gunner, then fall back to a corner. Firing from the hip into charging ghosts works pretty well, since they have to follow a tight path.
Once the first set is dead, flip the switch. Another gunman will run down and try to stop you. If you can shoot him before he hits the switch, you’ll get to leave a little faster. Regardless of whether you can kill him in time or not, fall back to the corner and kill the charging ghosts. If you have to, hit the switch again. A few more ghosts might spawn and rush you, but there shouldn’t be another gunman to interfere.
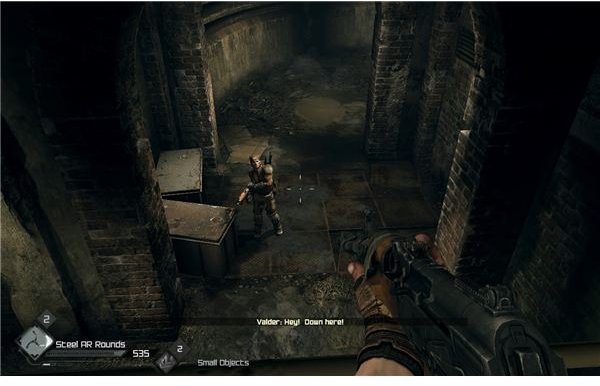
Move up the stairs and go around to follow the sound of gunshots. If you look over the ledge, you’ll find that the city guard made it after all. Loot the bodies, then jump down the steps to join Valder.
Taking the Ghost Toxin
Let your new ally take up his firing position behind the crates (so that he doesn’t push you out) and then crouch next to him. The other city guards aren’t going to last too long, so don’t worry about them. Use an assault rifle to fire on the ghosts inside while you wait for the gate to open.
When it goes up, charge inside. I personally found it fairly effective to switch back to the shotgun and just run in while Valder provided covering fire. If you’re quick, you can flank most of the surviving defenders and ambush the reinforcements that come in through the big hole in the wall. Make sure that the area is clear. You’ll know, because Valder won’t be looking for anyone (he won’t say anything special though, just look and see whether anything is trying to kill him).
When it’s clear, you can safely pull the ghost toxin out of the big purifier. While standing on the purifier platform, flip the switch to raise it up. Then just use the catwalk and the ladder to come out in Wellspring. Take the short walk back to Carlson, and show him the toxin. He’ll just point you toward Dr. Kvasir, so it looks like we have another trip to make.
Talk to him again to accept the quest, then go out for a little drive. Watch out for bandits in the central area leading up to the lab, and then park outside. There’s nothing too eventful that will happen after this. Just show Kvasir the toxin and listen to his analysis, and then agree to deliver the mind control darts to the resistance contact in Wellspring.
Drive the fairly uneventful trip back into town, and go to the bar. Elizabeth is sitting at the counter. Talk to her, and then follow her into the side closet. She’ll give you your first real quest for the resistance.
References
- All information based on a “Hard” difficulty playthrough of Rage
- All screenshots from Rage
This post is part of the series: Rage Walkthrough - Parts 1-5
It wouldn’t be much of a game if everything went according to plan. Our first steps out of the ark will lead us right into battle with the local bandit clans. To earn your buggy and secure a safe place in Wellspring, you’ll have a lot of work to do. Don’t worry, we’ll cover it all.