There are some small side missions that you can take while you’re in Wellspring. If you need a little extra money, then it’s not a bad idea. We’ll take a look at the jobs that are available on the official job board, and a few of the other activities that will help you raise cash.
Ways to Raise Money in Wellspring
Money doesn’t just make the world go round, it keeps you stocked up with the best and toughest killing devices. If you want to stand a chance against some of the tougher enemies, you’ll want to raise some cash for supplies.
There are a few simple options. On your second trip to Wellspring, Stanley should open up a stall next to the stairs to the Sheriff’s office. You can do fairly simple timed tests/combat delivery runs for easy money. You should also get a rocket launcher for your vehicles, if you don’t already have one.
There’s a few minigames in the tavern, but those are a little tedious to farm for cash.
One of the better sources, aside from looting and killing bandit cars, is to take up missions from the job board. You can find it across from Coffer’s shop.
Missing Persons
I actually suggest that you wait a while to do this one. It pairs quite well with “Stolen Merchandise,” which won’t appear on the job board for a little bit.
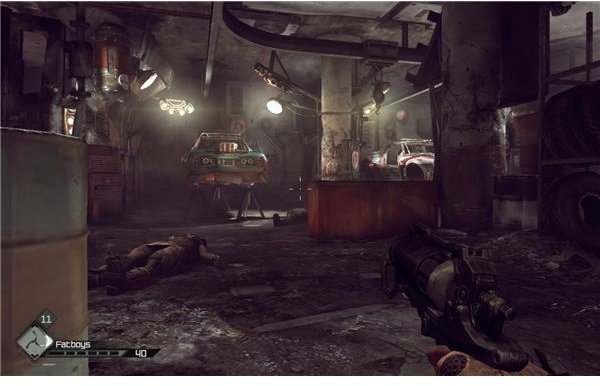
This is a fairly easy quest. You just have to raid the Ghost Hideout again. Drive past the Hagar Settlement and park outside their bridge. Then just walk right in and pull out a shotgun. The pistol with fatboys will be a decent weapon too. Basically, you’ll need to try to balance out the heavily armed men with assault rifles with the melee rushers.
Assault rifles will be nice for taking out the guards with guns, but you’ll waste a lot of ammo trying to take down the rushers. Shotguns and pistols will offer a nice compromise. If nothing else, you don’t actually have to go that far to complete the side quest.
Go through the main entrance and turn to the right. Since this is your second trip here, I hope that you have a lock grinder to spare. If you do, you can grind the lock on the men’s bathroom to get a feltrite crystal and a collector card for the ghost pistol.
The set of bandits ahead will be your first challenge. At least three will be waiting for you. Try to pick off one of them before they see you, and then fall back a bit to draw out the rusher. Take him out at a safe distance and then move on up to chase down the rest. They’ll be fairly spread out amongst the wreckage in the courtyard, so just move forward and make sure that you don’t let them get behind you.
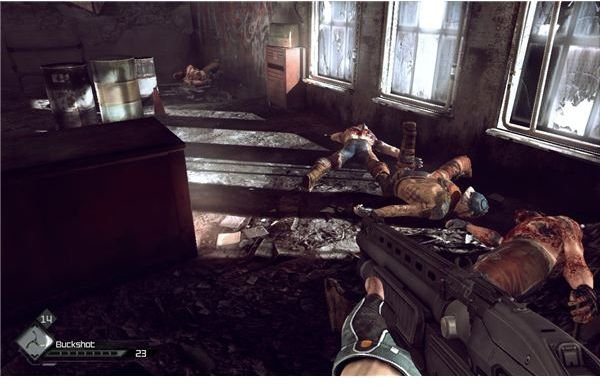
Move forward into the next area for another quick battle. You’ll have to fend off a few melee rushers at close range, so you may want to switch to a shotgun. Once they’re dead, just push into the last hallway. There’s a few armed men at the end of the hallway, so pull out something accurate and shoot them from the cover of the doorway.
Our goal is that big statue where we originally were captured on our first trip. You’ll find a few bodies and a set of luggage. Look at both to confirm that the missing people are dead, then turn around to leave. You’ll run into a melee rusher as you leave the room, and another set of guards before the exit. Just keep your pistol out and you’ll be fine.
Stolen Merchandise
This is a fairly easy quest, in concept. Basically, you’re just going to raid the Wasted Garage again, but do it in reverse.
As I said before, you will probably want to just do this alongside the Missing Person quest, since they’re both in roughly the same spot.
Just go in through the main entrance to the garage. It’s the spot where you came out after getting the buggy parts, and it’ll be where the waypoint leads to.
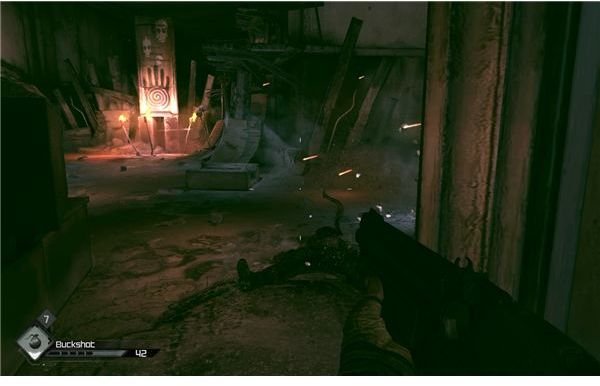
Just walk right in the main entrance and swing out into the garage area. Throw a wingstick to quickly stealth kill one guard in the center, and then ambush the one that comes to investigate. After that, things quickly devolve into a full battle. The shotgun will finish off the guard in front, and let you easily grind out the reinforcements that run in. Your real problem will be the next set of guards that set up in the back of the garage with assault rifles. You’ll need to either use an assault rifle or a pistol with fatboys to take them out. Use the cars for cover and you’ll be fine.
Swing around and find the stairs up to the area where you got the distributor. A shotgun should let you just dominate the area, so clear the room out and take out the pairs of guards that are blocking your path to the stairs.
Once you’re up the stairs, you’ll want to quickly fire your shotgun to do some damage as you enter the next room, then fall back and get behind the doorway. Trade fire with this last shred of resistance to clear the room out. The set of beer bottles on the table here is what you need to claim. That’ll officially end the quest. Note that you also receive $16 worth of bottles along with the bounty, so remember to sell them at some point.
That’ll officially wrap things up.
A Proposition
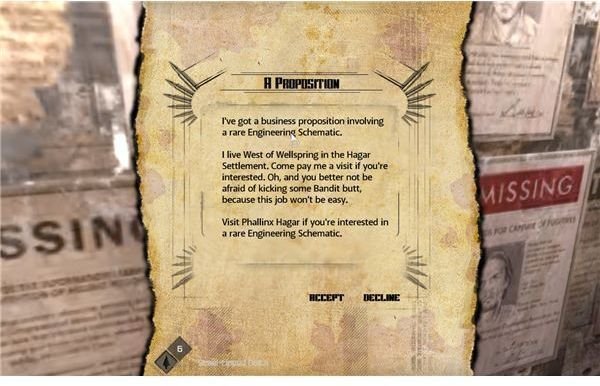
You’ll be able to access this one after you raid the Shrouded Bandits’ bunker for Sheriff Black.
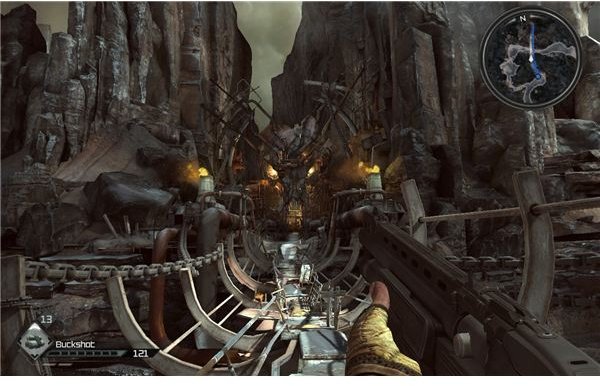
Just drive back to the bunker to start this one up. Go inside and look down the old path that we already blow up on the first run. Toss a wingstick at the unarmored guard to kill him quickly, then switch to some feltrite ammo to take on the armored guard. If you don’t have any, then use a shotgun at close range (only for the brave), a few grenades, or fall back and use the sniper rifle or pistol from cover. Push forward and kill the last bandit to get access to the lift.
The skeleton crew guarding the lift itself will probably run away when you begin your attack. Chase them down with the assault rifle until you get to the main room. At this point, a massive wave of reinforcements will come in from the left tunnel. This includes another heavily armored gunner. Use the sniper rifle to pick off some of the bandits from cover, then switch to feltrite rounds to take him out in a solid burst.
Once the heavy is down, it should be easy to mop up the rest. Loot the bodies and then keep moving. Go through the security door ahead and kill the few guards in the hallway. You should be in the control room now. Just look through the window and fire on the guards below. A grenade will do wonders in that circular area, if you want to keep up your momentum.
A guard should then open the security door to your left and let you into the workshop. There’s a whole bunch of bandits and a heavy on the floor, so be very careful. I strongly suggest tossing a few cooked grenades out. If you have already been to Dead City, then it’s also a decent idea to use the last of your rockets to clear out the heavy. He’ll probably take two hits before dying. Once the heavy is down, you should be able to just pick off the rest with your sniper rifle, and follow the hall to the last area. Once you kill any stragglers that retreated here, you should be able to grab the bomb car prototype off of the crate.
Follow the hallway out to the original lift. Once you get to the top, you’ll find a bunch of normal bandits have decided that they can cut you off. Let’s correct them on that notion. Take up a position on the wall and just hose the room with your assault rifle. You should be able to kill several of them quite easily as they move to cover, which will break morale and make the rest retreat. Finish off the runners and go to the door.
Now, all you have to do is take the prototype back to Phallnix to update your schematics.
Mutant Menace
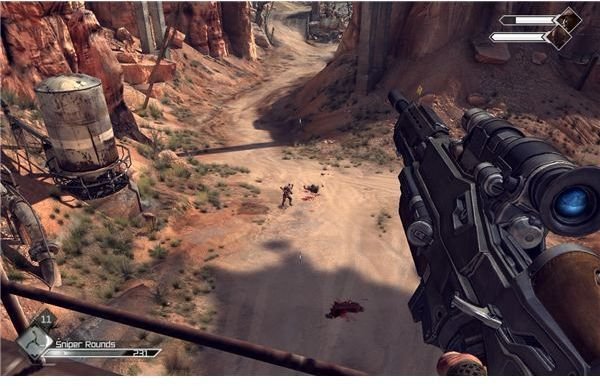
This is a pretty standard sniper’s perch mission. You need to keep a worker alive. Note that there’s a second mercenary with a pistol watching his back. He won’t be able to do much beside act as bait though. He can handle one or two mutants at close range, and survive a fair number of hits, but you’re the only thing that will keep him alive.
In general, watch this guard. He’ll usually be facing in the direction that the mutants will come from. The waves should start from the left. Each wave will have around three or four mutants in it. Once you’ve taken them out, just exit the scope and look at the center of the road. If you aim straight ahead you should be able to watch both entrances.
Remember that you can aim in further with the “E” key, and that your sniper rifle will be upgraded with an auto-loader before the mission starts.
Body shots might work, but you really need to be taking them down in a single hit. Go for the head if you can. Note that the trick seems to be aiming a little bit ahead of them. They generally run in straight lines, so just aim around neck level and wait for them to run into the crosshairs. You’ll do surprisingly well with this tactic. If they clear about half of the distance to the worker, stop zooming in all of the way. Just go for body shots with the basic scope range.
He’ll fix the two tanks on the left, and then the tank on the right. Once he’s done with that, you’ll be done. This should unlock “Caravan Cover” on the board.
Caravan Cover
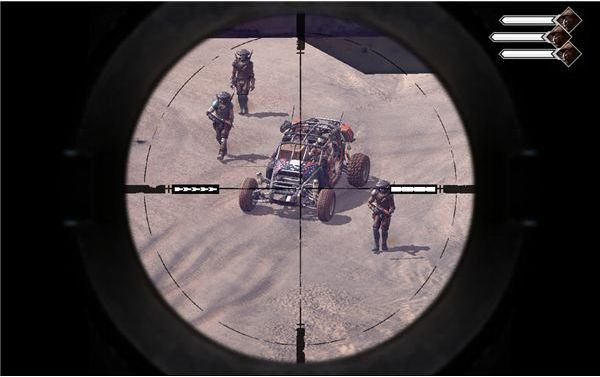
This one is actually a little bit easier, since there are only two engagements. The group of three mercenaries and the buggy is what you need to protect. They’ll slowly move toward the first clearing, at which point two buggies full of bandits will move in from the left. Engage the bandits from your perch.
Note that your rifle should be able to kill them with a body shot, so don’t waste too much time aiming. Just keep laying down fire and you’ll be fine for the most part. A few sets of reinforcements will come in from the sides, so watch for them on the rocks. There will also be the occasional rusher, so I suggest that you just use the basic scope. If you go for the extra level of zoom, you might miss a rusher or wave of reinforcements.
You’ll know you’re making progress when they blow up the first car. Just hold on a little longer and they’ll take out the second to clear the blockade.
There will be a second engagement under the bridge to the left. Just watch for the single buggy that approaches and snipe the two unlucky members of the vanguard. The real annoyance is still coming through. A few RC cars with explosives strapped to them will move in from behind the rocks that lie ahead of the convoy. Just aim for the red tanks and blow them up before they reach the buggy.
After that, just watch for gunfire to spot the couple of surviving snipers. One can take up a perch on the raised highway, so check up there too. Once the last one dies, they’ll blow up the buggy in their way and make it out of the killzone.
The Exchange
This is one of the last missions, and it’s a bit tougher. You need to provide sniper cover for a deal that Sheriff Black is making with the exchange. Get into position and just watch as he approaches the negotiator with the suitcase. As he drops it, a number of laser sights will appear.
Pull out your rifle and start firing. Note that it will usually take two shots to kill any single sniper. Aside from that though, you’re just tracing laser sights and returning fire. A few shots will kill you, so if you start to take fire, get down and slip behind a wall. Sheriff Black can take care of himself fairly well, so don’t worry about needing to take a breather. After killing a few sets of snipers, the Sheriff will be able to retreat and you’ll get your big payday.
References
- All information from a “Hard” difficulty playthrough of Rage
- Screenshots from Rage
This post is part of the series: Rage Walkthrough - Parts 1-5
It wouldn’t be much of a game if everything went according to plan. Our first steps out of the ark will lead us right into battle with the local bandit clans. To earn your buggy and secure a safe place in Wellspring, you’ll have a lot of work to do. Don’t worry, we’ll cover it all.