It’s time to get things cooking. The Authority is coming, and we need to find somebody that’s actually willing to protect us. This means joining the resistance, carrying out a fairly massive prison raid, and a second trip to the Dead City and your old ark.
Entering the Authority Prison
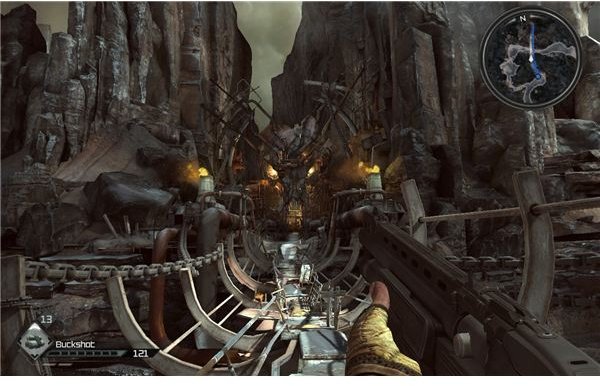
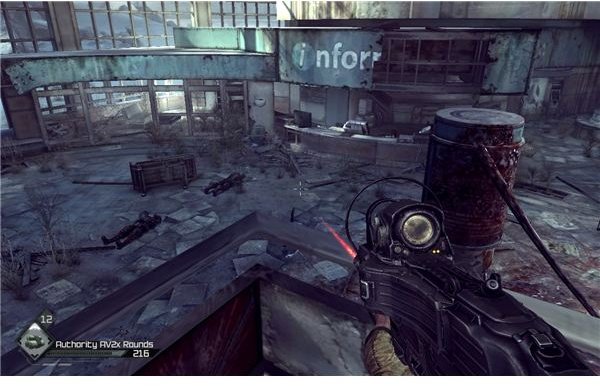
Take the drive over to the authority prison. You’ll have to kill a few bandits along the way, and when you reach it, you’ll need to stop and fire on the gunner above the gate. Jump out and kill the other guard in the tower. Use your keycard on the gate’s scanner to open things up. Move forward on the catwalk and drop down the ladder to the little trench. If you follow it, you’ll wind up in the Authority Prison.
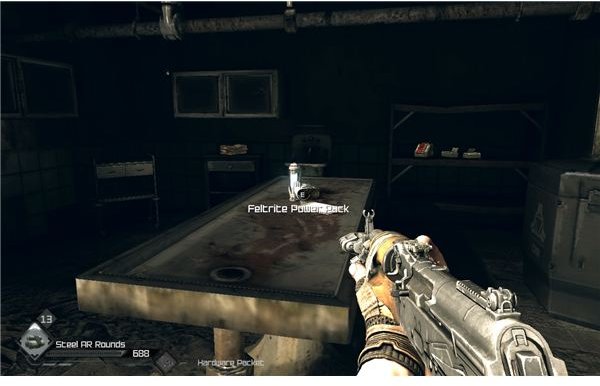
The first thing you need to do is swing over to the side of the prison and look around in what appears to be an operating area. There’s a set of feltrite power packs on the table. Grab them to get the schematics for some EMP grenades. If you looted the area, you should be able to turn a few of your grenades into EMPs. Do so to get a few extras for the area ahead.
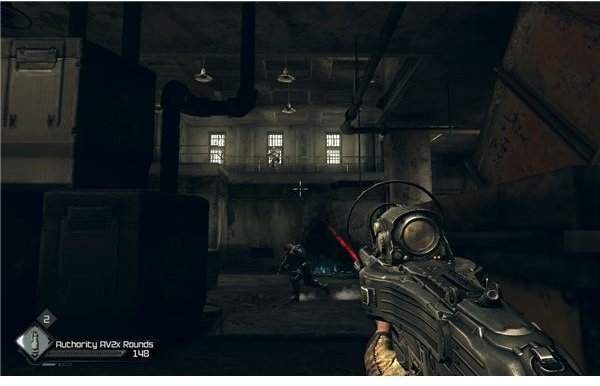
If you walk into the prison block, you should spot a big electric pylon powering the laser grid. Throw an EMP onto it to take down the grid. This will get their attention. Move forward and crouch behind the barrels. If you can, attack before they spot you.
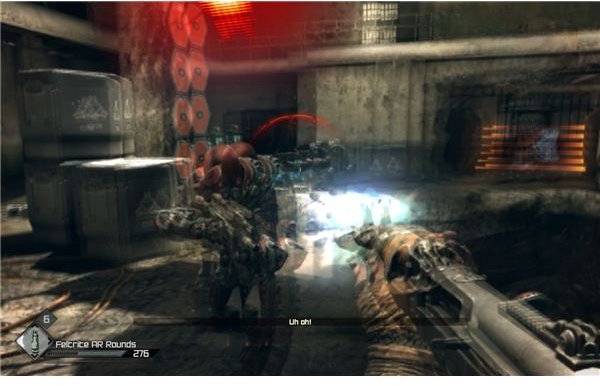
Note that these guys are very heavily armored. You will need to use something like feltrite rounds or Authority pulse rounds to do a good bit of damage. Other weapons will work all right, but these should be your bread and butter. Watch out for shield carriers too. Make sure that you aim for the gaps in the shield. Once you stagger them, it should be easy to finish them off.
After you kill this first set of guards, EMP the generator and go into the next room. Kill the guard that comes out of the office and aim around the corner to cut down another two standard guards. This laser grid’s pylon isn’t visible from the hallway. Go into the office and look out the window to spot it. Toss your EMP through the window to knock it out.
Advance again and try to crouch behind some torn up sections of floor before the next set of guards drops in on jetpacks. They should stay fairly bunched up at first, so spray the area down and you’ll do a surprising amount of damage. Once they’re dead, look in the corner and EMP the pylon.
As you walk forward, you should be able to see a hole in the wall. If you crouch, you can walk through it. Look inside the little cabinet in here and grab the collector card for the giant mutant, which will come in fairly handy in your card games.
The Turret Defenses
As you advance, you should see a turret rise up out of the floor. Wait a moment for a break in the fire, and then strafe across just enough to see the generator for it. Toss an EMP onto it to shut the turret down.
There’s a ceiling-mounted turret ahead. Crouch behind some barrels and wait for it to lose its lock, and then sprint into the room on the left side. If you go to the end of it, you’ll be able to see a hole in the wall. Toss an EMP through to blow up the pylon and disable the turret. One lone guard should come out after being shocked. Just hit him with a burst of heavy fire and he’ll die.
There’s another turret in this security room. You’ll need to carefully move between cover to get close to it. Its pylon is through the door in the back left corner, so approach the turret, lean out from cover and toss the EMP through to disable it.
Loot the room before you go. There’s some good ammo and ingredients inside including some pulse ammo. Move into the next room and take cover behind the wreckage. A whole bunch of authority guys will drop in. I strongly suggest that you break out the pulse ammo. Most of them will drop off the upper level, so you’ll have a window of a few seconds while they recover from the fall to gun them down. Use focused bursts and you should cut the heart out of the counterattack. Just carefully advance and you’ll be able to flush out the rest.
There’s about 80 rounds of pulse ammo in the back jail cell, so grab it before you move ahead. EMP the pylon in the room to take down the security grid. Move up and look for the end table in this room. You can get the collector card for the EMP grenade, and some more pulse ammo.
Move forward a little bit more to find two more authority guards. It shouldn’t be too hard to take down a group this small, considering what you’ve faced.
Advance up to the next room and you should be able to find the main control area.
Freeing Captain Marshall
Look out the window and gun down the two guards ahead. If you want, you can explore the facility a little more, but be ready to run into some mutants. Our goal is freeing Marshall though, so when you’re ready, hit the keycard panel to undo the lock. Run around the cells to reach the stairs to the lower level, and then walk up to Marshall’s cell. Once you talk to him, you’ll be able to unlock his cell with the door panel.
Once he’s out, take cover behind some metal and get ready to fight. Two waves of three guards will swarm the area. Note that this is actually a pretty good time to use the mind-control darts, since the guards tend to bunch up. Fire one into a non-shield guards and you can blow up an entire group at once.
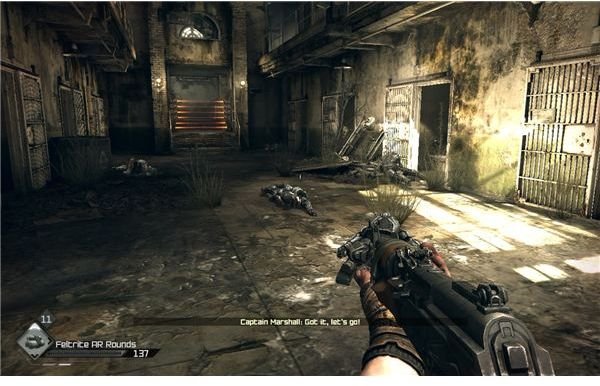
However you do it, hold out for the waves while Marshall pulls out the power core. He’ll then grab a machine gun from the stash in back. When he does this, look inside to grab a collector card for the dropship. This is a really nice card, so if you play the card game at all, get it.
Follow Marshall out of the cell block and around to the door. There’s a lock that you can grind on your way out. Feel free to stop and do so. There’s some ammo, feltrite and Marshall’s collector card inside. Follow him out to the big courtyard, and then get ready to push through a lot of resistance.
The Courtyard
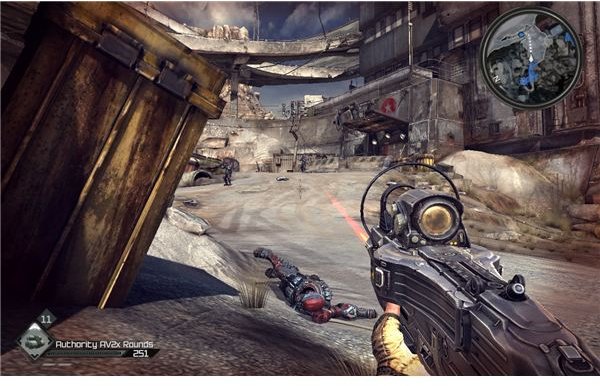
You need to keep Marshall alive, which isn’t that hard, since he tends to stay well hidden. If you’re on the offensive and decent with a rifle, it shouldn’t be too difficult. First, I suggest that you just use the sniper rifle for now, if you have the ammo for it. It’s fairly effective and the range is about right. Pick off the first set of guards while waiting by the crates. Once they’re clear, Marshall will move to the center of the field.
There’s a mounted machine gun above you. This is one of the few things that can really bring the pain, so watch it carefully and snipe any guard that tries to jump onto it. There should just be one at the start of each wave. Thankfully, the sights on the gun frame their head perfectly for a sniper shot, and one headshot tends to put them down.
Fire on the few guards that drop down to clear the first wave, then rinse and repeat to clear the path for Marshall. The laser grid on the left needs to disabled, but you can’t do it from there. Go up the stairs to the right and look at the wall behind the machine gun. You should be able to see a pylon through a hole. Toss your EMP a bit high to get it over the wall and onto the generator. This will shut down your grid. Walk around, loot the side rooms and then use the keypad on Marshall’s grid to let him through.
For now, he’ll need a little cover. Thankfully, there’s a big machine gun that you can use. Just jump on and wait for the dropship to start sending down soldiers. Note that if you hit them while they’re still using the jetpack, they should go out of control and wreck. This will make killing them pretty easy if you can hit the targets as they fall. If not, just pound them with short bursts of fire. This should keep the gun from overheating and still overpower their shields for a quick kill.
After two waves, Marshall will blow up the doors and clear the path. Just wait a moment for him to fix the panel, and then fall a bit. We’re back on our own for the trip back, it seems. Pull out your shotgun and either wait here or walk around for a moment. A single guard should kick open the door by the lift. Two blasts at this range will kill him. Grab the collector card for the shield guard off the table, and then follow the path back out to the exit. Then just walk right out and drive back to Wellspring.
Return to the bar basement to get your new quest.
The Ark ID
It’s looks like we’re going back to the start for this one. Despite Elizabeth’s warnings, the journey isn’t that bad. Just drive out to the Wasted Garage and go down the ramp. You can use your car’s miniguns to shred the two checkpoints guards. Just move up to the ark entrance and use the control panel to retrieve your ID card. Shoot the drones a few times to make them get away from the exit, and then walk out.
Get behind a rock at the base of the ark and pull out your machine gun. Use a few focused bursts of fire to kill the new wave that comes in. Then get across the field and get to your car. Drive back to Wellspring to hand the drive over to Marshall.
We get a bit more complicated of a mission now.
Dead City 2: Die Harder
Yep, we’re going back to the Dead City. Make sure that you stock back up on pulse ammo and feltrite rounds though. Things aren’t going to be like last time.
Drive over to the entrance and kill the few bandit cars that will be guarding it. Then just walk through the tunnel to reach the entrance to Dead City Central. Of course, if you look up, you’ll note that things are a bit different from our previous excursion. The Authority has apparently decided to move in along with us.
Note that we’re also going in reverse, starting in the hospital and leaving through the apartment complex and long tunnel. Walk straight ahead and go through the door. Grab the ammo from the supply closet and then get into the hallway. Use the shotgun to kill the lone mutant, and then walk out through the second floor labs to reach the central lobby. A group of authority soldiers will storm the building as you near the escalator. Use this little position of cover to gun them down with your machine gun. Since they are fairly spread out, you could probably just use the basic ammo. You’re in a good position and they’re vulnerable. Focus on returning fire to kill the reinforcements, and then make your way down the escalator.
There’s a collector card for the drone on the table by the escalator. Grab it, and then head down the second escalator. Shoot up the two guards waiting at the bottom and move into the next lab. As you may have noticed, the doors are glowing red, which is a bad sign.
Shoot the dots to set them off early, and engage the two guards that come through. Switch back to pulse ammo to make it a little easier, since one of them will have a shield and they really like throwing grenades if you let them live for long. Go out the double doors and up the steps.
The Authority Snipers
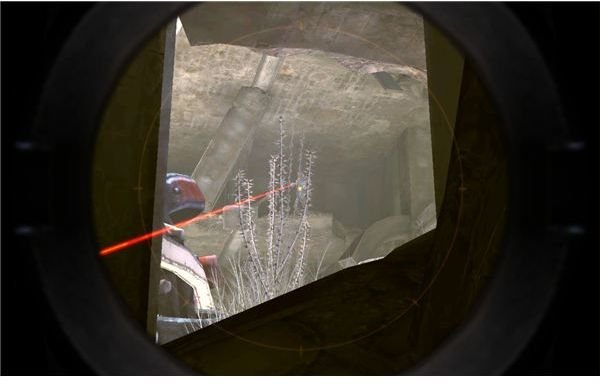
You should be treated to the sight of a mutant being sniped. That’s your foreshadowing/warning. Authority snipers are really nasty. They can kill you in two shots fairly easily, so you have to be careful.
Wait for the laser to move away, and then peek out and put a few rounds into him. Watch out for grenades while you do this. Once the sniper is dead, advance and gun down the lone guard up here, and then walk out the main doors.
There will be a sniper above you, so get down and take cover behind the metal walls. This will shield you from the men on the ground and let you trade fire with the sniper. Once he’s dead, turn and advance down the steps. You should run right into the soldiers. Just tear them up with the machine gun at this range.
Keep moving and you’ll see a few more mutants getting sniped. There are two snipers here. You need to hang back a bit to ensure that you only face one at a time. Look to the right and trace the laser of the first one. Note that it is really hard to outsnipe them, since getting shot really messes up your aim. Just use a few bursts of pulse ammo from the machine gun, while using the shack for cover. Note that if you can, don’t fire from the same place twice. Go to the left first, and then switch to the right to buy yourself an extra second while they adjust their aim.
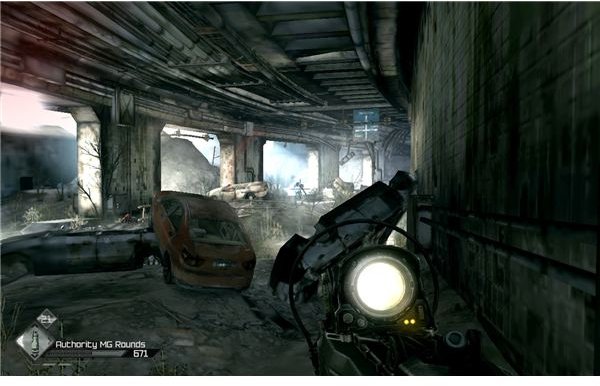
Move down into the drainage ditch below, and quickly get behind an overturned van. There are two normal soldiers; one shield soldier and one manning a machine gun on the platform above. Hang back by the first bit of cover and let them come to you. As they try to flank you, they’ll move out of the cover of their machine gun. Pick them off carefully, and then pop out and snipe the gunner. Move up the steps to reach the plaza.
The Way Home
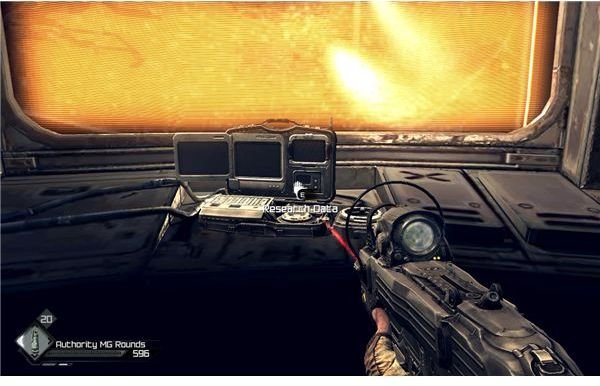
Move into the plaza itself and look to the left. Shoot the one patrolling guard through the hole, toss an EMP through the center of the hole in the wall, and then go back out to gun down the two guards left inside. Loot the bodies and then look at the big orange screens. The research tapes are lying on this console. Grab them to make the door behind you unlock.
Move forward and up the steps, and a dropship will send three men down on jetpacks. If you’re quick, you can just hit them as they fall for an instant kill. No matter how you do it, take them out and go out the flashing double doors.
Move up and around to reach more open ground. You should be able to spot a sniper as you reach the top of the steps .Pull out your own sniper rifle and shoot him twice. A few other soldiers will come out. They’ll be fairly far away, so just use the sniper rifle to take them down.
Go up the ramp to reach their little outpost. Kill the lone guard inside, and then go down the steps. Toss an EMP into the generator and loot the room, and then go up to walk forward to another sniper’s perch. Since you’ll be right on top of him, you can just gun him down with whatever you have. Go ahead and kill any mutants that he missed, and then go down to the main street. Switch to your machine gun, and use it on the three jetpack troops that the dropship sends down. You should be able to at least hit one of them, and the explosion will probably get all three.
Walk down the little tunnel to the left to reach the exit. There’s just one last section ahead.
The Tunnel
There are a few normal soldiers inside, and one heavy. Take cover and quickly use the machine gun to take out one of the normal soldiers in front of you. Try to pop up between bursts of the heavy’s fire to clear out his allies. Once he’s alone, switch to feltrite rounds or pulse rounds and light him up. Two magazines of feltrite rounds from the assault rifle will kill him, and headshots will stagger him. Just remember to get back down if he starts firing. One salvo can kill you easily.
After you cut through this last checkpoint, just go down the side tunnel to escape. Jump back into your car, kill the few buggies outside, and then make the run back to Wellspring. When you turn the data over to Marshall, he’ll offer to take you on to the Eastern Wasteland to get away from the Authority. As he suggests, make sure that you’ve done what you wanted in Wellspring, and then agree to the transition.
References
- All screenshots from Rage
- All information based on a “Hard” difficulty playthrough of Rage
This post is part of the series: Rage Walkthrough - Parts 6-10
Our time in the wasteland is starting to get a little more violent. It seems that the resistance is quite interested in us. You’ll get a chance to do battle with the Authority, and then make your way to Subway Town to do a little more work before the grand finale.