Redstone isn’t too impressed with your mutant killing abilities, so it looks like we’ll need to kill a bunch of armored bandits. The Gearheads run the powerplant and have a bit of a grip on the city. Let’s see if we can break it.
Entering the Gearhead Vault
We need to raid the bandit hideout located above the city. This is actually pretty tough. Make sure that you swing by Jane’s Supplies to get a bunch of pulse ammo for the machine gun and feltrite ammo. Some explosives will come in handy too. If you can afford them, pop rockets for the shotgun are pretty effective. We’re going to be facing a lot of armored bandits, and they also like to use sentry bots. EMPs are nice, but armor piercing ammo will kill the bots just fine.
When you’re ready, look for the subway management office on the second floor. Since you have the key, you’ll be able to open it and reach the door to the Gearhead Vault.
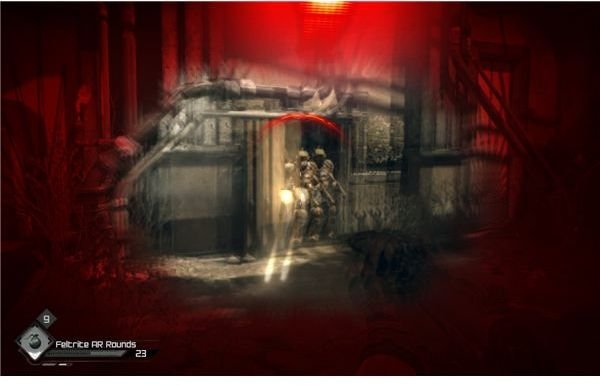
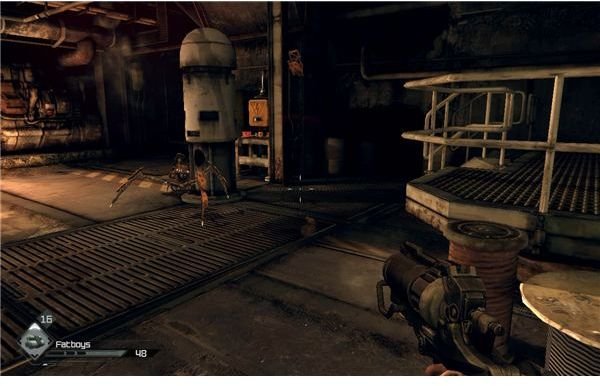
When you go in, carefully approach the first group of bandits and engage the closest one with a wingstuck. You can then start firing on the other two with your feltrite ammo. Note that there are a bunch of mines hanging around. Don’t stand next to them, because they tend to explode from stray rounds.
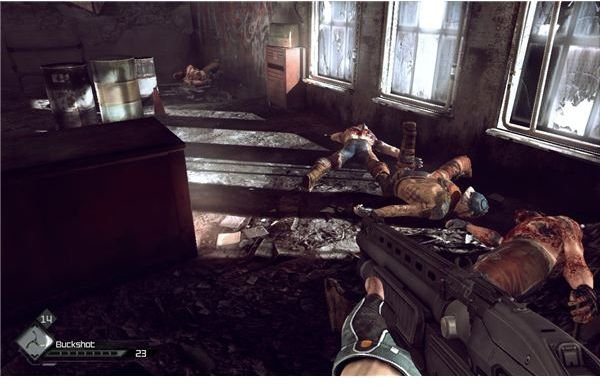
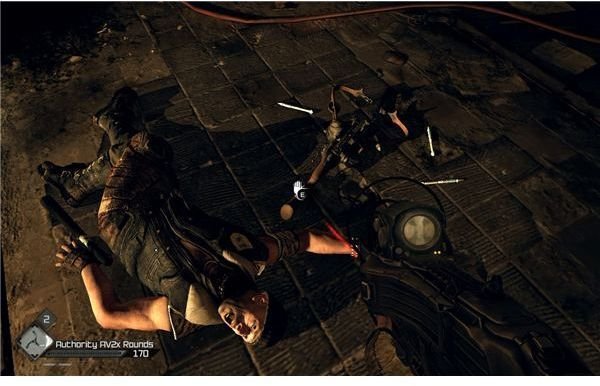
Once you kill the bandits, make sure that you also kill the sentry bot that they send after you. Just put some armor piercing rounds into the body to knock the armor off, and then finish it off. Loot the bodies and then advance to the next set of tables. Engage another three with some well placed rounds, and turn the corner.
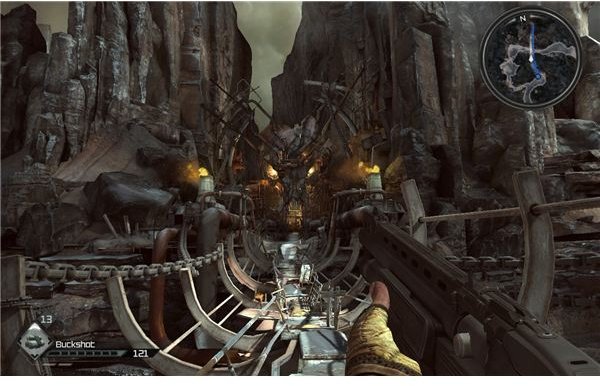
Again, you’ll find a sentry bot and another set of guards, so just fire as you go until you reach the ramp. One very powerful heavy will walk down the ramp as you approach it. Put a few magazines of armor piercing ammo into his head and he should die, just keep your head down when he goes to fire. It’s hard to stagger him, so count on cover to keep you safe. Once he’s dead, move on up to the big central area. When you make it here, some flamethrowers will seal off the path.
Past the Flames
Walk around to the left and enter the bar area. After you loot it, go up the ladder.
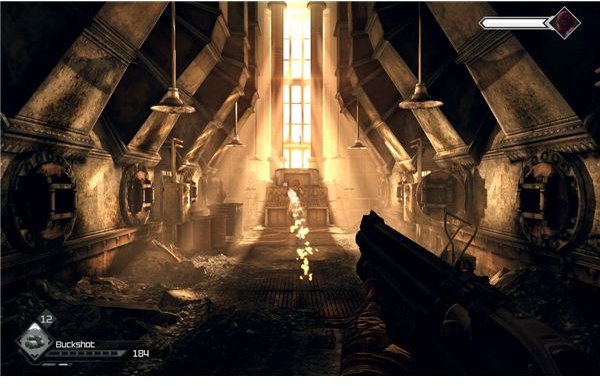
This next area is basically just one long firefight. After you kill the rusher with the flaming bat, you just have to keep advancing to new cover and fire as you go. There’s no trick to it, just don’t overextend and you’ll survive. Your goal is a valve on a pipe. Turn the valve to kill the fire and then ride the lift back down.
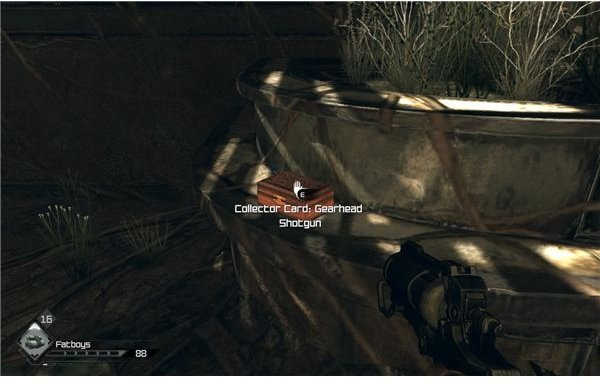
The fire blocking your path is gone now, so take out the new guard that comes out to investigate, and then advance to the big desk in the center. You’ll need to take out another group of guards that have rushed in. Just stay low and peek over the desk to take them down. Once they’re dead, the fires to the left will die down and you’ll be able to move forward. Before you do though, go to the right to grab the Gearhead Shotgun collector card, and stop and loot all of the ATM machines by the entrance.
Your path on the left side will depend on what the AI decides to do. If they set up behind the desks close to the hole, they’ll be able to put a lot of fire down on you. You’ll probably want to toss a grenade to break the blockade. If they hang back instead, you should be able to just use the nearby desk for cover and pick them off.
As you move toward the door in back, a heavy should walk out to ambush you. Sprint back behind one of the walls and crouch. You should be able to stand up and fire from behind it. If you’re running low on ammo, then fatboys and grenades work well. Toss a grenade at his feet and put about twelve fatboy rounds into him. He should die.
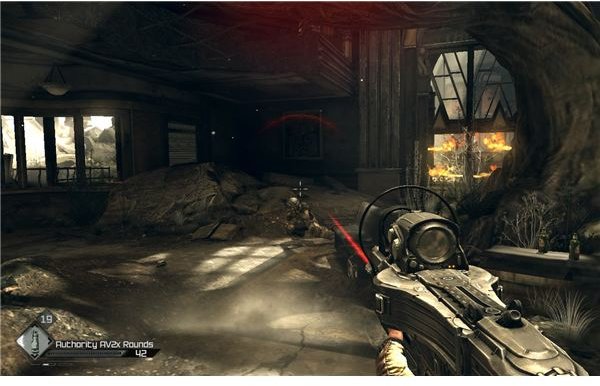
Move forward into the offices and loot the stuff off of the desks, and then approach the door. More flames will block your path, and two heavies will come in, one through each set of flames.
I suggest that you quickly kill whichever one is in front of you. Chuck a grenade through the fire and start firing fatboy rounds. If you’re quick, you can kill him before he even makes it to you. Look to the other side of the office through the windows to see if the other heavy is coming. If he is, watch for which way he’s going and run for cover in the “safe” office. You should then be able to chuck a grenade and flank him.
Once they’re both dead, the fires will die and you’ll be able to go through the next room.
The Reactor Room

Watch for any survivors back here, and jump over the desk to avoid the spinning turbine. You should be able to reach the reactor room in the back left. Don’t be afraid of the sparks. Just walk past the body and pick up the broken feltrite container.
When you try to walk out, a bunch of men will swarm in from the opposite side, and a guy with a flamethrower will walk in front of you. Try to shoot him in the head to spin him around, then put one in the tank. He’ll fly up into the air and explode. Once he’s gone, fire at the rest from behind the desk, and then jump over to flush the rest out. The gate will slam down as you try to leave, and a heavy will walk in through a new hole in the wall. Thankfully, if you wait by the turbine he’ll probably get killed trying to walk through the spinning blades.
Jump over the desk and walk through the hole to find another two flamethrower operators. Either repeat the spin around trick, or run around the fountain to put a shot into their tanks. After that, you should be able to just push your way out through the hole in the floor and get around the wrecked cars. There’s a locked door at the bottom of the steps, so grind the lock down to raid the room. Once you have what you need, go through the door to get back to Subway Town.
Redstone won’t be very happy with the results though, since it seems his intel was wrong. We’ll need to raid the power plant and finish off the Gearheads.
The Price of Power
As Redstone suggests, it’s a decent idea to challenge Starky to a race before you go. You can find him on the lower level by the track. You may have already raced him back in Wellspring. If not, then just know that it’s a standard one-on-one race. If you have spiked tires, you can easily just lean into him at the start and cripple him for the race. If you can spin him at the start, then you’ll be fine with simple boosting.
Once you get the vastly superior Monarch, you should be able to safely push forward and drive out to the power plant.
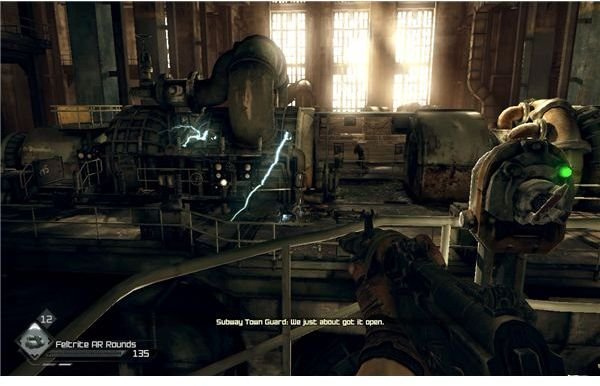
As you enter the Gearhead power plant, use a wingstick on the first bandit for a quiet entrance. For the beginning, you won’t actually face many of the gearheads. Just walk forward until you find Redstone’s last mercenary. You can grab his crossbow and electro-bolts. If you fire one into the breakbox, then the electricity blocking your path will die.
The room ahead has a lot of loot waiting for you. There’s an electric field that you can kill with an electro-bolt, and a lock to grind. Once you’re done looking around, go up the steps and through the office to reach the big central room. It’s time for one very long battle. Push forward along the catwalks and watch the upper levels for pairs of enemies. As you near the top, a heavy will climb up onto the top of the platform and start firing at you. Get down behind some metal and use your sniper rifle to pick him off. I suggest that you settle in at this spot for a bit. You should be able to clear out most of the deck with the rifle.
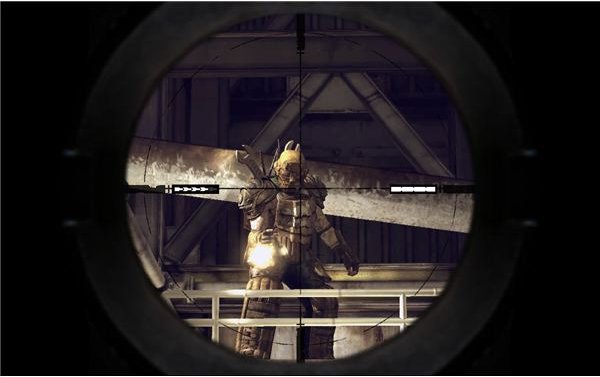
Once the path is clear, move on up to that upper level and flip the switch on the elevator door. As is the standard for video games, it’ll take a long time to get here. Move into a spot behind some metal and pull out your sniper rifle again. Watch the groups of gearheads moving into the room. Try to pick off as many as you can as they come in, but watch for the runners. If any make it past you, stop and look down the stairs to the left. They’ll come around and try to flank you. Just wait at the top of the steps with your shotgun or assault rifle and it should be easy to ambush them. After a few waves, the elevator will finally arrive. Step inside and trigger it for a little scene.
Elevator Safety 101
After the Gearhead Boss notes your poor choice of riding in a vulnerable elevator in an enemy’s base, you’ll wind up at the bottom of the shaft. Wait for the doors to open a bit and you should be able to crawl out a bit.
I suggest that you go ahead and pull out the pistol with some fatboys for the next section. It seems to work well for the enemies and the range. For the most part, you’re just moving down a corridor and looking for a catwalk back to the top. Round corners carefully and use your fatboys to put down the gearheads with a shot or two to the face and neck.
As you go forward, watch out for their sentry bots. If you’re using fatboys, then you should be able to put a few shots into the main body for an easy kill. One solid hit to the center will break the armor off, and it should just take a few more shots to destroy it.
You’ll reach a set of catwalks soon. Just follow them around and look for metal sheets on the railing that you can use for cover. Just stay down and trade fire with the sets of gearheads until you can take them out and clear the path to the next area. You should run into the aptly named “decapitator” shortly. The boss is kind enough to call it out for you. The heavy that walks down the line of blades is actually smart enough to duck, so you can’t just count on an environmental kill.
Don’t go out onto the floor with the decapitators just yet. Stay low and use the corner for cover so that you can trade fire with the heavy. Since he’ll have to stop and duck a few times, there should be plenty of time to lean out and put a few rounds into his head. Note that if you can stun him you might also get lucky with the blades. Once he’s dead, a few more gearheads should move into positions behind the decapitator floor.
Note that if you stay crouched, the blades won’t kill you. If you can make it to the pillar in the center, you can kill the two men on the stairs. Go ahead and grind the lock over to the side and loot the room, then slip past the decapitator and up the steps to find another long catwalk section.
Finding the Gearhead Boss
Use the bits of metal lying around for cover, and use the assault rifle or machine gun to clear the way. After this many gearheads, I assume that you understand what you’re doing. There should be an exit on the far side that will take you through to a second similar section. There’s a heavy at the end of the catwalk. I personally suggest that you just break out the explosives. If you have rockets or grenades, just use them. He has too much support for the usual tactics to be effective. If you don’t have a fair amount of explosives, then use the sniper rifle. Note that you will want something explosive for the fight just ahead, so be careful with what you use.
Note: I strongly suggest that you make a save now.
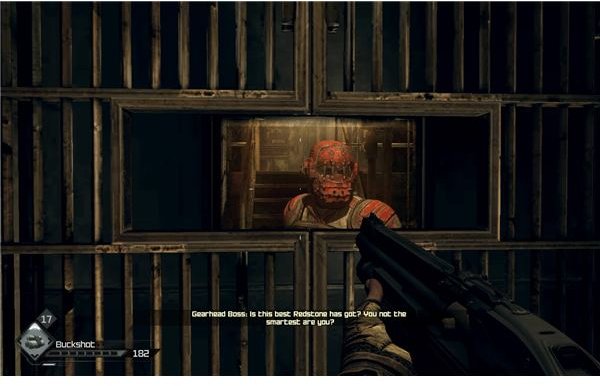
There should just be a few last stragglers in the room at the end of the catwalk. Shoot your way past them and carefully go up the steps to find the Gearhead Boss. He’s in really heavy armor, but he’s by himself. If you have explosives, this won’t be that hard.
I personally switched to a shotgun with some leftover pop rockets and fired about 8 into him. That was enough to keep him stunned for an easy kill. If you have any other special shotgun ammo or grenades, then use them. Rockets are alright too, if you manage to not blow yourself up with the blast. Otherwise, just treat him like a heavy. Use the best armor piercing ammo that you have and fall back down the steps if you start to take too much damage. Don’t forget how much damage a cooked grenade can do in these tight quarters either.
Turn to the left and fight another stray guard or two until you finally spot some friendlies.
A Role Reversal
It seems like Redstone’s second wave finally made it. But they’re taking a lot of fire, so we’ve got one last thing to do. On the bright side, this is actually more of a reward than a challenge.
When you go through the door, you should spot three switches. There are three traps. The fire trap will roast anyone that stops in the middle. The “electro” switch will fry anyone that moves to the left. The one to the right, the “chopper,” will cut up the entire right side, as long as they step off the stairs. Hit each switch at the very start to get an idea of where the zones are.
Look to the left and you should see two guards move up and start firing at the gearheads on the catwalk. You need to keep them alive. Watch for the gearheads on the separate zones and then trigger the appropriate trap. As a rule, it’s a good idea to keep the chopper going for a fairly long time. The electro and fire traps will be a bit less useful, especially since your allies will move up into their zones after a short time.
Not all of the gearheads will wander into the traps, so use your sniper rifle or crossbow to pick them off and allow your allies to advance. Once they make it to the end of the catwalk, you can go out the nearby door and drive back to report your success.
Unfortunately, it seems like our escapades have drawn the attention of the Authority. You won’t be able to talk to Redstone. You should still be able to complete other tasks and talk to other people, but Redstone’s office is locked up tight.
Go down the car lift and talk to Marshall to learn that Lassard has made some progress, but that he needs more help. Talk to him to get the coordinates for a new ark inside the Jackal’s Canyon. We’ve got another raid to do.
References
- Information based off of a “Hard” difficulty playthrough of Rage
- Screenshots from Rage
This post is part of the series: Rage Walkthrough - Parts 6-10
Our time in the wasteland is starting to get a little more violent. It seems that the resistance is quite interested in us. You’ll get a chance to do battle with the Authority, and then make your way to Subway Town to do a little more work before the grand finale.