This Killzone 2 guide will help you survive the Blood Meridian and Visari Square areas. Use the ideas, hints and tips to help fight your way through. Life on planet Earth is depending on you.
Blood Meridian
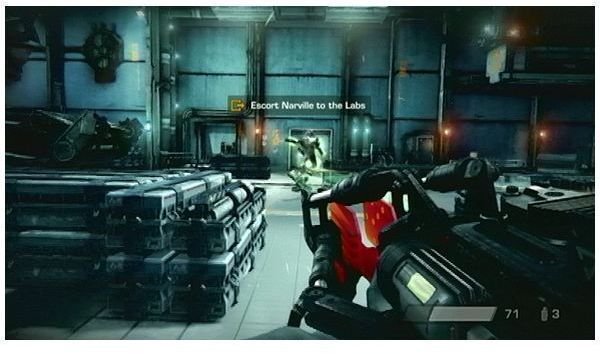
The fight you see ahead in the next area can be ignored. Move over to the soldiers standing over the map. Once you get instructions from Narville, tag along with Garza as he goes to the door on the right. Deploy the D-charge by tilting the Sixaxis controller to the left and right (match the red lights). Don’t stand by the door, move away before you detonate the explosives or you’ll be toast.
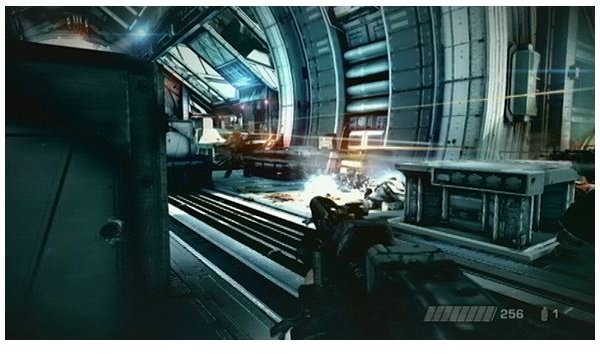
The heavy shows up in the next area, he’ll come lumbering up with his machine gun ready for action, but if you target his head area you’ll be able to eventually take him down. He’ll turn after a few shots to the head and give you a clean shot at his back. Take the opportunity to aim for the large red tanks on his back before he remembers you are there and turns back to face you. He’s a slow and cumbersome mover, so get in close. You’ll need to repeat this easy pattern a few times before he’ll explode, which is satisfying and entertaining to witness. After finishing the Heavy turn the wheel on the left side to proceed.
Head up using the elevator. Move across the bridge but ignore the soldiers below they shouldn’t come into the equation. You will be met by 6th division once you reach the other side of the bridge. Eliminate the enemy by the Arc Tower and then implement the way marker to locate the control box. Once you locate the control box, push the button and the tower magically opens. You need to shoot the power cells you will see as it opens before the tower closes again. Garza will need to keep the enemy re-enforcements from stopping you from achieving your goal (but you’ll need to help him while the tower is still closed). Garza will tell you when the tower is open (the button will be disabled). The power cells are hard to destroy. You will need to put throw a full clip into each one to do the job, so you know now to make sure you have a full load of ammo before the tower opens. Continue your Killzone 2 adventure into Visari Square.
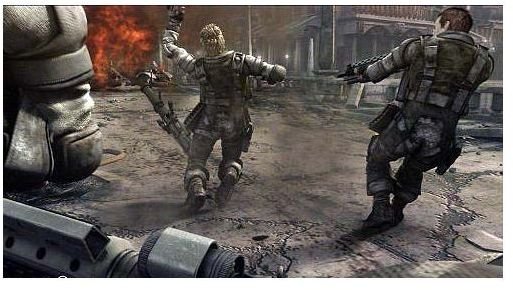
Screenshots

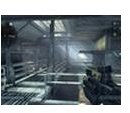
Visari Square
Leave Garza’s side and move down onto the street area in the next stage where you’ll get involved in a fire fight. Take a look at the top of the left side of the building across the way and you should be able to view a Helghan symbol. Find the doorway to the building. Enter it and then use the stairway to move upstairs. Look around and you’ll find a Helghan symbol through a half open door of one of the rooms. Use your objective marker to move about the building. It gets a bit hard at times, and it will really help. Eventually, you’ll drop through to the lower area through a handy hole in the floor, where you’ll reach the next checkpoint. Look around and you will see an Intel case just sitting on the floor for you to grab.
Once you reach the Malik Back Alleys, you’ll encounter a doorway that has live current running through it for protection purposes. Find the wires leading to the power source and it will lead you to the fuse box with a blue light. Take the box out to remove the current. You should also by now easily spot the Helghan symbol on the wall to the left of the fuse box. You can also find another Helghan symbol if you can a look on the wall on the other side of the barbed wire bridge before ascending down the ladder.
You will meet up with Alpha squad after this part, and right afterwards Red-eyes will attack. Go into the mini-bunker and stay there. Once Rico has trouble with the door lock, another group will arrive via airship. The enemy will once again try the door, and then when unsuccessful will attack from everywhere. Make note of the M224-A1 LMG hanging in the gun rack by the stairs and the way this area would make a perfect flanking point. Once the tank shows up at the scene and releases the final wave things start to move. At this point Garza arrives and the door finally opens.
Garza and Natko will be busy arguing in the kitchen in this next part, so take the opportunity to move over to them and find an Intel package on the ground beside them. Alpha squad will then land in the Square outside and join you in the battle. Once you clear the enemy out of this area head over to the machine gun and take your position. Mow down the Higs as they exit the building, take aim here and try to kill three Helghans with one blast of your machine gun, and you’ll earn the “Run and Gunner” PS3 Trophy. At this point re-enforcements will arrive by tank, air and on foot, and your machine gun can’t take out a vehicle in this battle.
After you get the area clear, another wave will attack from the direction of the cable car. Once you eliminate them, two Heavies show up attacking from the front side. Taking care of the first with your machine gun shouldn’t be a problem, but the other Heavy may move out of range once he realizes the situation and you may have to take him out the normal way. Now that you have completed this section, be sure to check out the rest of this Killzone 2 guide series.
References
- Screenshots created by Sheila Robinson.
This post is part of the series: Killzone 2 Walkthrough Guide for PS3
This Killzone 2 walkthrough guide provides details, strategies and tips for surviving the campaign missions. Follow the tips and hints and it will help you make it through some of the tough challenges of the game.
- Killzone 2 - Surviving the Challenges of the Corinth River
- Guide to Killzone 2 Campaign: Blood Meridian & Visari Square
- Killzone 2 Campaign Walkthrough: Salamun District & Salamun Bridge
- Killzone 2 Campaign: Suljeva Village & Tharsis Refinery
- Killzone 2 Campaign Guide : The Cruiser, Maelstra Barrens, and Visari Palace