You’re out of the fire and into the frying pan. You’re out of Ravenholm, but you now have to escape from headcrab infested mines. It’s a short level, but a lot can go wrong. If you need any help killing the headcrabs or finding the exit, then just follow this walkthrough.
Entering the Mines
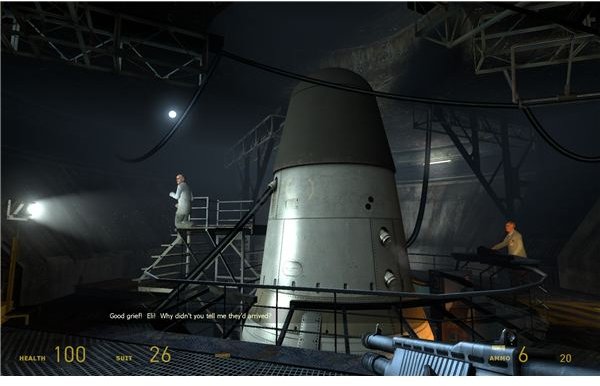
Look for the big hole in the floor in the house. This takes you to the mines, but it’s a long way down. Drop down onto the highest beam on the wall of the mine shaft. Look carefully for the part where the beam angles down to the next section of beams along the wall. Walk off this slightly lower section and continue down the narrow “stairs” until you can drop down to the catwalk with all the first aid packs at the bottom.
Clearing Your Path
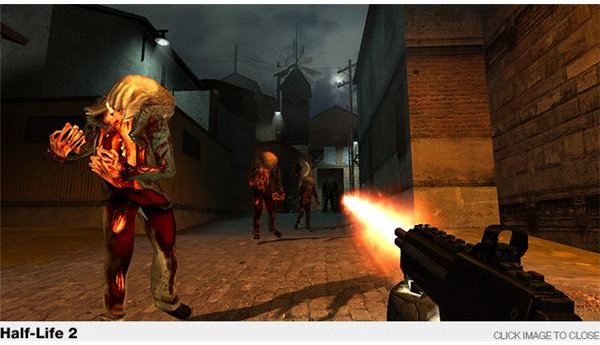
Start shooting explosive barrels to kill off some of the many headcrabs on the floor. Try to pick off as many as you can with your pistol. Then drop down and look for the big gate by a set of stairs. Climb the stairs and crouch to get onto the wooden beams that cross the gate. Turn around and kill any headcrabs chasing you, then keep walking along the beams to avoid the headcrabs on the bottom. You can try to jump across the water by using the beam on the side to get some supplies, but it’s hard. You should obviously try, but don’t worry if you fall into the water. When you are ready, you can jump in and swim to the bottom. Swim along and avoid the barnacle tongue at the first corner. Surface and decide whether you need health packs and shotgun ammo. If you do, then let the tongue grab you and pull out the gravity gun. You’ll pass a dead citizen on the way up and you’ll be able to grab some supplies. Then just kill the barnacle to drop down to the water again. Swim over the little gate blocking your path and surface by the fire.
The Cart of Death
Climb out and approach the rigged cart. This cart will start quickly moving up and down the slope with the blade spinning. It’s deadly to you and all the zombies who will be coming out of the woodwork. If you want, you can just walk past the cart and kill the zombies on your way out. They are easy to spot and not that hard to kill. You won’t have to watch the trap on the cart, but it’s a little boring. The fun way to do it is to turn on the cart and wait for it to do one run. It will kill the zombies in the first alcove. Keep moving up an alcove each run to avoid the trap while it kills the zombies that pop out to attack you. Once you get to the top, you just need to kill a few more zombies and walk out into the bright sunlight to find the railyard.
This post is part of the series: Half-Life 2 Walkthrough - Chapter 6: We Don’t Go to Ravenholm
This part of the larger walkthrough will cover your stay in Ravenholm. You will be facing a lot of zombies and a lot of headcrabs. You also don’t have much ammo. If you are finding the situation to be difficult, then read this walkthrough to find out how to escape.
- Half-Life 2 Walkthrough - Chapter 6: We Don’t Go To Ravenholm - Priests and Zombies
- Half-Life 2 Walkthrough - Chapter 6: We Don’t Go to Ravenholm - Cars and Laundry
- Half-Life 2 Walkthrough - Chapter 6: We Don’t Go to Raveholm - The Elevator and Beyond
- Half-Life 2 Walkthrough - Chapter 6: We Don’t Go to Ravenholm - The Church and the Cemetery
- Half-Life 2 Walkthrough - Chapter 6: We Don’t Go to Ravenholm - The Mines
- Half-Life 2 Walkthrough - We Don’t Go to Ravenholm - Snipers on a Train