Call of Juarez: Bound in Blood starts off with a bang in chapter 1. You’ll need to do a lot of fighting in Civil War trenches to get past all the challenges this level throws at you. I’ll cover the early defense, the Gatling defense, the cannon, and blowing up the bridge in this chapter 1 guide.
Defending the Trenches
It’s time for a bit of civil war action. Pull out a pistol and move forward to trigger the next scene. The fortifications ahead are under attack. Move forward with the troops to defend the position. Just pick a spot behind the sandbags and use one pistol to pick off enemies. You could dual wield and let the auto aim handle everything, but I personally found it easier to just use the one pistol and aim for myself. Just line up the center mass and keep picking them off. You’ll probably kill about 10 before they call off the attack.
The other fortifications come under attack soon though. Rinse and repeat. You’ll face a few more soldiers at a closer range, but nothing has really changed. Stop the attack only to learn that they are hitting the camp.
Clearing the Camp
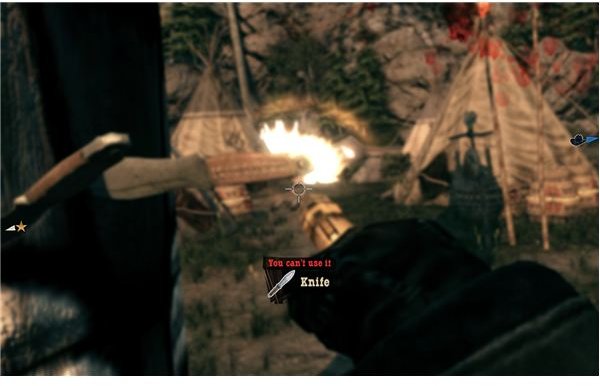
Kick open the door and round the corner. Two soldiers are by the wood pile firing into the camp. Take them out and move into the camp. There’s one more marked soldier inside of a tent. Go through the camp to find the tent. Crouch behind the crates and wait for him to fire. Once he stops to reload, move into the tent and take him out at close range with the pistol. Grab his rifle if you don’t have one yet.
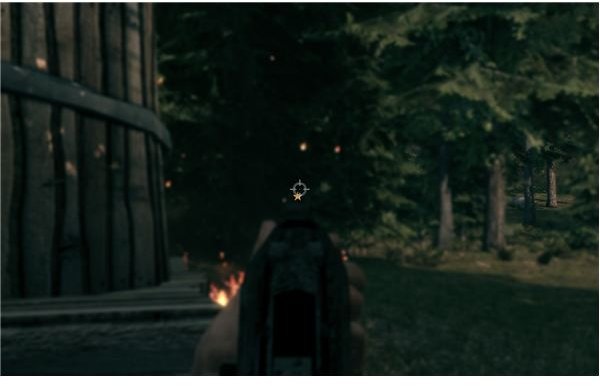
It seems that there are sharpshooters now. Run forward into the camp and cut through the first gap in the tents. You should be right behind a small water tower. Run to the right and get behind the wagons. The sharpshooter is at the star in a bush. Move forward along the line of trees. He shouldn’t shoot through the foliage. Round the last tree and shoot him at point blank range with the pistol. Walk around for a second. A bullet should whistle past you. Crouch behind the rocks and pull out your rifle. Peek out a bit and snipe the sharpshooter. It’s alright if this takes a few shots. Ray isn’t good with the rifle.
Go to the officer’s tent to end this section.
Retaking the Trenches
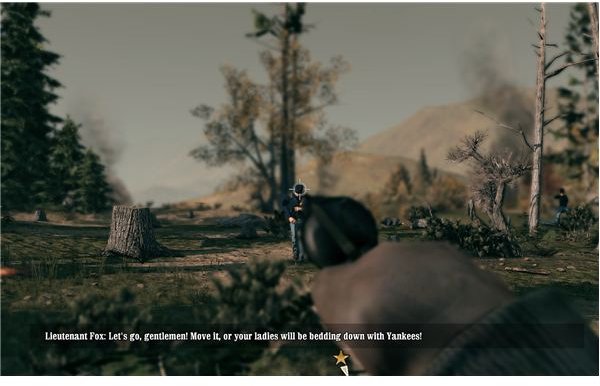
Move forward with the group of soldiers until you get to the officer. He’ll direct you on a suicide mission behind their lines. Follow the soldier around and then keep going. Swing around and do the concentration mode practice. Just make sure that you get the mouse over each of the five guys. The biggest problem usually occurs if you accidentally waste too many bullets on one guy. Keep it moving and hit them all at least once to succeed.
Wait here and kill any Union soldiers who might stop to fight. Wait for the officer and his few remaining soldiers to get over the valley and join up with you. Charge forward with them to take the trenches. Just keep advancing and shoot the few soldiers in the field that they might have missed. Once you get to the trenches, grab some dynamite from the explosives chest. Throw it into the barricade to clear your path. Keep some distance to avoid the blowback though. Advance and do the cover tutorials. Lean around and shoot the three men hiding here. Then go to the next box. Pick off the two riflemen above and the one below. Go forward further and shoot the explosive barrel to kill the three men. Be careful of the crates though. Enemies usually shoot the lamp and set the boxes on fire.
Turn right and take cover on the corner. Pick off the 3 or 4 soldiers here. Then round the corner and shoot one of the explosive barrels to kill most of the surviving soldiers. Round the corner and kill the last one. Go forward to the star to finally find Thomas.
Holding the Line
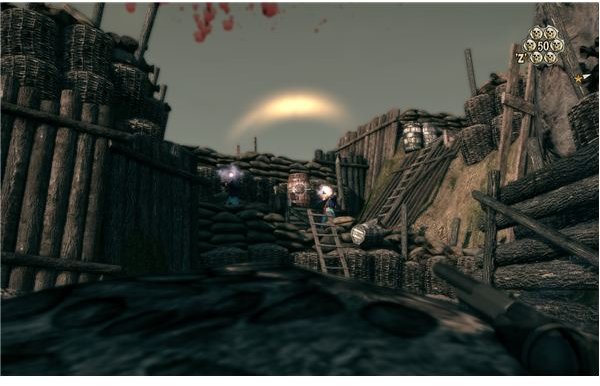
Get onto the Gatling gun and start firing. You need to focus on the right side, in the area between the wagon and the tree. This is your main kill zone. Thomas can partially handle the left, so you only need to check it every once in a while. After gunning down about 25 soldiers, you should get a mission accomplished.
Jump down and pair up with the soldier to go take out the cannons once and for all. Keep going forward until you run into the first group of two soldiers. Just take them out and run behind the sandbags. Pick off the two soldiers in the trench. They throw dynamite, but you should be safe behind the sandbags. Advance down the trench and shoot the next soldier who runs out. Turn the corner and immediately take cover. There are 4 soldiers here behind cover. If you have a concentration mode ready, then use it. Otherwise, fall back behind the corner. Duck out and pick off the soldiers with your rifle. Go forward and watch the left side.
Use the crates for cover to take out the closest soldier. Then crouch, move along the line of baskets, and get through the field. Use the cover to pick off the soldiers guarding the field. Go forward and into the next area. Kill the soldier on the low ground and shoot the explosive barrel above to kill the two riflemen. Climb the ladder and keep going. Kill the soldier up top and take cover from the two men to the right. Kill them and just keep pressing forward into the cannon position. Use the wooden barricades for cover and take out the men in front. A Confederate ambush should help with the few survivors in back.
Jump onto the cannon for the next part.
The Cannon
You need to protect your position against the Union rafts. Take this brief pause at the beginning to estimate the cannon’s range. Aim with the bottom of the crosshair one inch above the raft if they are on the other bank. Aim roughly half an inch above if they’re almost across. Just keep firing to take them out as they cross. Focus on the right side, since that has the bulk of the landing force. A few can land without any problems. The other soldiers should keep them fairly pinned. You can pop out at the end to kill them.
Blowing up the Bridge

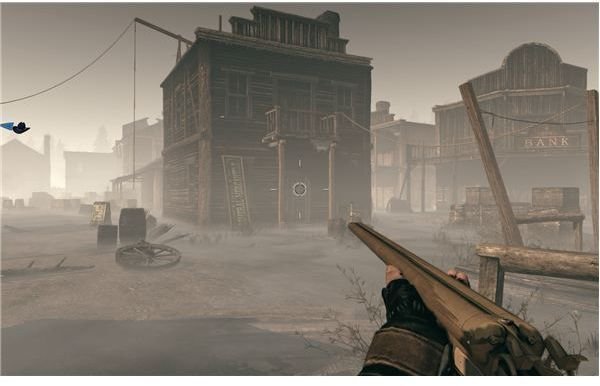
This is the last part. Charge forward to the bridge. Use the dual pistols to keep them pinned down and focus on getting under the bridge as quickly as possible. You are fairly safe here. Put dynamite on each of the 4 posts. The only problem is the 3 soldiers who drop down on the other side. Try to kill them with the rifle, or just fall back to the rocks with the detonator quickly. Start the blast and enjoy the fireworks.
This post is part of the series: Call of Juarez: Bound in Blood Walkthrough - Chapters 1-5
This first third of the Call of Jaurez: Bound in Blood walkthrough will cover all of the fighting that takes place from the first Civil War missions until you raid Devlin’s mine. If you are having trouble with the duels, the gunfights, or mysterious deaths in a stagecoach carriage, then look here.