You’re just in time for the fourth part of this Warhammer 40,000: Space Marine walkthrough, for coincidentally, the fourth part of the story! With the Psychic Scourge’s true purpose revealed and a warp rift steadily growing, Titus must summon all his apathy and stompitude.
Chapter 12: The Dying of the Light
Titus intends to use the Titan Invictus to sever the Orbital Spire. Move forward into the pipe. When you travel up the stairs, turn left and shoot the explosive wall to your right to reveal the log ‘Worker Nathaniel 4/5’, then take the path to the right. Another set of explosives to your right will reveal ammo and grenades. Walk to the support pod.
Gird yourself with the Iron Halo, which will enhance your defenses. Behind the pod and to the left is the servo

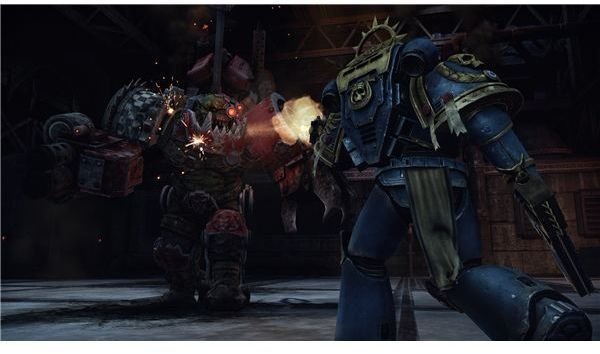
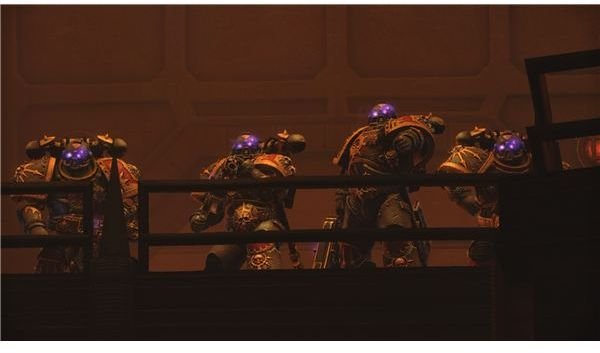
skull containing the log ‘Inquisitor Drogan 3/10’. Follow the sounds of battle to encounter more of your enemies fighting each other, including Chaos Space Marines. The traitor guardsman, however, are puny humans and walking health bars like the grots. Be aware that groups of them will cut through your shields if you let them, but then they also ragdoll about when you barge through them.
The Chaos Space Marine’s armor will regenerate like yours, so if you give them long enough, their defenses will be right back to full. After this, exit via the ramp, up the stairs. A small room will contain the log for ‘2nd Lt. Mira 4/5’ follow the objective markers. Collect weapons and ammo and move forward. It’s like you don’t even need to be told what to do. You’ll be assailed by Chaos Marines and renegades. Use long ranged weapons to take them out. Some Bloodletters will warp in a ways after you progress. Head downstairs and loyalist Guards will be fighting Bloodletters. Help them out.

The door in front of you will open, and it’s time to arm yourself with the Thunder Hammer.
Kill everyone not a human (racist) and follow the markers. Taxing stuff. Continue your march toward the objective. Some Orks will intervene, so intervene on their intervention. The servo skull for ‘Guardsman Alexander 4/5’ is to the left, when the game saves.
Continue forward, dispatching the ‘ard boyz you meet. Keep going and you’ll be treated to rokkit boyz as well as ‘ard boyz. Follow the marker to the lift. Go up to the walkway. When you hear the guardsman’s message to you, turn right to see the audio log for ‘Drogan’s Journal 4/10’, then continue down the path. March into the wreckage, collecting any ammo needed. Take the Plasma Gun from the support pod and collect the log for ‘Transmechanic Petronius 5/5’ to the left of the pod.
Proceed towards your new objective of defending the outpost, as this involves killing all Orks there. When they’re defeated, the game will save. Now you’ll need to bolster the defenses of another outpost. Once you arrive you’ll have to power up the sentry guns. Descend into the trenches. To the right is the log for ‘Guardsman Alexander 5/5’.
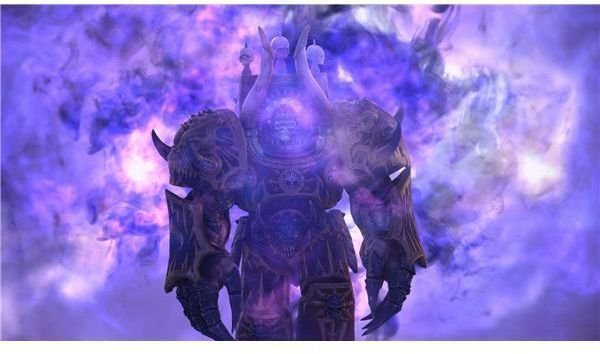
Continue into the trenches, killing all Orks along the way. Kill your way to the sentry guns to finally activate them. Go through a small doorway and descend into the bunker. In the room filled with many weapons crates, look behind the containers to find the log for ‘2nd Lt. Mira 5/5’. Follow the objective marker to reach the manufactorum. Open the door and who is that, pleased to see you? Why if it isn’t Warboss Grimskull. Turns out Grimskull is pushy and kind of a jerk. Reasonable person that he is, Titus cannot allow him to live.
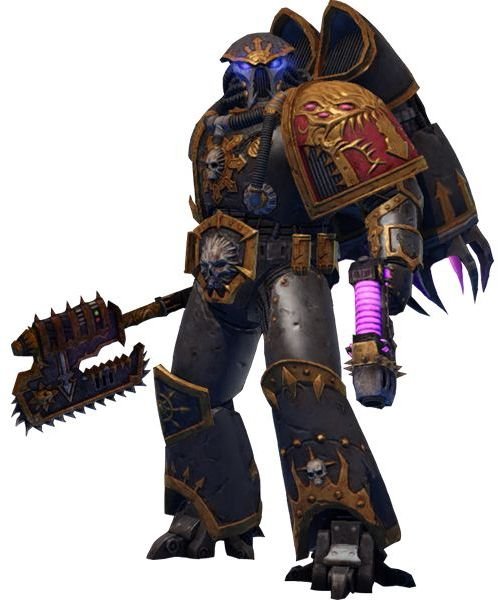
Warboss Grimskull
Grimskull mostly uses grenades when he’s on the ground. He’ll rapid fire them in bursts of four to five with the occasional blind grenade if you’re unlucky. You’ll want to avoid where the grenades land, so rolling might be advised. He’s not stunnable either, and will seemingly shrug off damage, but when he’s taken some he’ll jump up to summon waves of his boyz.
You can’t ignore the boyz, and they are how you’ll regain health outside of fury. You’ll need to shoot Grimskull while he’s perched. You can use the squigs he calls in, to kill groups of boyz at once. Do this, or you’ll have a tough time dodging them if they get close.
You basically need to keep mobile, avoid his rokkits and shoot him in the head. He’ll alternate between ground fights and shooting on the ledge with waves of boyz, but once he’s taken enough of a beating, he’ll fall to his knees awaiting The Emperor’s Judgement.
With Grimskull out of the picture, it’s time to take the lift and end the chapter.
Chapter 13: Wake the Sleeping Giant
Now it’s time to summon the power of the Adeptus Titanicus.
Pass through two doors then collect the ammo on the right. Pass through another door. Mop up any Ork stragglers. Chaos Marines will show up as you move forward. Continue to the door on the other side once you’re done with them. Run toward the door and go through it. At the beginning of the gantry area is the servo skull for ‘Drogan’s Journal 5/10’, to the right of the entrance.
Try to shoot as many renegades as you can. Go through the next door to be introduced to the tainted psyker. Your best bet with them is ranged, but they have their own attack which will eat through your shields, so evade and seek cover where possible. The psykers will be the focal point of the gate the renegades are coming through, so kill them to close it. Then go through the door. Stock up on ammo and step into to the next open plan room for a challenging militia battle. Use your size against them where possible. Remember that they can be instantly executed also.
Proceed to the next door and descend on the lift. Collect the log for ‘Drogan’s Journal 6/10’ Take the right branch of the path after you pass through the door. Run down the walkway, through another door to activate Titan Invictus. You’ll need to remove the mooring clamps holding the Titan in place.
Turn around and go through the door on the right. You’ll be heading for a large scale fight against a small army of traitor guard. Bloodletters will turn up also and once either they’re dead or you move far enough forward, an aspiring Chaos Space Marine champion will appear. They’re extremely tough and seemingly immune to stun, so ranged may be your best bet. They can easily stun you and the maul they carry is the equivalent of getting hit with a Thunder Hammer, so if you’re going for melee, you’ll want to dive in and out, performing full combos if you can and evading. Fury is the easiest way to deal with them.
Once you’ve defeated the traitors, climb the stairs and go through the door ahead. Go up the ramp to the left of the elevator (the central door), check the small room. The servo skull with the log for ‘Drogan’s Journal 7/10’ will be there. Ride the lift up.
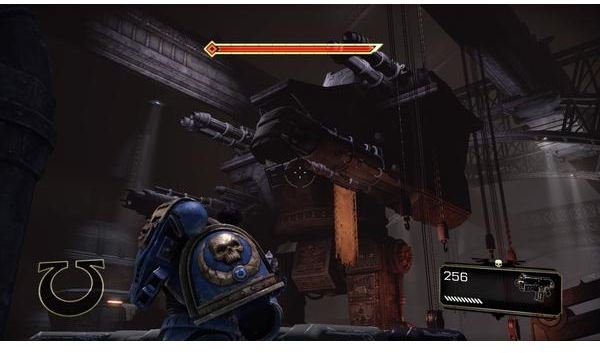
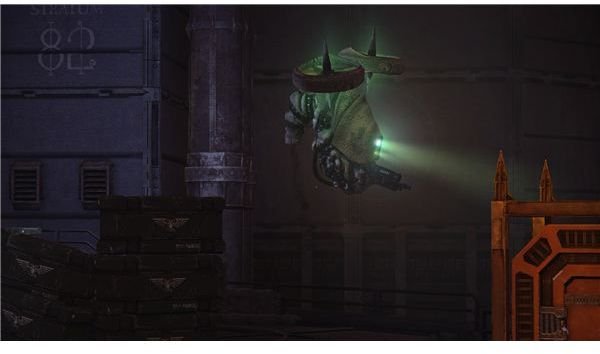
Grab the Storm Bolter from the pod and release the mooring clamps. Now you must board the Titan. Going through the door you’ll be faced with a Blight Drone, which are annoyingly tough flying…things. They seem to have the equivalent of a mounted Storm Bolter or Heavy Bolter on them, so don’t be a static target.
Once you’ve pumped enough rounds into the drone, travel left of the forthcoming door and collect the log for ‘Under Attack 1/3’. Mount the lift that’s ahead.
Run and don’t stop.
Chapter 14: Victory and Sacrifice
With the Titan online, surely our heroes are home and dry?
Drop down onto the Titan and engage the Blight Drones and psykers. The lascannon and Stalker Bolter are best for this, but the Storm Bolter and regular Bolter are workable. The Storm Bolter’s lengthy and prolific reload may leave you at a disadvantage, but its rate of fire is good against the drones.
Follow the objective markers after this. The door in front should open eventually. Take the lift down and progress through the doors. Continue forward and drop down. You’ll have to take on Chaos Marines in a ranged fight, where they have the advantage. Use cover to block their lines of sight. Remember that just because you are hidden from one group of marines doesn’t mean you’re hidden from them all. Again, the lascannon will give you the best results for sniping, but the Stalker works too and the Bolter isn’t bad.
When they’re dead you can go through the door. This is purely a cutscene. Nothing to do here but watch and feel the holy rage well up inside you. Collect any ammo you need and press on. You’ll be facing a horde consisting of psykers, marines and renegades, at once. There’s an Autocannon in the map’s center, and it’s essential, if only because it’s one of the game’s best weapons. Proceed forward to be air lifted away, out of the chapter.
That concludes part 4 of this Warhammer 40,000: Space Marine walkthrough for Part IV: Dying of the Light. Be sure to heed the call for part 5, where Titus finally comes face to face with the Chaos Lord, and issues him with the Emperor’s Polite Disapproval.
References
- Thanks to http://spacemarine.wikia.com for the picture resources.
This post is part of the series: Warhammer 40,000: Space Marine Singleplayer Campaign Walkthrough
An in depth walkthrough of the the single player campaign for Warhammer 40,000: Space Marine. Tactics, directions, servo skull locations and the best way to affix a purity seal to yourself are all right here.
- Warhammer 40,000: Space Marine Walkthrough - Part I: Planetfall
- Warhammer 40,000: Space Marine Walkthrough Part II: The Inquisitor
- Warhammer 40,000 : Space Marine Walkthrough Part III: The Weapon
- Warharmmer 40,000: Space Marine Walkthrough Part IV - The Dying of the Light
- Warhammer 40,000: Space Marine Walkthrough - Part V: Prince of Daemons