Exterminatus Mode brings a fresh spin on Space Marine’s gameplay and plenty of challenge to go with it. Focusing on teamwork, objective based missions and survival; tactics, strategies and armory choices are explored in this guide to Exterminatus Mode.
Expert Shine
Exterminatus adds a new dimension to Warhammer 40,000: Space Marine, but with those new dimensions come new challenges and threats to the sheen of your freshly buffed power armour. Will you stand for this? Never! Awaken the Holy Buffer of Righteous Polishing and unleash the Sacred Unguents of Waxen Turtles!
Oh yeah, Exterminatus is pretty hard, so it might be advantageous to familiarize yourself with how to beat it in between making sure you can see yourself in your power armor (or more likely, car/coffee table/buttock area of a bronze horse statue). I’ve compiled a little list which you will have to read before I agree to hand over the sanctified Brasso.
…What? You actually want to hear about Exterminatus tactics? I am honored.
Seizing Objectives
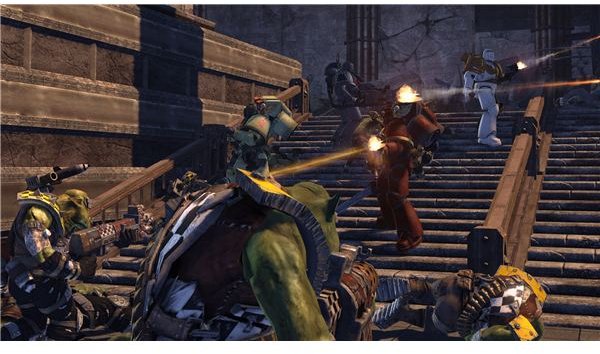
Seizing objective points is of paramount importance. Not seizing them will result in defeat and it will be a much more common cause of defeat than simply dying. If the points aren’t successfully captured, you enter into overtime, wherein you suffer defeat if the point is left.
On higher waves, this becomes near impossible because you are beset on all sides by hordes of Orks, and tough ones too, like nobz that can’t be stunned. Even assault jumping away from the point momentarily to avoid a grenade will end in defeat.
So the solution to this is obvious. CAPTURE THE POINTS! Capturing points should be your priority, at least two marines to a single point, more if they can be spared. Sometimes it’s better to have a group holding on to the point and a group distracting waves of enemies from reaching the point, making the job of the marines seizing the point easier.
The problem with this, is that if the waves are big enough, they may overwhelm the force distracting them, leaving the objective captors isolated and ripe for being overwhelmed themselves. More marines on a single point means a faster capture. This is important because on higher levels you’re required to capture multiple points, and the waves will not be diminished, no matter how many you kill, until all the points are captured, which means you may end up with an unwinnable battle because the objective was neglected.
Ammo Distribution
It’s really easy to run out of ammo in Exterminatus for various reasons. This could be due to poor marksmanship, an ineffective weapon (like the standard bolter) or the much more common problem of idiot assault marines vacuuming up ammo to placate their obsessive compulsive disorder level need to have a full clip in the pistol they barely use, while their devastator and tactical team mates are left with no other resort than to use sticks which they’ve hastily consecrated and covered in spare purity seals.
If you have a close combat weapon and a jump pack, you should only be collecting ammo if you’ve a significantly empty clip. For the sake of argument, let’s say half or less. Ammo won’t disappear if you leave it, but you’ll possibly cripple your team mates who rely on ammo if you collect it without good reason, and that will in turn cripple your overall effort. This is a good rule for everyone, only collect ammo when you will make full use of it. Don’t collect it when you’ll only get 50 rounds from a 100 round clip.
Teamwork
This one is obvious, but you need to support each other. If you can avoid your team members dying needlessly and wasting the shared pool of lives, then that benefits everyone. Firstly, as a team, you should cover each other’s weaknesses. A lascannon devastator will be great at dispatching snipers or neutralising big, tough boss level Orks in a couple of shots, but bad at taking on groups of boyz, whereas an assault marine with a hammer excels at crowd control, but is vulnerable to ranged attack.
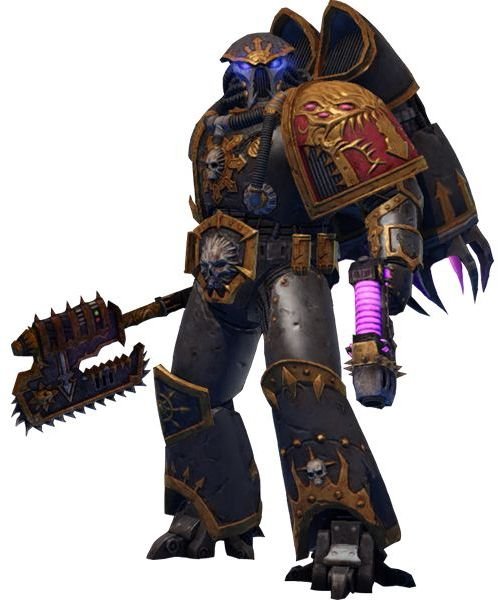
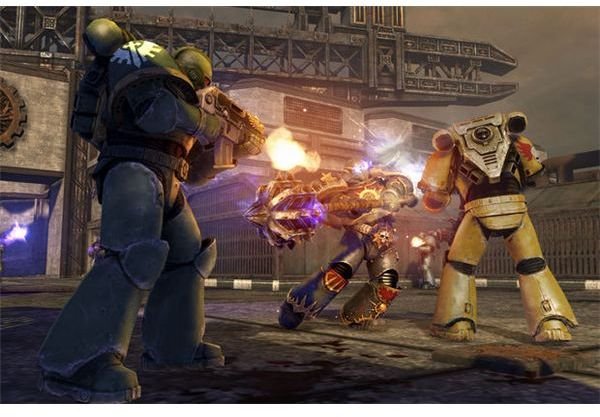
Sometimes it’s enough to distract boyz by attacking them, to take the pressure off of your team mates. The best way to support each other can be as simple as sticking together, and this is highly recommended on higher levels. On the bonus level especially, Chaos Marines are extremely tough and have similar regenerating armor as the player marines, so teamwork is essential to take them down with minimal risk to yourself and your team. The only exception seems to be well placed lascannon shots and killing blow thunder hammers, in that it takes a minimum of blows to neutralize them. Those individuals are still vulnerable to being ganged up on, despite their killing power.
Work as a team, win as a team.
Stun attacks & Close Combat
This again might be obvious, but each class of marine has their own stun attack. The devastators and tacticals have both the kick and foot stomp. Tap the stun button once to basic stun, twice for area effect. This is good for incapacitating groups momentarily, as well as damaging multiple enemies at once. This will give you time to reposition, or the opportunity to kill as many xenos as possible before they recover.
Assault marines have both the ground pound and land based shoulder barge and ground smash. Assault marines with a hammer have an especially powerful stun attack, so use it.
It’s also advisable to use close combat where appropriate. Orks are mostly vulnerable to it individually, and a devastator switching to a bolt pistol when crowded by boyz will be more effect in close combat, as well as faster. It also conserves heavy weapon ammo.
Classes & Loadouts
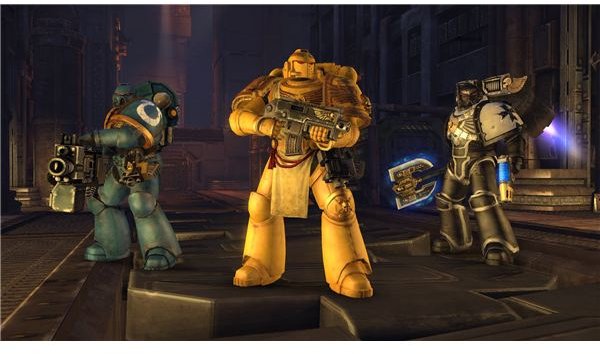
Loadouts are tricky. Teams of mostly or solely devastators don’t tend to do well, especially on the higher levels, because they don’t have the mobility to cope with the numbers. The plasma cannon will have the easiest time of it though. A good combination tends to be a mix of all classes, but the best performing teams tend to be solely made of assault marines (in my experience) as it’s much harder for a single member of the team to be overwhelmed and they can as a group constantly redeploy. Capturing objective points are a cool breeze, which is where a lot of teams fall down.
Some good combinations include…
Recommended Assault Builds
Assault marines with Thunder Hammer + Killing Blow + Impenetrable, for maximum durability, with maximum damage. This build is the pinnacle of nob killing excellence and crowd murder. This build seems essential to deal with troublesome boss level Orks in short order.

Assault marines with chainsword + Swordsman’s Zeal + Impenetrable/Air Cooled Thrusters: This is a good build (collection) because it promotes longevity through killing, as well as boosted dexterity (and therefore ability to escape) from the thrusters or simply boosted durability. This build promotes both survivability and a nimble assault.
Take the above two builds together, and you have a death machine on your hands.
Recommended Ranged Builds
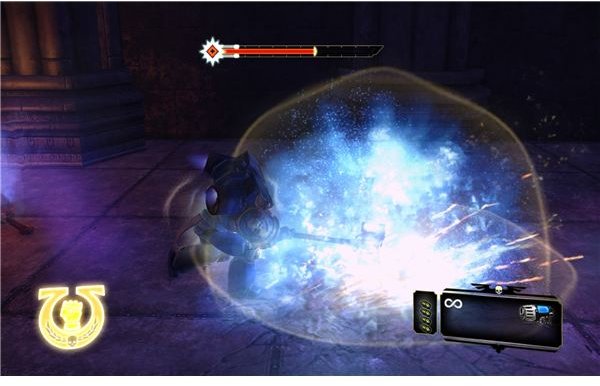
Plasma cannon + Artificier Armor + Iron Halo: The king of ranged durability. This build is excellent for dealing with the mobs of ranged Orks that surround marines attempting to capture points. The armor set up gives the pinnacle of durability and even the default plasma cannon is superb for removing crowds with the charged shot.
Storm bolter + Favour of the Armory + Master Crafted Wargear + frag grenades: This build excels at crowd control. The grenades are absolutely lethal against Orks, and have a wide area of effect. The storm bolter’s high rate of fire will allow you to spread damage across groups quickly, as well as rapidly pump bolt rounds into stunned Orks reeling from grenade blasts. The expanded grenade capacity means you can reliably use grenades as a primary tool. Keeping mobile is key, as is not killing yourself with your own grenades.
Weapons Versatility Builds
The advantages to Weapons Versatility perk builds are that you can combine specialist weapons like the melta or Vengeance Launcher with more reliable standbys like the bolter and have the benefits of being able to use these niche weapons without limiting your overall ability because of the limited ammo capacity and use of these weapons. In fact, you will end up with more ammo because of the dual weapons. Some examples include:
Plasma Gun + Vengeance Launcher + Weapons Versatility + ?:
The question mark is down to personal preference. You can enhance the plasma gun’s ammo stores, or its charge rate or go for Larraman’s Blessing for better survivability, or even upgrade the Vengeance Launcher to either carry more ammo, or carry the capacity to hold more active charges for detonation (Vengeance Projectiles). The crux of this build is the ability to mix an assault weapon like the plasma gun with its high fire and high damage, but diminished range, and the Vengeance Launcher, which will allow you to set traps, dismantle groups at a time, or tag tough targets and explode them from a safe distance after fleeing.
Stalker Bolter + Melta Gun + Weapons Versatility + Burst Fire:
This build allows tacticals to simultaneously sit on opposite ends of the spectrum, by both sniping with upgraded power and melting groups or armored targets that get close. The stalker doubles as a high powered battle rifle as well as a sniper rifle, but it might be prudent to rely on the bolt pistol for targets that don’t warrant the stopping power of either weapons. The great thing about the build is how utterly prepared you are for tough targets that shoot you from afar or try to get you in close combat.
Experimental Builds
These are builds that definitely work, but their mileage may be limited.
Melta Gun + Additional Melta Fuel + Serrated Combat Knife:
This build will make you a close combat monster. You will end up relying on the bolt pistol at times, but the additional melta fuel means that taking on groups is a reality and you can tackle waves alone with your melta, supplemented by a thorough knifing for stragglers. You will be rolling with this build more than any other, because you will be forever on the fringes of groups assailing you. It’s risky, but rewarding.
Heavy Bolter + Heavy Bolter Expertise + Iron Halo/Feel No Pain:
This one is very dependent on preference, but the Heavy Bolter Expertise will allow the devastator to redeploy much quicker, which is hugely advantageous, and the Iron Halo will give them a greater level of protection if they are redeploying under duress. Feel No Pain is useful if you expect to do this under close combat duress, or you are concerned about grenades and rokkit attacks from rokkit boyz and shoota nobz, which are responsible for many frustrated marines. The Iron Halo is the overall better choice.
Tactical Readout
You should be much more prepared to tackle Exterminatus Mode now that you’ve absorbed some tactics and stratagems and the harmful vapors from all that polish. I hope it was worth it. Remember, team work and cooperation is key. That and an impressive level of metallic detailing, apparently.
References
- All information based on the author’s experience of Warhammer 40,000: Space Marine.
- Thanks to Slickfilth.com for the image resources.
- Thanks to Destructoid.com for the image resources.
- Thanks to playeraffinity.com for the image resources.
This post is part of the series: Tactical Observations - A Warhammer 40,000: Space Marine Exterminatus Guide
A detailed look at the Exterminatus mode co-op DLC for Warhammer 40,000: Space Marine. From design aesthetic, to lore to analysis to tactics, to wargear. Tactical Observations examines what it adds to the game and how best to take it on.