The campaign continues as the Ultramarines learn that there is more than it appears to the Ork invasion of planet Graia. Intelligence on the location of audio logs, lay of the land and most effective tactics await you.
Chapter 5: The Inquisitor
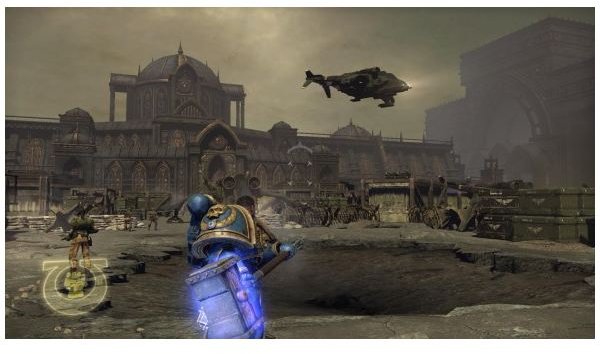
Welcome to Part 2 of this Warhammer 40,000: Space Marine walkthrough. This Part we’ll be tackling the 2nd installment of the game, The Inquisitor. In Chapter 5, Titus and friends must reach Manufactorum Ajakis and stop the Orks from having their way with it.
Turn right and head past the wreckage. You’ll be introduced to the inquisitor of the title here, and his shenanigans. Move through the path near the burning wreckage to the left. Activate the switch next to the ammo to lower the bridge. To your left will be some scuffling Orks. A single grenade will do away with most of them. Any action will alert the Orks you can’t see, but they aren’t too much of a threat.
Use the Stalker Bolter on the shootas ahead if you want to do things the easy way. To the right and behind of your position will be another audio log (Guardsman’s Journal 3/5). Go back and continue up the ramp, this will lead to another brawl.
Further on, a descending ramp will reveal more Orks, including a slugga nob. An expedient way to approach this is to defeat the nob in a melee duel first. Executing the nob will stun the surrounding Orks, leaving them vulnerable.
Head up the ramp. Continue along the walkway, past the generators. Once you’ve climbed the stairs, there’ll be more Orks, including a single nob. Melee works well, since the narrow corridor will make it hard for them to surround you. Drop the crane to complete your objective.
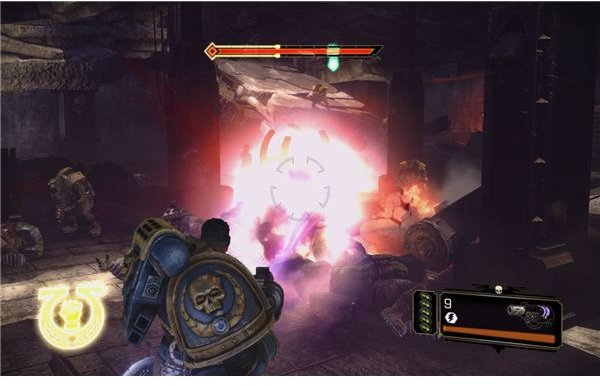
Left of the crane controls is a switch which will lower another bridge. A mob of shootas and bomb squigs will attack. Neutralize them, and move into the trenches. Some gretchin will rush to meet you. Explosive hazards are ideal for dealing with large groups. Shootas on the high ground are an irritation to deal with. As Corporal Antioch urges you to hurry, you’d best make your way to the objective marker. He’s very pushy. Your battle brothers will comment that the lift is close by and Antioch will confirm that he’s sending the lift up to you. In front of where you drop down onto the lower level from the gantry, in the top right hand corner of Titus perspective will be a wargear pod containing a power axe. Grab it for an upgrade in cleaving power. There’ll be an explosion and Orks will surge forward, mainly sluggas. Shootas will turn up later, then slugga nobz. The fight is over when you see the objective marker. After you step off the lift, an audio log will be directly in front of you (Encrypted Report: Inquisitor Drogan 1/5).
Chapter 6: Lair of Giants
In this chapter, Titus and crew finally meet up with Inquisitor Drogan, and manage to track down Warboss Grimskull… but will he get away again?
The first section is mostly walking and exposition, you don’t need me here! There’s an elevator at the end of a long hallway. Activate it, ride it up, look at some big robots. Walk forward and engage the door. Proceed down the staircase to the right of where you entered. Turn left, then left again to collect the servo skull of audio log ‘Workshift 465 2/5’. Head upstairs and turn to the left. Engage the lift and ride it down. Walk through some doors, nothing too challenging.
Proceed along the walkway, you’ll spot some Orks being dead kunnin’ like. Deal with them and continue. Before you reach the objective marker, the path will split. Take the left path to collect audio log ‘Inquisitor Drogan 2/5’. Go through the door on the right hand path.

Activate the platform to the right, run across it once it’s lowered. Approach Inquisitor Drogan. Take the door on the left. You’ll encounter Warboss Grimskull further up, who’ll sic some of his goons on you. Follow the objective markers that follow. Continue through the doors until you reach a support pod with the plasma pistol. Swap it with your bolt pistol for infinite hot blue death spewing abilities.
Take the lift and enjoy your first taste of ‘ard boyz. Use the pistol and axe on them, they’ll fold. Follow the markers, take the lift down, step off it. Move forward to the generator room (or ‘generatorium’). Continue forward, collecting the nearby ammo. Drop to the lower level and Drogan will open a chamber. Move inside to enter another battle. Halfway through, the game will save. Kill the ‘ard boyz and activate the panel. You’ll need to collect the power source after the events unfold, so do that.
Chapter 7: Heart of Darkness
This chapter sees Titus navigating sewers after being left for dead. Business as usual then.
Walk through the sewers until you see a ray of light. There’s an upcoming fight, the next light ray will gift you with some ceiling grots. Blow up the explosive hazard to reveal some grenades. Continue down the path.
Take out the shoota boyz above you, then turn your focus on the slugga nobz and further grots. Before you exit this chamber, there’ll be a door next to the exit containing ‘Duty Log 2/5’. Press on forward, up the ramp, and take a left.
Pick up the grenades if necessary and enter the new tunnels. Continue to follow the objective marker, you’ll be fighting Ork stragglers periodically. Watch out for the squig that drops down in the first fight. Move across the walkway into a long, narrow hallway. Fight through the sluggas, making good use of the explosives scattered around the map, particularly when the nob turns up.
Open the door and keep running along the path. Take out any squigs, and sooner or later you’ll get an ‘ard boy and a legion of squigs. Stay at range, use grenades. When the fight concludes you’ll reach the next checkpoint.
Go to the support pod and arm yourself with the melta gun, which is low ammo capacity, amd extremely short-range, but does lots of damage, will kill most things in a single shot and has a wide arc of damage. Use it on the sluggas when they group together in front of you, or you’ll expend all your ammo. Keep going forward, turn right and drop down. To the left is an explodable wall. Shoot it to get audio log ‘Medicae Station Ventris 3/5.’
Continue up the stairs, and proceed down the hallway. When it widens, prepare for battle. A weapon stash is to the left, and you may wish to arm yourself with the Vengeance Launcher. Follow the markers and approach the support pod. Take the Purity Seal from the Support Pod to unlock Superior Fury. Unsurprisingly, this is an upgrade to your Fury which decreases the power drain. Head upstairs and take out the Orks. Do the same with the Orks downstairs. Go forward to the objective marker and you’ll rendezvous with Leandros and Sidonus at last. Objective complete! You should get a new objective: Rendezvous with the Inquisitor. Once your squadmates have entered the tunnels, open the door and run forward.
Collect the Purity Seal to gain Superior Fury, a Fury upgrade which decreases the energy drain. Travel up the stairs and deal with the Orks, then the Orks downstairs. Rendezvous with your squad to get a new objective. Enter the tunnel, open the door, run forward.
Some Orks will be below you. Assail them from the high ground. Follow the markers. Move across, and up the stairs to leave the sewers.
Chapter 8: Whispers of the Dead
This chapter sees Titus escort the inquisitor to safety.
After your squad finishes discussing Orkish strategy, you’ll need to push on until you make a steep drop. A servo skull will be behind you (Medicae Station Ventris 4/5). Turn and walk forward.
A support pod will be in front of you. Swap out one of your weapons for the lascannon. The melta perhaps. A little after you’ll be introduced to the shoota nob. These nobs have powerful ranged attacks, so you’ll want to kill them before they kill you, which is where the lascannon comes in handy.
Continue through the bloody hall. On your right will be an audio log (Inquisitor Drogan 3/5). Head out of the room and go up the stairs. In the room on the left is the log for ‘Workshift 465 3/5.’ Drop off and continue forward until you encounter more Orks. Dispatch them and head up the stairs directly in front of where you entered.
Raid the ammo stash and continue upstairs. Orks will be waiting. Use the lascannon on the shoota nob, since he really deserves it. Push forward until you reach more rubble. Go down the stairs to the left, dealing with any nobs on the way. Once inside the tunnel, turn right to collect the servo skull containing the log ‘Worker Nathaniel 1/5,’ and then press onward and upward.
Keep going forward until you meet more shootas. When you’re done with them, head up the stairs and neutralize the next wave that comes from behind. Use long-range weapons to teach them the folly of their ways. Go left and across to where the reinforcements were. Take a right from there and collect audio log ‘Inquisitor Drogan 4/5.’ Follow the marker from there.
Keep going forward, engage in any long distance battles, and follow the path.
Keep going forward.
Still going forward.
Surprise! You’re going forward. Collect some ammo while you’re doing that too.
Pick up the grenades, then run into the large, open room where sluggas await retribution for all the slugging they have slugged. Assorted boyz and nobz will be there. You know what to do.
Hold off the Orks while Drogan escapes. Not much more to it.
Run forward and get the jump pack from the pod. This will also be your introduction to the Thunder Hammer. Lucky. It’s the most powerful melee weapon in the game. Jump the barrier, onto the wall. Then jump onto the second level through a gaping hole in the wall right in front of you. From here you can collect the servo skull for ‘Worker Nathaniel 2/5.’ As you make your way out of the large room, just past the Ork Rok, the skull for ‘Inquisitor Drogan’s Report 5/5’ is on the right of the staircase. Continue forward. Follow the objective marker past here. Jump the burning wreckage for grenades and ammo if needed.
Go up the stairs and jump the barrier. Move to the objective marker into the arena resembling area. There’s an alcove to the left of where you entered that you can jump down into to pick up the log for ‘Workshift 465 4/5.’
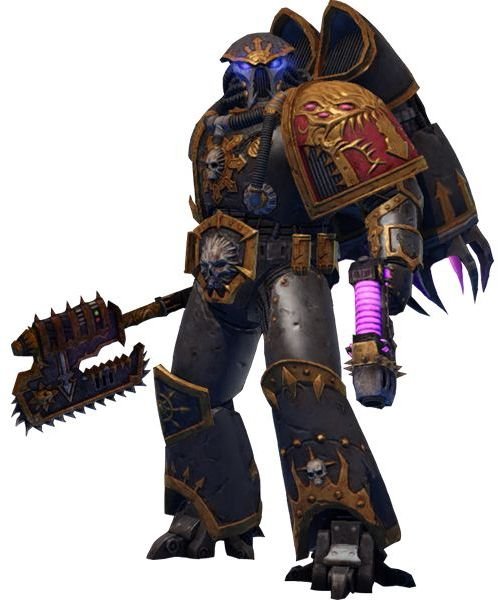
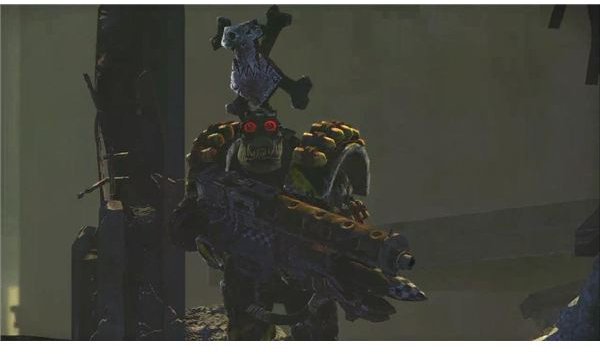
Your objective will be to eliminate the Weirdboy. You’ll need to bash him with the hammer. Shooting attacks are ineffectual against his shield. He’ll keep warping in troops if you don’t finish him, so your mission becomes pressing the moment it looks as if you might be overwhelmed. Ground pound will stun him, leaving him open for hammer time.
Instead of following the objective marker to leave, continue into the dead-end to collect ‘Inquisitor Drogan’s Journal 1/10.’ After this, take the right hand route to the besieged guardsmen. Before entering the area, look for a gap in the wall on the left. There should be a statue and some pews. The servo skull for ‘Workshift 465 5/5’ will be in front of the statue.
Next, you’ll have to face a battle against rokkit boyz and shoot nobz, but you can deal with them easily enough, since you have a jet strapped to you. When they’re done, a guardsman will contact you. Make your way upstairs.
Jump the barrier and eliminate the Orks. Continue upstairs. You’ll have another Weirdboy to take on. Same rules apply as before. Once he’s dead, the force field blocking your path will dissipate. Go through it, and your jump pack will run out of fuel, but really, its machine spirit is just sick of you. Make your way upstairs.
Follow the path to Lieutenant Mira and her waiting Valkyrie and you’re off!
That concludes Part 2. Part 3 is next, predictably. What will that wacky inquisitor be up to next time? And will Sidonus ever stop being so gruff? Not likely.
References
- Image credit: Space Marine Wiki
- All screenshots and references from Warhammer 40,000: Space Marine
This post is part of the series: Warhammer 40,000: Space Marine Singleplayer Campaign Walkthrough
An in depth walkthrough of the the single player campaign for Warhammer 40,000: Space Marine. Tactics, directions, servo skull locations and the best way to affix a purity seal to yourself are all right here.
- Warhammer 40,000: Space Marine Walkthrough - Part I: Planetfall
- Warhammer 40,000: Space Marine Walkthrough Part II: The Inquisitor
- Warhammer 40,000 : Space Marine Walkthrough Part III: The Weapon
- Warharmmer 40,000: Space Marine Walkthrough Part IV - The Dying of the Light
- Warhammer 40,000: Space Marine Walkthrough - Part V: Prince of Daemons