A good way for your RPG to stand out among others is to have its own style. Using your own art in your game is a good way to do just that. This article will explain how to import the enemies in your game as well as how to modify their statistics.
Importing your own Beasts!
Importing your monsters allows you to do just that. Before actually importing your monsters, save your art under the .png format. Note that you can also use pictures from the internet in case you don’t know how to draw (remember to mention the original author if you do so, however).
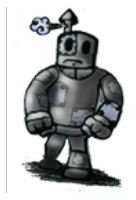
In this tutorial, I will import one of my drawings:
Look up at the various options on top of your screen. You should be familiar with most of them by now.
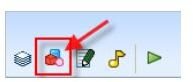
Click this icon or simply press F10.
This will take you to this window:
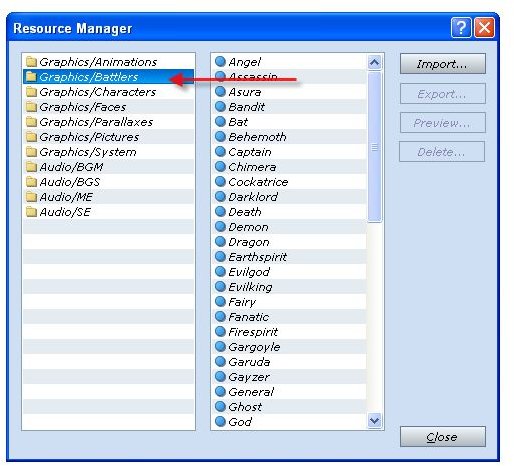
Go ahead and select “graphics/battlers”. The “battlers” are what the monsters in your game actually look like when in combat.
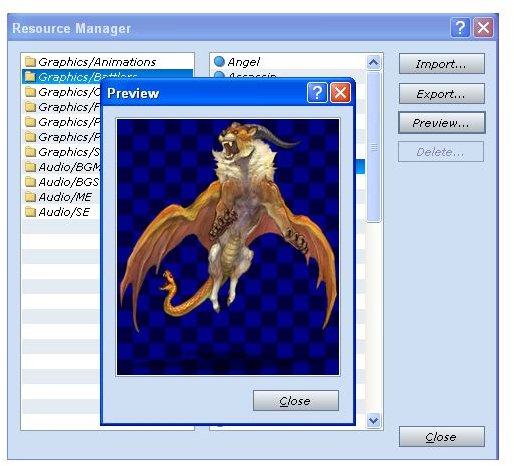
If you wish to, you may select a monster on the right and then click “preview” to have a look at your monster like so:
Let’s go ahead and import our monster.
Close the preview window and click on the button “import”. This will allow you to browse on your computer.
Go ahead and locate your file. Once you’re done selecting your file, click on “Open”.
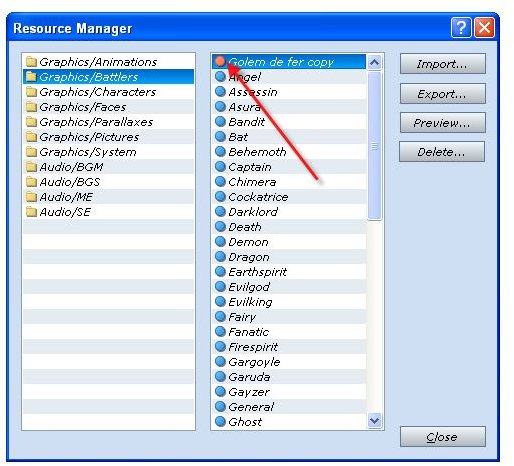
And that’s it! You’ve imported your monster! Notice how the “dot” next to the file is red while the other ones are blue. This is to indicate that the file was imported. Files with blue dots are original RPG Maker VX files.
In the next section, I will explain how to further modify your monster. Every monster has different statistics and skills and learning to modify them to suit your game is very important.
When importing some creatures in your game, try to use art which has a similar style. A lot of RPG Maker users are mixing art from all kind of sources which doesn’t really fit well together. This is why it is recommended to use your own art for your game as the style will remain consistent.
Editing your Monster
Now that you’ve imported your art, it’s time to add your monster to the database.
Press F9 to access the database and go right ahead to the enemies tab.
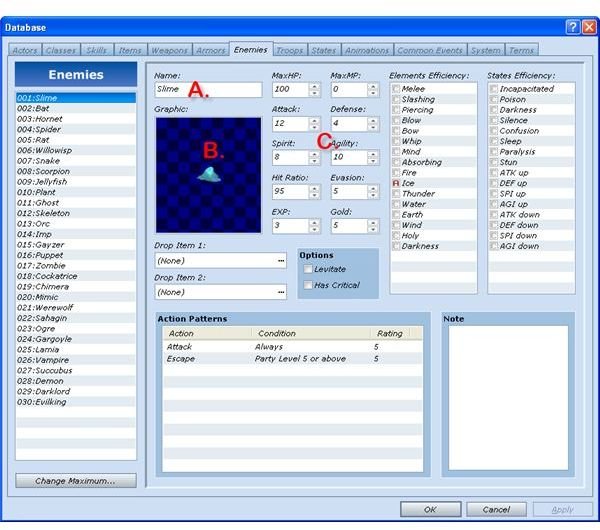
This is the database for all the enemies in your game. Select a monster in the left which you won’t need in your game. I will select the slime as it’s very common and thus lacks originality.
Let’s change the name of the enemy right away in “A”.
After that, go ahead and click the black and blue checkered square to select the monster art you’ve just imported.
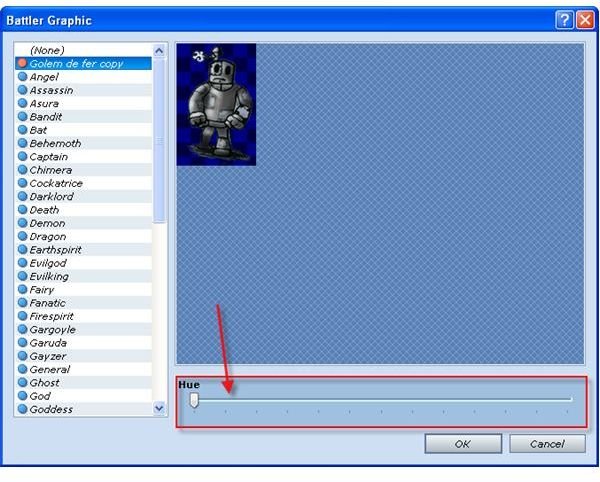
Pay special attention to the “hue” bar at the bottom. Move the slider around to get different colors for your monster! This is particularly useful if you wish to use the same drawing for various monsters and still want them to look different!
Once you’re done, click “Ok”.
Your monster should now look like this:
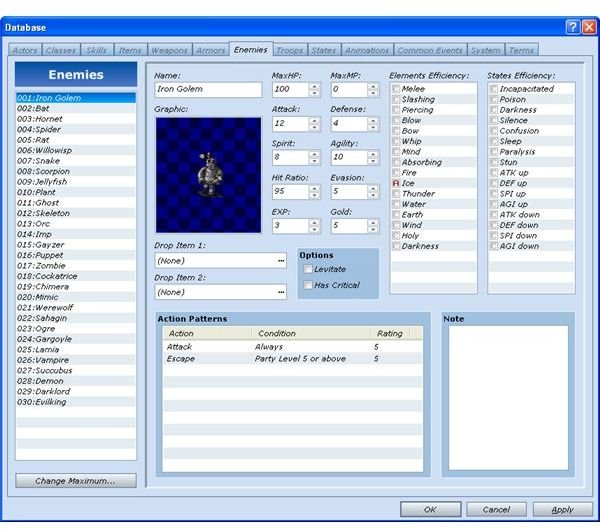
Now let’s move on to C and modify the monster statistics.
At first, it is difficult to evaluate whether or not a monster is too hard or too easy for the players. Testing out the game yourself is the best way to find out and make the necessary adjustments.
Let’s go over the various stats:
MaxHP: The monster’s Hit Points. Every time your monster is damaged in combat, it loses HP. Once it reaches 0, it dies.
MapMP: The monster’s Magic Points. Casting spells doesn’t come for free in most RPG. Every time your monster casts a spell, it costs some MP. When the MP reach 0, it can’t cast spells anymore.
Attack: The attack power of your monster. The higher the attack, the more damage it causes.
Defense: Your monster’s resistance to damage. A high defense greatly reduces the amount of damage received in battle.
Agility: Agility determines who acts first in combat. Characters and monsters with high agility act first in combat.
Spirit: Spirit’s function is twofold. First of all, it influences the efficiency of spells. A high spirit monster or character will cause greater damage from offensive spells. Spirit also provides some protection from enemy spells. A high spirit will thus provide better protection against spells.
Hit Ratio: This represents how likely the monster will hit a character. It ranges from 1 to 100%.
Evasion: This represents how likely the monster will dodge attacks. It ranges from 1 to 100%.
Exp: The amount of Experience points awarded for defeating this monster. Once the characters reach a certain amount of points, they gain a level and become stronger.
Gold: The amount of money acquired when defeating this monster. Characters can use gold to purchase all kind of things from items, to weapons and armor.
In my future articles, I will finish explaining the various properties that affect both characters and monsters.
This post is part of the series: RPG Maker for Beginner: Chapter 2
This is the second chapter of tutorials in learning how to use RPG Maker VX.