We’ve found Archangel and now we need to stop the three mercenaries companies and save the day. This means gunning down Eclipse, locking out Garm and the Blood Pack, and grounding Tarak’s gunship and the Blue Suns.
Basic Setup
It seems that our old buddy Garrus has been causing all this trouble. Hunker down and get ready to fight. There’s a subtle renegade interrupt when he looks through the scope the first time to spot the mechs. You can pull the trigger and take out the first one.
There’s a whole lot of ways to do this one. Enemies will come across the bridge and try to make it across the floor. Garrus will call out a warning if they make it this far. This is considered making it into the base. They then have to make it up the steps and around before they really get into firing range of Garrus. They can only chip away at Garrus’ health from the floor.
I personally suggest that you just take up a position next to Garrus. This is a good vantage point for just about any guns or abilities. I did fine with just a submachine gun and pistol. On that note, look by Garrus’ sniper perch for an M-15 Vindicator. This is a big upgrade, if you can use it. Might as well get it for your allies regardless though.
There is ammo lying all around the base. There are also a few bombs on the first floor that you can shoot along with copious amounts of cover. The basic method is to take up a spot by Garrus and fire at the mercenaries as they cross the bridge. I honestly didn’t notice much of a difference in the fight when I was infiltrator using a sniper rifle and an engineer using a submachine gun. Remember that you can use lots of abilities on them too. A few might make it past, but you just have to switch to the other side and cover the back stairs with Garrus. Note that Garrus should also pick them off as well, so you basically have a four man party.
Stopping Eclipse
Eclipse is the training round. The first few are weak mechs. The next few should be shieldless grunts. You’ll start to see a few adepts and vanguards at the end, but that just means that you have to shoot your way through their armor. You should have plenty of ammo. Miranda and Jacob don’t seem to be too much help, but you and Garrus should be fine.
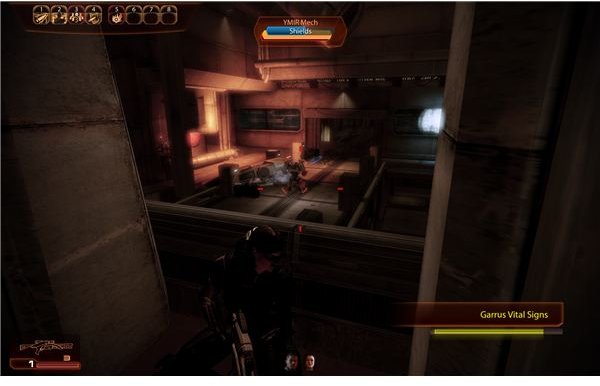
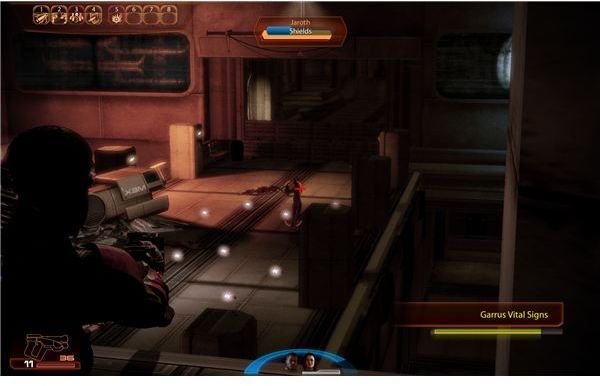
After a few waves, Jaroth will send in the reserves along with the heavy mech. Thankfully we took care of that before the battle though. The heavy mech should turn around and kill the first few waves. You can help it out if you want. Remember that it’s not actually friendly to you. It will eventually turn on you, so let it die. Jaroth will come out after a couple of waves. He’s not much stronger than a usual merc though, so just gun him down. Once the last merc falls, you’ll have a break. Go down to the bridge and pick up the ammo that’s far away. We want to save the easy stuff for later. Also look for the Omni-Tool research scan to get a bonus to Tech damage. When you’re ready, talk to Garrus again.
Sealing the Shutters - Basics
They’ve stopped being suicidal and are now attacking through the bottom of the base. You need to seal off the emergency shutters to cut off the attack. Don’t leave Garrus by himself though. He will lose health faster if someone isn’t there to protect him. It shouldn’t be a pressing concern on easier difficulties, but there’s no reason you can’t tough it out with just one guy for a bit.
Make your choice and then run down into the base and around to the door behind the steps. Open the door and just use the storm function to run right ahead to the shutter control. You should be able to shut the gate before anyone comes through.
The trick for the other two shutters is that you have to push the button quickly and then hold your ground. The shutter will stop the shutdown sequence if an enemy is under it or if you cross the field. This means that you have to move quickly and not get bogged down in the waves. The faster you shut it down, the easier it should be. They will continue to spawn until you press the button.
We are on a time limit too. They’re hitting Garrus from the front, so we need to secure the back. Let’s take the shutter to the right first. There’s no real advantage to either, but the right is a little more of a pain, so let’s do it while we have some time.
Seal the Shutters
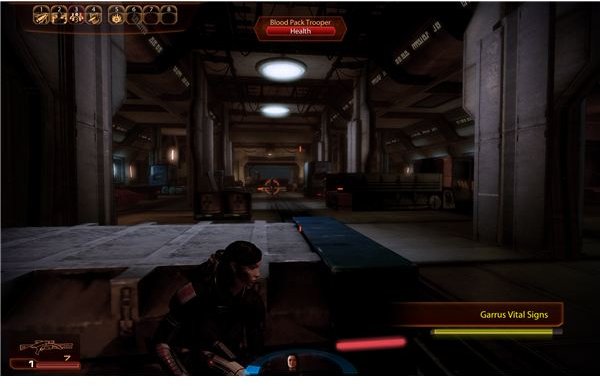
This large storage area has a lot of explosive crates, so make sure that you aren’t hiding behind something that will blow up. This area is full of vorcha and a few krogans. There are even a few varrens, so watch for them making a melee rush.
The trick to fighting vorcha is that you have to put them down. They heal too fast for hit and run tactics. Remember to use heavy stuff. You need strong and accurate weapons, especially since they shouldn’t have armor or shields. Once the first wave is worn down a bit, run up to the next set of barriers. If you want, you can sprint up and press the shutter button. The krogan and the few varrens in the next wave should move slow enough to still get caught behind the shutter. If not, just take them out and slam the door.
The second one on the left is a little easier. You just have to be brave or a little foolish. The layout is a strange box that curves around a pillar. You need to get behind cover, shoot the vorcha on the other side, and then bound over to rinse and repeat. If you move quickly, you’ll only have to gun down a few vorcha at point blank range and you can shut the rest out. Especially since the next one should be a vorcha pyro. You can just put a round into his tank and then watch him blow up. That should hold them back.
Garm
You’ll automatically rush back to the base when you shut the second shutter. We’re not done with the Blood Pack though, since Garm is coming in to finish Garrus off himself. If you left someone behind, then your partner will be able to help Garrus hold him off in the battle. We’re going to get up there quickly though. Get behind a pillar and just start shooting. There are a few vorcha on the floor. Just smash right through them and watch for a varren that might be there.
A strong krogan should step out and ambush you as you get to the top of the steps. Cover is scare up here, so try to get behind a bookcase or something until you can take him down. If you’re an infiltrator or a soldier, you might actually be able to hang back and take Garm out from here. You can also rush and use the couches for cover. Just watch out for Garm’s charges and wear him down.
Once he’s dead, you can get some new ammo from the base area and talk to Garrus to start the final wave.
The Blue Suns
The Blue Suns are mixing things up a bit with their gunship. Get behind the couch and start firing. They’ll drop troops off right into the top area of the base. Most of the Blue Suns are shielded or wear armor, so you’ll need to chip away at them a bit with something like a submachine gun. Once they’re wore down you can take them out with the heavy stuff.
Jenthra, the Blue Suns lieutenant, should drop in pretty quick. She’s not anything special. She just has some good shielding and armor. Take her down before she gets too close. She usually rushes, unlike the rest of the Blue Suns, so she should be top priority. After a few drop offs, the second team will rappel in by the staircase. Just take up a spot covering the stairs and try to keep them pinned. The gunship will come around for another pass after you take them out though and Garrus will get wounded. You’re on your own.
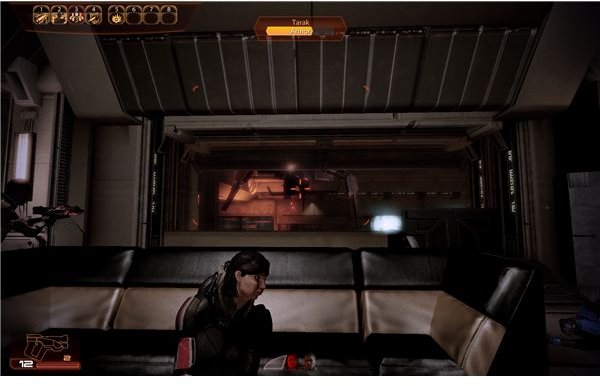
You’ve got to take out the gunship Tarak’s piloting. It’s basically just a big mech and it should be missing a good chunk of health if you killed Cathka. Just pour a lot of little bullets into it or pull out the big stuff. Abilities that target armor can also do some decent damage, so use them. Incinerate works quite well. It can only attack through two windows though, so you can just move from couch to couch and keep up the fire. Once it’s crashes, the battle will be over. You’ll rush Garrus back to the medical bay.
This wraps up the mission.
This post is part of the series: Mass Effect 2 Walkthrough - Recruitment - Part 1
We’ve got to build a good team if we want to save the day. This means getting an expert soldier and scientist on our team. This first part of the larger guide will tell you how to recruit Archangel, Mordin (The Professor), and Grunt.