A guide to the fifth chapter in Killzone 3, called Icy Incursion. It covers each level and offers advice on how to best get through the toughest sections.
Icy Incursion is the fifth of the nine main chapters in Killzone 3 for the PlayStation 3. It is comprised of six different segments called Frozen Shores, Shipwreck, Akmir Rig, Nilfrost Rig, Providence Bay and Providence Station. This chapter gets its name from the snowy environment in which it all takes place. The guide below will show you the best way to get through each section.
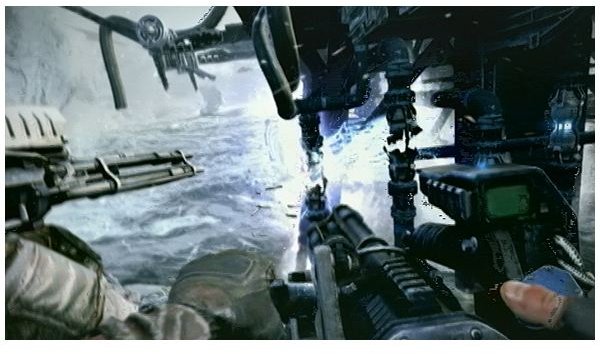
Frozen Shores
This opening segment is one of the few aerial combat portions of the game in which you fly around a target while unloading your guns at them, and it’s loads of fun. This section involves your men circling a platform full of mounted guns and enemy soldiers and you must use the mounted minigun to take them down.
It’s pretty easy to get through this so long as you focus your fire on enemies first and structural objects second. You can shoot out the legs of the platform when you see the glowing blue pieces, but make sure you take out the heavy artillery first. Also watch out for guys with rocket launchers because they can do a lot of damage with just one shot.
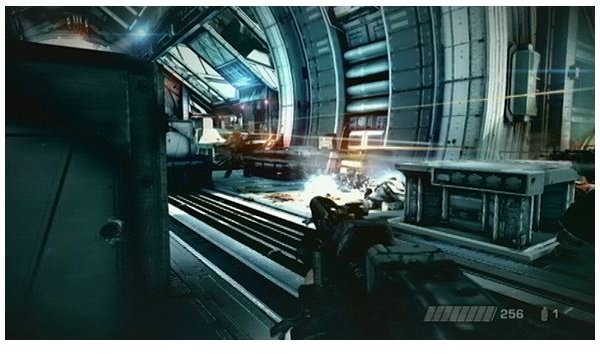
Shipwreck
You begin this section after your ship crashes, so grab the minigun near the starting point and charge ahead. It’s pretty straightforward shooting as you make your way onto the nearby ship, but take your time with the interior locations. I recommend you slip up the left side of the boat and fire through the windows while the Helghast soldiers are hunkered down. A grenade or two in those close quarters will also help.
After you enter the cargo area of the ship, three Helghast jet pack troops will come after you. Keep behind cover and pump them full of bullets until they explode, and focus on taking them down one at a time. Watch out for some soldiers that show up after you blow up the jet pack guys, then go forward and get your own jet pack for the rest of this level.
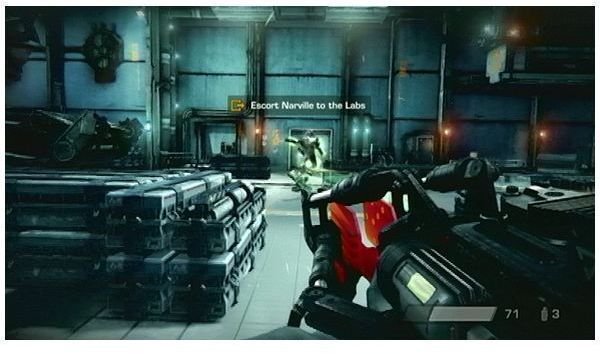
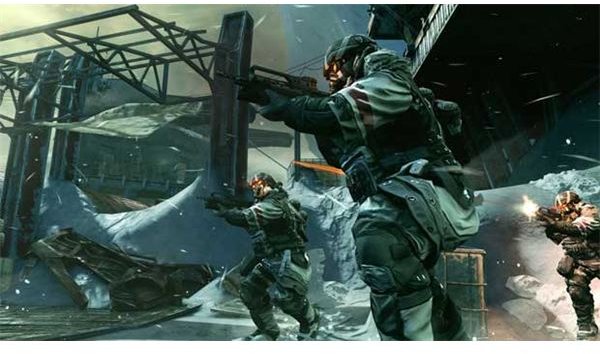
Once you have the jet pack, you can jump over the frozen plateaus and make your way onto the platform. I found it easiest to keep left on the walkway that goes around the outside of the platform, then pick off the Helghast troops as they come along. Toss a grenade into the door of the building where two troopers are hiding, otherwise they are hard to hit. Once they are clear, go inside and plant some charges.
Akmir Rig
You’ll have to do some more plateau hopping with your jet pack for this one, but as soon as you reach solid land you will be jumped by a bunch of soldiers including more jet pack troops. Look toward the right of the pathway for a small ice cave passage that will provide cover for you to slip around, and pace yourself as you move forward because enemy soldiers are waiting for you around every corner. Also watch out for troops hanging out on the ice bridge overhead.
Nilfrost Rig
This section can be difficult because you have to do a lot of jumping and Helghast troops will be firing on you the entire time. Make your way down the stairs to the column where you plant the first batch of explosives, then use the column for cover while you take out the two jet pack soldiers that show up. Jump over to the second column and take out the troops there, then plant the other charges.
Now you have to make your escape as the time counts down on the explosives. You’ll have to jump up and across to get up a couple of floors to get out, and you’ll see hanging railways for you to land. After each jump, take out the enemy waiting for you. When you reach the top, watch out for the Helghast soldier waiting on the platform for you. He killed me the first time I tried this because I didn’t see him up there. Clear the rest of the way and take jump off to end this level.
Note: There is a PS3 trophy you can earn for escaping the platform in less than two minutes.
Providence Bay
When this level starts out, follow Rico and stay behind the crates for cover. You’ll approach a platform full of Helghast and you’ll need to take your time getting rid of them. A grenade or two helps a lot here. After the platform is clear, man the mounted WASP and use it to blow up the tank and gun nests across the map. The WASP is one of the coolest Killzone 3 weapons and you’ll get to use it for the rest of the chapter after this point. The rest of this section will have you run back across the open area and take our more tanks and gun nests in addition to a bunch of enemy troops. Take your time here and focus on the tanks and mounted machine gun turrets first, then go after the individual soldiers. Don’t get too far ahead of Rico, either.
Providence Station
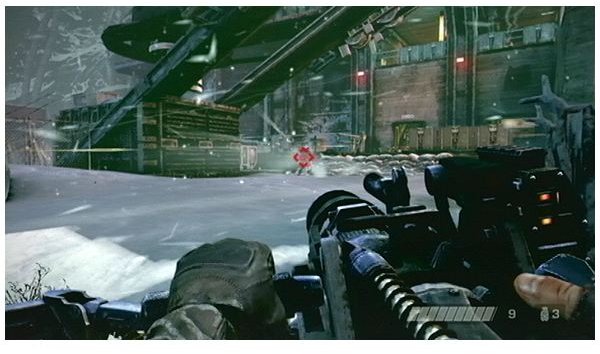
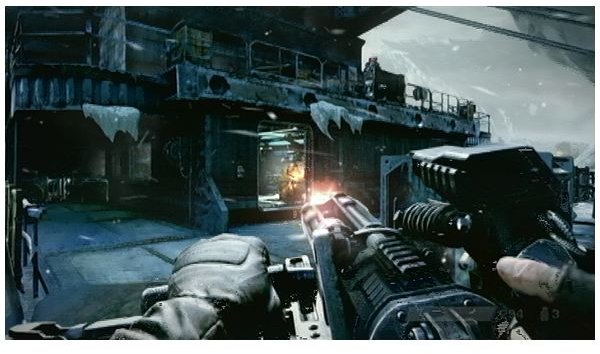
The firefight at the end of this chapter is quite tough because the Helghast have lots of cover and will be hard to reach. There is a building at the bottom of the hill leading up to the station, and inside is an ammo crate. Use your WASP to pound explosives down on the Helghast and return to the ammo crate as many times as necessary to reload.
Once you get to the top of the hill, be especially careful of the soldiers hidden behind the narrow windows. I found it best to keep to the far left of the map and find cover while taking out the soldiers one at a time. Grenades will help flush them out from behind their barricades. Once you are able to get inside the building, you’ll have to blast through plenty more soldiers before this chapter finally ends, but it’s not as tough once you get in there.
References
- Author’s personal experience playing Killzone 3 for PS3
- Screenshots courtesy of Killzone 3 and IGN.com
This post is part of the series: Killzone 3 Walkthrough
A complete walkthrough to Killzone 3. How to get past the toughest bosses, where to earn PS3 trophies, and tips and tricks on how to beat the game.