Half-Life 2 will be demanding a lot out of Gordon Freeman. The nearest rebel base is under attack, but Alyx will soon be at your side. If you are having trouble fighting your way through the besieged rebel base, clearing the Combine base, or helping Alyx shut down the generator, then look here.
The Rebel Base
Go into the house and just keep moving through it. The iron grates on the window mean that you can’t fire out accurately and the combine can’t really fire in. They’ll also be too busy killing the rebels outside. Go through the house until you get to a destroyed room with a metal Combine wall sticking into it. Drop down a level and walk past the sad couple. You’ll meet up with the same rebel who was by the gate a second ago. Help kill the Combine on the rooftop and wait for him to say the ingenious password and let you into their base. It’s still under attack though.
Round the corner and kill the soldier on the stairs. Be careful though. They really like to use grenades and shotguns. This is particularly deadly in these tight spaces. Work up the stairs and keep killing the Combine spread throughout the level. There are about three soldiers and another Combine wall blocking the way. Drop through the hole by the wall and round the corner. Kill the soldier by the opening in the door. They’ll lower the bridge so you can get across with your squad. Kill the soldier who runs out after you cross, then go ahead and pull the lever to raise the bridge. Go through the building to the Combine wall and look for a little doorway by the fire. It’s a little hidden, so you might have to search for a second. I’ve included a picture to the right.
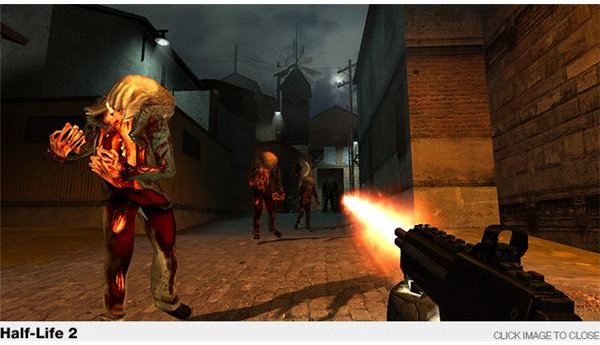
Go through and kill the headcrabs in the next room. There’s a mixture of fast headcrabs and normal ones here. Just use the shotgun or the crowbar and go in swinging. Drop down through one hole and kill a burning fast zombie. Then drop down again and kill another zombie. Go through the level and kill a few more headcrabs on the path to some supply crates. The closed door just leads to the old sections of the base, so ignore it. Go through the open door behind the crates.
The Courtyard and Beyond
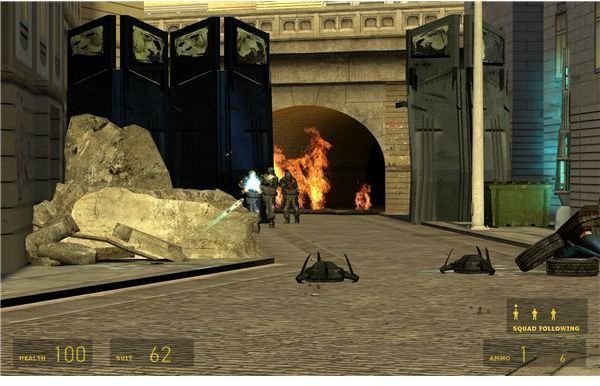
There’s about 4 Combine and 3 hoppers spread throughout the courtyard. You’ll also be fighting enemies at different heights, so you’ll have to stay alert. They also love throwing grenades at you, so be ready to punt them away with the gravity gun. Expect to take heavy losses to your squad as you move forward to the one open door. It’s the one that’s right below the raised draw bridge.
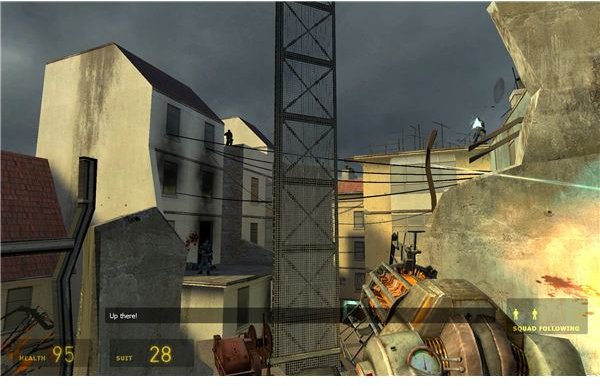
Go upstairs and kill a few headcrabs until you get up to the drawbridge itself. Kill the Combine guarding the switch if you didn’t already. Take cover by the bridge and use the magnum or the AR2 to clear the rooftops to the right and left. Then focus on clearing the building in front of you. Lower the bridge and start to cross. One more should run out, so kill him. Then go inside and kill the two Combine guarding the entrance to their bombed out base.
Round the corner and kill the two soldiers just ahead. Then kill the one behind the pillar to the left. There’s a section with two soldiers ahead, but it’s blocked off by fallen concrete. Shoot them from the cover of the holes, and walk past the section to get to the stairs. Shoot the barnacle guarding the first set, kill the barnacle guarding the second set, kill a zombie that might appear, and then drop through the hole in the floor to the sealed off area.
Go forward and kill the flaming fast zombie that runs toward you. Just hang back for a second once you see the Combine ahead. They are fighting a number of zombies and fast zombies. They also like to use grenades at an idiotic range, so the one up top will probably blow up his buddies below.
Go through the hole, but be very careful about any surviving Combine. Go down the little set of stairs and up the next one. Go to the only open room and look down to see some turrets killing zombies. Walk around and throw a grenade through the hole to knock over the turrets. You might want to use the alternative fire to exercise a bit more control. Drop down and use the gravity gun if it doesn’t work perfectly. There are two chargers on the wall, so charge up your health and your suit.
Another Reunion
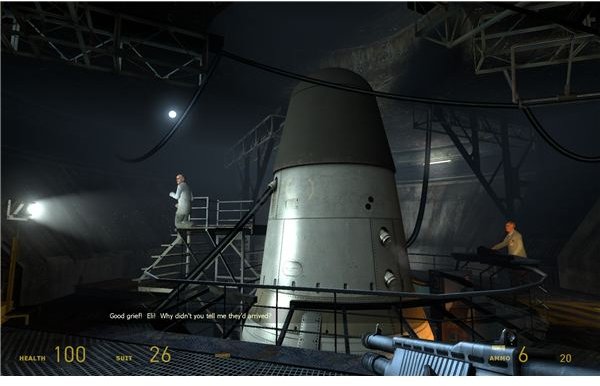
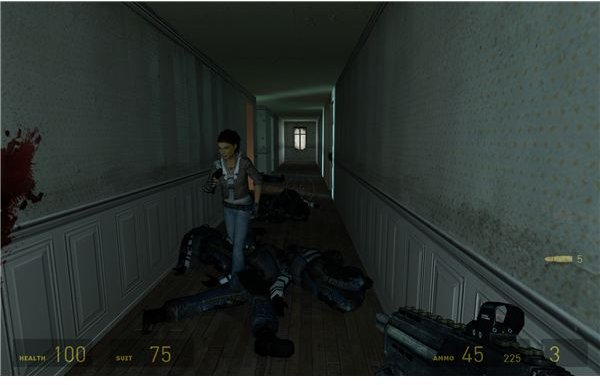
Wait for a second and the door explodes. It is time for a bit of a reunion. Alyx is on your side again for a bit, so enjoy it. Follow the trail of bodies Alyx left to get to a hallway with some chargers at the end. Start moving down the hall with your AR2 in hand. Kill the two Combine that come out into the hall. Handle the other two by the chargers once you near the end. Charge up again and then head downstairs. Open one of the doors to the control room and kill the guard watching the door. Go a bit further in to kill the last three Combine in the center itself.
Alyx will note that there is a generator that she wants to kill in the street to the side. Wait for her to hack the door and then walk outside to the fountain. Three more rebels should show up to reinforce you. Kill the Civil Protection unit in the square and then kill the one in the watchtower off in the distance. Start breaking crates and gathering supplies if you need them. Grab the four hoppers around the fountain and reposition them. Face away from the big gate just behind the fountain. No one comes from that side. You will have waves of soldiers coming from the flaming gate to the right and the gate a long ways away to the left. Put hoppers out at the garbage cans on the left and the concrete barrier on the right.
Defending the Fountain
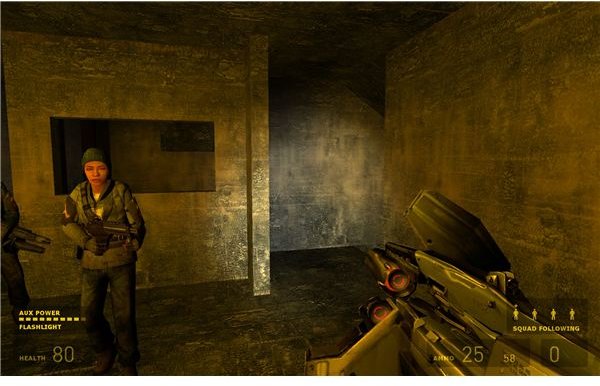
Take up a position behind the wall with your squad and grab the AR2 for now. You’ll have to hold for a few minutes while Alyx hacks the generator from the safety of the control box. There is a health charger and a suit charger near her in the box, so run back and heal if you get hurt. There’s no secret to this. The walls provide fairly good shielding. Just use the magnum, the crossbow, the AR2, and even the shotgun to hold them off. They’ll advance fairly slowly, so it isn’t a big deal.
You will be ready to go when the elites come. They are dressed in white and are really tough. They are also accompanied by a lot of normal soldiers. Go to Alyx and use the gravity gun to knock out the energy ball. Then just run through the open gate with Alyx to get away from them. She’ll close it in a second, so no need to waste the health or ammo fighting that many soldiers. Just wait for a moment for Alyx to start climbing up the building. She’ll have a bit of trouble though and there’s nothing that you can do.
This post is part of the series: Half-Life 2 Walkthrough - Chapter 10: Anticitizen One
Chapter 10: Anticitizen One is a very difficult combat chapter that has you fighting through the streets, car parks, and abandoned apartments of City 17. If you are stuck with this new challenge, then just check out this guide for the tips and tricks on how to get past the Combine and man hacks.
- Half-Life 2 Walkthrough - Chapter 10: Anticitizen One - Reaching the Barricade
- Half-Life 2 Walkhrough - Chapter 10: Anticitizen One - The Barricade and the Car Park
- Half-Life 2 Walkthrough - Chapter 10: Anticitizen One - A Reunion with the Rebellion
- Half-Life 2 Walkthrough - Chapter 10: Anticitizen One - The Fight to the Factory
- Half-Life 2 Walkthrough - Chapter 10: Anticitizen One - Table of Contents