The third part of a guided walkthrough for the Waterworks in Dungeons and Dragons Online.
The Zombie Remnant…
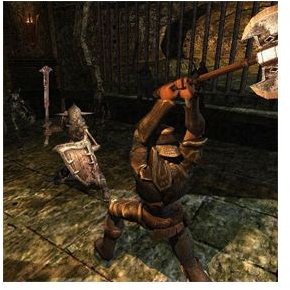
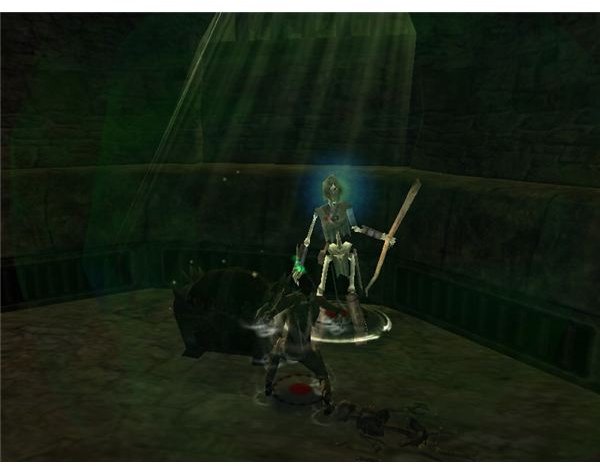
You’ve made it to the third part of this Dungeons and Dragons Online Waterworks walkthrough, and now it’s time for the final optional quest in this dungeon: “Destroy the zombie remnant of clan Gnashtooth’s victims”. In order to get here you will have to go back to the four way platform bridge, and jump off into the water. Swim under where the south bridge is located, and you should see a door beneath the water. Not everyone can get down here, especially clerics and fighters. So if you can bring a spell or magic item with you so you can breathe under the water. Many players die here trying to get to the other side because of the swim, and end up drowning.
It is recommended that you dive under the water to open the door, swim back up to get some air, then dive back down to swim through the under water tunnel. Once you are on the other side you will have to slay the zombie remnant, there aren’t many of them but a low level player may find this to be a bit challenging, so come prepared with healing items or a cleric. After you kill them all there will be a treasure chest in the near by area, take it and make your way back to the platform.
The ladder to get out of the water is on the north east end of the pool, climb up, take Arlos to the exit, and finish off the quest.
Once you are outside talk to Tember again to move on.
Sadly, this is not the end of the mission. Tember will tell you that Venn was taken to Clan tunnelworm’s lair, and that you still need to save him from the kobold army…
Part 3: Tunnelworm’s Lair - Finding Venn
Optional Quest
1. Slay the hobgoblin emissary
2. kill tunnelworms enforcer Krun
Now you will have to make your way to the new dungeon. Tunnelworm’s lair is all the way back near Private Jake, but this time you will have to take the east tunnel towards Tunnelworm’s lair. The dungeon is at the farthest north east part of the tunnel. When you start the dungeon you will come in contact with several Ooze monsters, it’s best to kill them all now because you will have to fight several kobolds in the next area. If you choose to skip them and keep the Ooze alive, they will just keep following you around the entire dungeon and will serve as a huge distraction. Make sure to use ranged weapons to kill them so that they don’t destroy your equipment.
After you clear the room of monsters head over to the next room. The next area you enter will be very large with a staircase that leads around to two doors. In the center of this room on the bottom floor there will be a large door on the floor with four signal crystals locking it in place. Also on the bottom floor on the far left and right sides of the room there will be two levers, flip both of them to open the two doors up on the second floor. After you kill all the monsters in the room there will be a treasure chest on the right side of the staircase with a few items inside. Once you have everything in the room and all the monsters are killed, you can move on to the next area. We’ll start on the north side door upstairs and then work our way around.
The North Side Signal Crystals
Inside this tunnel you will come to another large room with a pool leading down to a closed gate. In front of you though will be a tunnel filled with pipes that shoot out acid. If you can try to disarm them, but there are valves inside the tunnel to turn them off. At the far end of this tunnel there will be a room with two signal crystal switches on the walls, flip them and make your way back out through the acid pipe tunnel.
When you make it back in the other room, jump in the water with the large gate and swim over to it. Next to this gate in the water is a switch, if you flip it the switch will open the door closest to you, but will close the next door inside the under water tunnel. In order to get through this you will need help from another person who will stay behind and flip the switch for you to get through. There will be another switch on the other side of the tunnel to open all the doors for your other team mates. Inside this room there is a treasure chest with a few monsters guarding it. The monsters aren’t hard so it shouldn’t be difficult to remove them from the area.
The South Side Signal Crystals
Now when you get back to the main signal crystal room, take the south side tunnel.
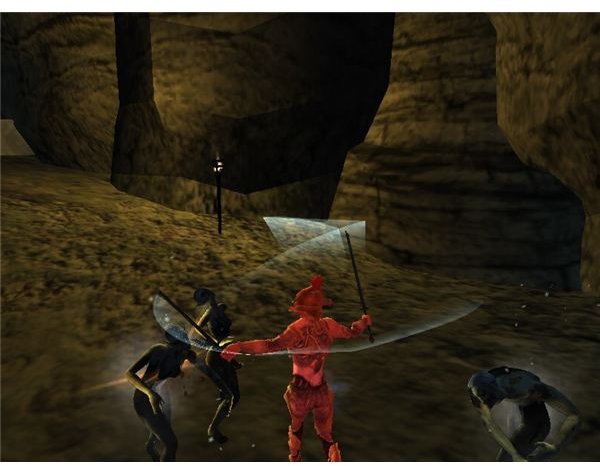
You will see a large room with a spiral “staircase” platform with a small army of kobolds standing on it. You will also see a locked door with no lever in sight. The only way to open the door is to kill all the kobolds and make your way to the top of the spiral; there will be a switch behind the last pillar at the very top. Flipping the switch will open the door down below for you. The next area has yet another small army of kobolds waiting for you, dispatch them and flip the two signal crystal switches that they were guarding.
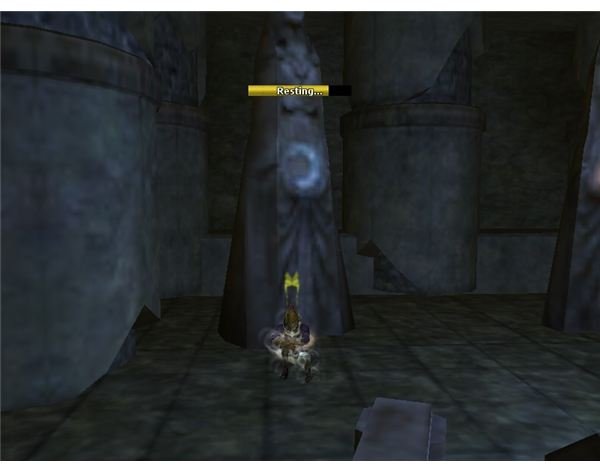
Further down this same hall you will see a closed door with a valve next to it that will open the door for you. Inside the last hallway is a poison trap that shoots out along the floor, if you can, try to disarm it before moving on, if not just try to run and jump past it. On the other side of this room there will be one more door; inside this one will be a resting shrine area to heal and restore your spell points. Now you will have to head back to the signal crystal door room.
This wraps up the third part of this D&D Online questing guide . For more Dungeons and Dragons Online guides feel free to check them out right here at Bright Hub.
This post is part of the series: Dungeons & Dragons Online Waterworks Guide
A series of guides that give a complete walkthrough of the Waterworks.