The final part in the three part guide for Dungeons and Dragons Online Korthos Island.
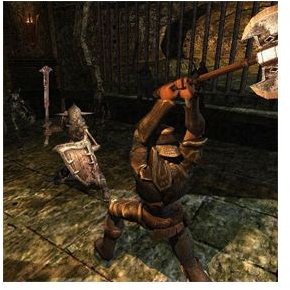
Slaying The Beast
This is the final part in this three part guide series that offers gamers a detailed look at Dungeons and Dragons Online Korthos Island hints, tips, quests and strategies. If you finished the first two parts of this guided walkthrough, then you’re nearing the end of this series and ready to reap the rewards of no longer being a newb.
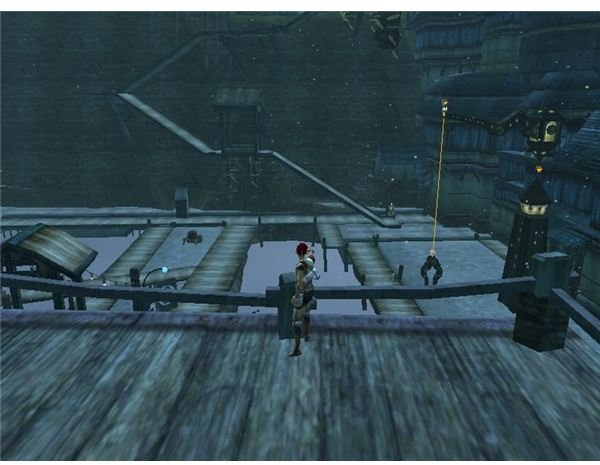
It’s time to head back outside of town and talk with Gunner Bauerson who is standing on the side of the road. He needs you to slay a monster down in the underground sewers that may cause the town problems if it were to awake. Jump off the cliff and into the water below and enter the dungeon. There will be a split path with a switch in the middle of the path to open/close the doors. The left door has traps in it, and the right door only has monsters. Choose the path you wish to go but they both lead to the same place. The next room will have a frozen floor and two guards, one on the left side of the room and one on the right, both are guarding a valve. Kill them and turn the valves to open the locked door and go inside the room. Inside there will be an “ice making” door, close the door to stop it from freezing the floor in the main room. Now hit the gong that is in the same room twice to break the frozen floor. Go out to the main room and jump down in the hole. Flip the two levers on the right and left sides of the tunnel to open the underwater door.
After going through the under water door and coming out the other side you will find a treasure box, take the item inside and move on to fight the Kraak. The boss monster may give a low level player some trouble if they try to solo it, so be careful. There is also a trap right behind the Kraak, so try not to go too far. Disable the trap using your thief skills after you kill the monster, or try your luck to run through.
Solving The Sewer’s Ice Puzzle
Now there is another puzzle just like the one in the store house with the “power tiles”. You have to reverse the flow of ice so that it is facing the opposite way. Start on the bottom right side near the big gate and look back the way you came (that way the directions will be correct). We’re going to first work our way down in a STRAIGHT line. On the right side of the giant cube in the middle of the puzzle you are going to rotate the “L” shaped piece downwards towards the bottom. Now rotate the next “L” shaped piece to the left, and the one below that one to the right and into the power tile. Rotate the piece below that one to the left and follow the pattern back up to connect to the top glowing tiles that the giant cube is creating. It should now activate the bottom right Ice maker.
Now turn on the ice maker on the other side. Go back up to the giant cube but this time rotate the left side “L” shaped tile so that it is facing up, rotate the one above that to the left. Now change the last tile so that it is horizontal and leading off to the bottom side. Rotate the bottom side “L” shaped tile so that it connects with the horizontal one. There should now be one more straight line piece, turn it horizontal as well and connect it to the “three way cross” tile. Turn the “three way cross” tile upwards and connect it with the final “L” shaped tile. This should now activate the second ice maker and freeze the beast on the other side of the gate. Finish the quest and report back to Gunner who is at the top of the cliff
The Sacrifice
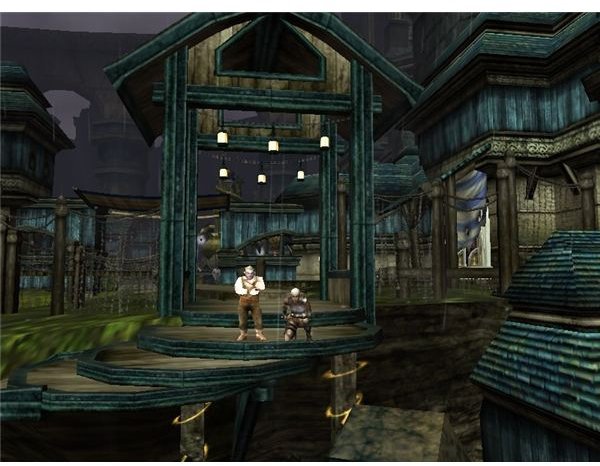
Now return to Korthos and talk to the Mayor to help save his daughter. She was taken to the cannith aqueduct located to the farthest eastern most part of the map. Just keep following the path east…it will take you right there. You will know you are in the right place when you pass the merchant dwarf who is sitting out in the fields, the aqueduct is just north past there. If you run towards the mountain and go on the right side path, there will be a road that leads to some resting shrines; just beyond the resting point you will see the aqueduct. This dungeon instance is a bit hard, so bring some help.
When you enter the aqueduct you will come to a point where you have to free some prisoners. Flip the three levers in the room to open the prison gate and then talk to the prisoners to send them home. At the bottom of this room there is a pit of water with a locked door. Hidden behind this door is a treasure chest. Swim down, open the door and take the loot. In order to open the door you will need a rogue with you on the team, otherwise you will just have to skip the treasure chest.
Sacrifices Optional Quest
In the next room you will have to go down a ladder, but instead of going down jump across the support beams to the other side of the room. When you get to the other side of the beams you will find the secret skeleton boss. Kill it for some extra experience. He can be very hard to kill so be careful, it’s best to have some friends help you out. Kill him and take the treasure chest behind him. At the bottom of this ladder there is a room with some resting shrines in them. Use them to restore your health.
Saving Arissa From The Sacrifice
Now you can go back to following the dungeon the normal way. Right after the optional quest room, you will climb up the ladder and will come across a trap near the top.
So move cautiously and disarm the trap, then move on. If you have no one to disarm the trap just try to run through it. Now all you have to do is flip the final switches to open the locked doors, save the girl, and slay the evil wizard that captured her. Make sure to save all the captured prisoners in the other room as well for some extra exp. Return back to the Mayor to gain your reward. If you repeat this quest Arrisa’s position will change and she will no longer be in the wizard room, but instead will be with all the other prisoners in the last room.
Necromancers Doom
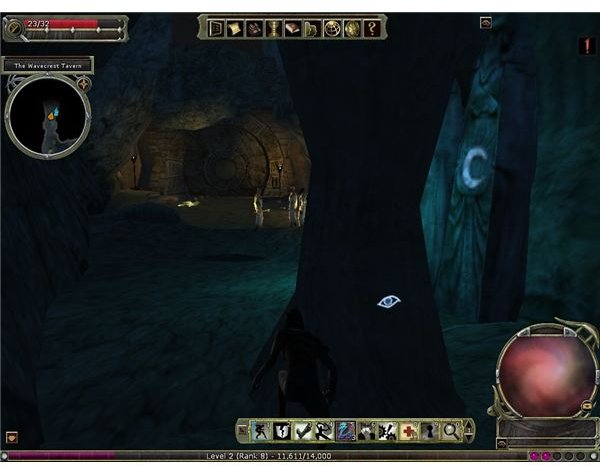
For this quest you will have to go talk with Handsome Wilm near the harbor to gain the mission. Your main objective is to save a lady named Drusen who has recently gone missing. Make your way to the decrepit catacombs located just beyond the Cannith ruins. Right after the ruins you will see a river with a bridge that was made to cross over it, if you head just north of this bridge you will come across a second bridge that has a path that leads down to the river. Follow the path that is connected to the bridge and head south to reach the catacombs. Or if you wish to take the faster way, just jump off the cliff and into the river, however this is not recommended though because the water is very shallow and you will take a bit of damage when you fall to the bottom.
The Necromancer’s Final Curse
When you first enter the cave there will be a hidden wall that blocks your path. On the right side of this room there will be a switch covered by cobwebs, flip it to open the secret door. On the other side of this door there will be a room with a jail cell covered by a magic barrier, in order to bring this barrier down you will have to flip two switches, one on the right side of the dungeon, and one on the left side. After flipping both switches the barrier will fall. Becareful though because the path on the west side will be locked down, and any players who walk through will be trapped in the room until all the monsters are killed.
After both switches are flipped go back to the main room. When you go to open the cell’s door a boss monster will spawn behind you. Becareful they can be a bit hard, especially on harder difficulty settings. Fight and kill the two monsters so that they will drop the key to the cell. Pick the key up and go open the door to save the girl. There is also a treasure chest in the cell next to the girl, but sadly you can only open the second door if you have a rogue with you. When you are done with the mission, return to Wilm back in town to complete the quest and gain your reward.
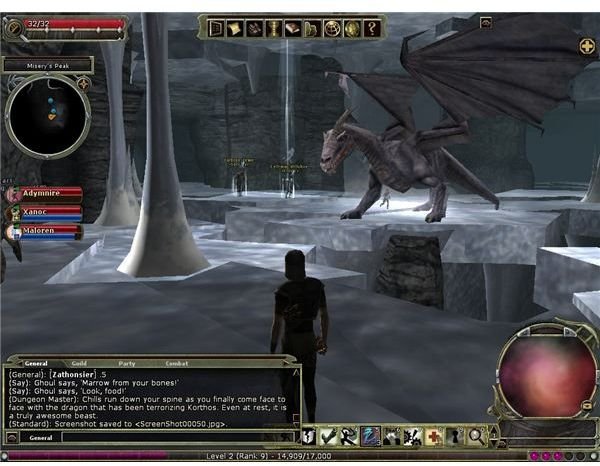
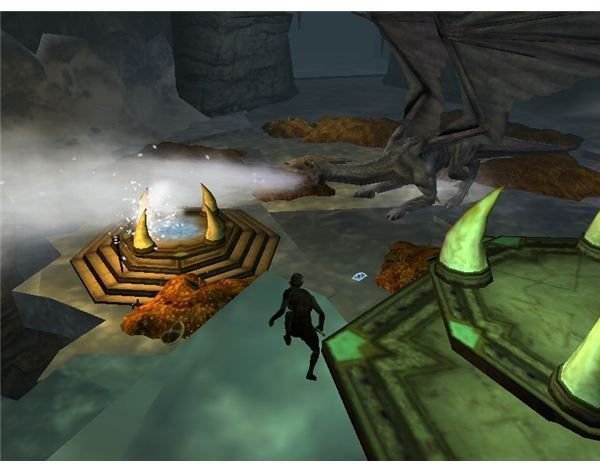
You have made it this far, it’s now time to finish your job. For your last and final mission you will have to go to Misery’s peak to save the town from the ice dragon. That wraps up the entire Korthos Island quest guide. You can find more Dungeons and Dragons Online guides as well as other MMORPG guides here at Bright Hub.
This post is part of the series: Dungeons and Dragons Online Korthos Guides
A series of quest guides detailing all the missions in Korthos Island.