Dead Space is a game that requires logical thinking and puzzle solving ability, and not everything is perceived as logical by both game developers and players at the same time. If something in Chapter 9 DoA makes you confused, this walkthrough is for you.
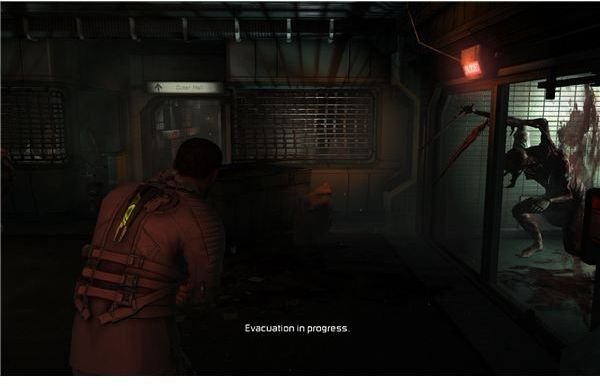
Exit the tram and listen to the message. There is a box and an Upgrade Bench in the room, as well as another box in the waiting room. Proceed through the doorway by walking down the corridor and you shall find another box and a store. Continue moving, smash a crate and enter the round door. Open a panel and continue through another identical door.
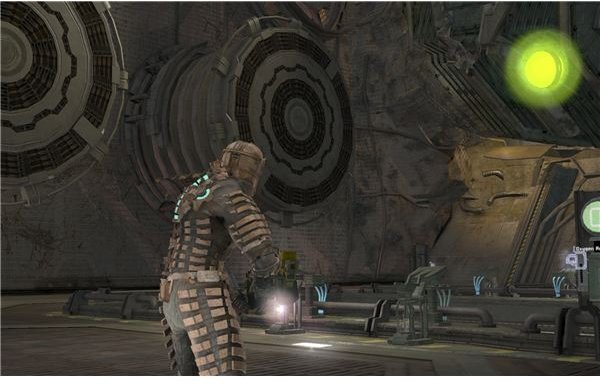
Once again you are in a zero gravity area. Jump down and cut off the plasma circuits that are golding the huge shaft in place (see picture). As soon as you do that, area becomes vacuum, but don’t worry, there is an Oxygen Recharge at each side of the shaft. Now jump around, grab the green radioactive orbs and toss them out into open space through the shaft. It is easy to get lost in the conditions of zero gravity here, so I recommend you memorize your previous jumps and location of the shaft and return to the floor for oxygen regularly.
When this is done, jump down and look around. You need to jump near a round shaped tunnel marked with yellow lights, opposite of the entrance, and walk into it. Then proceed through a set of two doors. A box can be found to your right. Then go forward, turn left, evade the dangerous area with gas going upwards and reach a Save Station.
Enter the next room. After looting the box to the left, turn right. The area is full of containers; those that have flashing kinesis emblem can be moved - push and pull the containers that stand in your way until you get to the other side of the room. They are set on tracks, however, and therefore move only in two directions. Various ammo and boxes may be found between the containers as well. After reaching the other side, move away two smaller containers blocking the door to Torpedo Room and enter it.
Get rid of another two containers that block your path. To your left is a box, another one is in the middle and two more are at the far wall. Enter the large door. Walk forward, open a box and reach a Save Station. Continue forward, then try to enter a door to your left. Walk across the room, pull out the battery from the wall and bring it to the slot that powers the door you previously tried to enter. Enter the door; it happens to lead into elevator, so activate it.
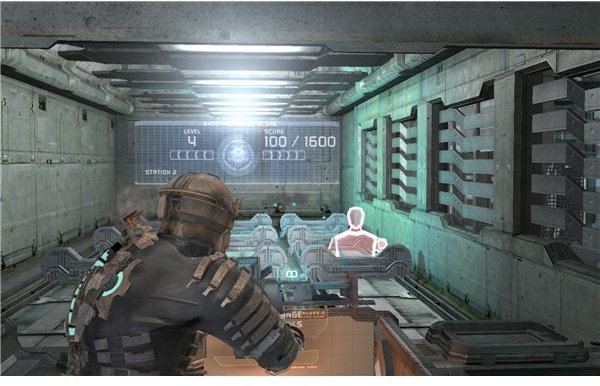
Exit the elevator and enter the corridor to your right. Another right turn leads you into a small room with a panel and a crate. Continue through the corridor, and enter the door. There you can find a Power Node, an Upgrade Bench and some crates. Near the Upgrade Bench you can find an audio log, a panel and shooting range. You can use the shooting range by activating the blue console. Shoot the red targets only. You have infinite ammo and do not need to reload while using the shooting range. Difficulty increases with each level and targets move faster. If you complete a difficulty level and hit all the right targets, you shall be rewarded with some ammo or Med Pack for levels 1-3, at level 4 I got Ruby Semiconductor, and, after beating the final, 5th level - a Power Node. I completed the last level by increasing my mouse sensitivity a bit, using Pulse Rifle in short bursts and pressing CapsLock (targeting mode).
After you are done toying with the shooter range, head back to the bigger room. Enter the door labeled “To Infirmary”. There is a Stasis Recharge for you. Proceed through the next door. To your right is a box. Slow the laser device using kinesis and run past it; you can grab items from the sides of it with kinesis. There are three more crates in the room and a schematic for Large Med Pack. Exit through the door.
Go right and grab some Ripper Blades, as well as a Power Node. Now continue through the other branch of the corridor. There is a Save Station, some ammo, a Small Med Pack and a crate. Now enter the Barracks. Every column has an openable panel on each side, and the right wall also contains a Medium Med Pack. At the end of the corridor there is a Store and a text log. Exit through the door and grab

the ammo.
Continue forward. You’ll reach a Save Station, then find a crate and proceed through another door. Go to the end of the corridor, loot all the crates and enter the huge door. Loot a panel on each side, then use the cargo lift to go up. Now choose one side, grab the cylindrical object and move it to have a cover from the flames. In the middle of the room there are columns with plasma circuits on them. You must shoot all the circuits on one side, then run to the other. When the circuits are broken, the flames stop and you are able to take the Singularity Core in the middle section of the far wall.
Listen to the message. Exit the room through the door to your right, loot the crates, go down, loot there and enter the door. Continue forward, exit through the huge door, then get through another door and continue moving through the corridor. After a crate and a panel you will eventually reach an elevator; place the battery in the slot and use the elevator.
Exit and turn left or go forward and save first at the Save Station, if you want. Open the door to External Airlock. Exit the corridor and jump to the ceiling - you are once again in the zero gravity area - and then to the doorway you used to enter this room earlier. Enter the door, then get through another one, smash a crate, then proceed through the corridor until you reach the Tram Station. Enter the tram and use it. Chapter 9 complete.
Walkthroughs for chapters 10, 11 and 12 will be published under series “Dead Space Walkthrough Part 3”.
This post is part of the series: Dead Space Walkthrough Part 2
A series of walkthroughs, one for each mission from 6 to 9, of Dead Space, that help you getting through the difficult moments without spoiling the fun!