Valiantly fighting off various Necromorphs and solving challenging environmental puzzles has brought you as far in this game as Chapter 8. Don’t let your progress be hampered - refer to this walkthrough when in need!
Chapter 8: Search and Rescue
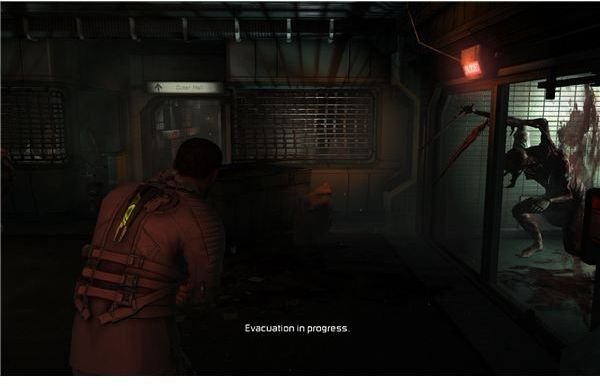
Exit the tram. Once again you have returned to a familiar area - the bridge, which you visited in Chapter 4: Obliteration Imminent. Listen to the message. Another panel can be opened now. Proceed through the door. Continue moving until you reach the store, then turn left and enter the Main Atrium.
Each side of the room contains another pair of crates that can be opened now. Remember that a Save Station is located down behind the USG Ishimura symbol. Enter the elevator - there is only one working now, another is filled with organic mass
- and go to level 3. After exiting the elevator, continue onwards, smashing and opening crates and panels, until you reach another Save Station. Proceed through the next door. There are more openable panels on the wall. Move away the things blocking your way with kinesis and enter a door labeled “To Comm Array”.
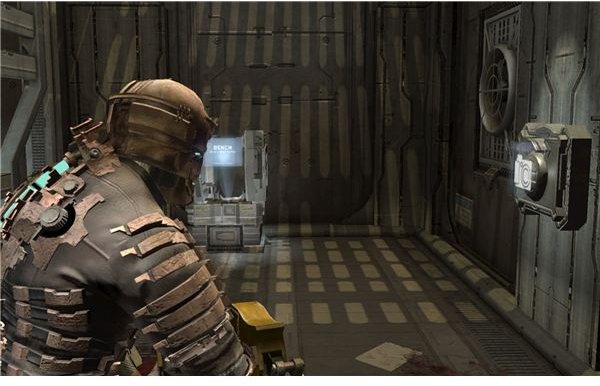
An Upgrade Bench and a Save Station await you. Then use the cargo lift to go up. Grab the audio log and proceed through the door.Take the Power Node, step up the platform and activate it. After the ride, enter the next door. Grab the Medium Air Can Schematic, use the Stasis Recharge if necessary, save your game at the Save Station and enter the next room. After smashing a crate, looting the panels and pick up a Power Node, then proceed through the round door to Comms Array itself.
You are in a zero gravity area. The Comms Array array is essentially a puzzle - it contains broken (red) pieces and working (green) pieces. Your objective is to make a circle out of the green pieces by putting them into the same place in every row. This is done by using kinesis. The red ones can be pulled out and thrown away - you do not need them. A display on the wall shows the current status of the Comms Array.
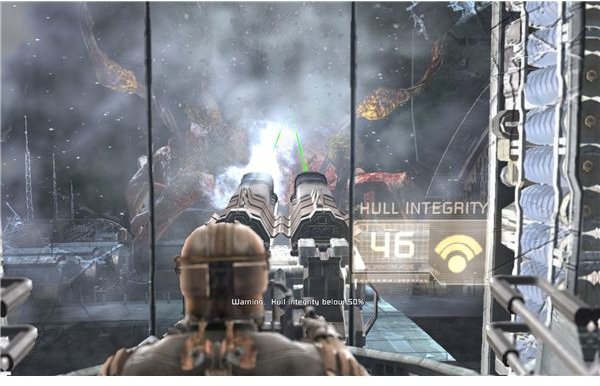
When this is done, return to the room with Save Station. Now you can activate the console below the window. Return back to the small “safe room” shown in the picture above. Exit the room and enter the elevator to your right. Loot the crates, then proceed through the round door. Take a Power Node, save at the Save Station and use the device in the middle of the room to sit down and take control of the cannon. Shoot at the yellow weak spots of the tentacles and various objects they are tossing at you. I recommend to shoot at the orange canisters while the tentacles hold them - they do quite a lot of damage that way.
After defeating the monster, listen to the message and watch the cutscene. Exit through the round door. Use the elevator, also remember that just left of the exit is a room containing Upgrade Bench if you need one. Then proceed walking through the corridor until you reach the elevator to Main Atrium. Use it to get to Level 2 - Main Atrium itself, respectively - and proceed through the familiar corridor back to the tram station.
Use the tram to complete the chapter and move on to next one. Yes - that’s it! Chapter 8 is very, very short but, in my opinion, quite interesting and eventful.
This post is part of the series: Dead Space Walkthrough Part 2
A series of walkthroughs, one for each mission from 6 to 9, of Dead Space, that help you getting through the difficult moments without spoiling the fun!