It’s time to go back to the Civil War and make another attempt to pull Joseph Welsh out of the fire. You’ll need to help the Union attack the Confederate forces at the Church and then hold it against one very strong counterattack. If you need any help, then look here.
Push to the Field
The battle is just heating up. Rush out and into the road. Things are a little chaotic, so pay attention. A few Confederates are holding their ground down the road. The Union cavalry should soften them up well. Take out the stragglers and advance to the officer. You should see a whole battalion rush across the road to join the attack.
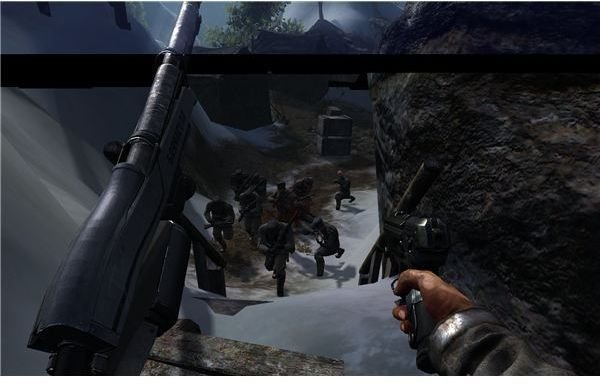
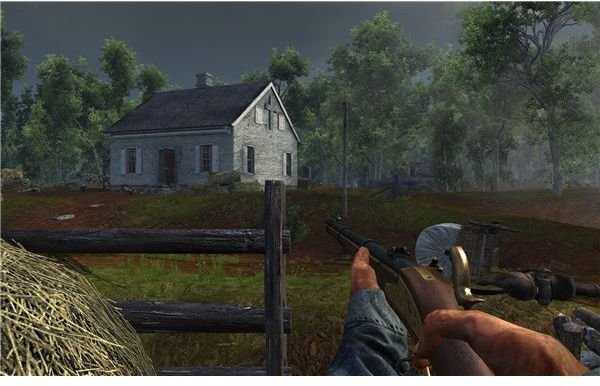
Crouch behind the hay. The wagon isn’t a good spot, since your left side is exposed to the Confederates in the field. The hay offers complete protection from the rebel assault. Once you’re behind cover, pull out your pistol and start picking them off. You really don’t have to kill too many of them. You just need to survive the assault long enough for the reinforcements to save the day. After about a minute has passed, a large amount of Union soldiers should join the fight and rout the rebels.
An Uphill Battle
Advance further and into the main field. Another Confederate firing line forms at the top. It’s actually the least of your worries though. 5 Confederate cavalrymen charge in and start circling the field. They are incredibly deadly and accurate. Hang back and try to pick them off. The trick is using the musket to firing right into the gut of the soldier or the front of the horse. Just take all 5 of them out. Once they’re dead, advance a bit and attack the firing line. With the cavalry dead, they should all rout after a few kills. Charge over the hill to get a cutscene and a big surprise. Seems like they had a lot of reserves.
You’re in a firing line again. Your only option is to keep picking them off with your musket. There shouldn’t be much danger to you, thanks to the large number of warm bodies around you. Just pick off a few of the soldiers without auras to kill time until an officer on a horse moves up behind them. As soon as one of the soldiers mentions wanting to knock him off his high horse, snipe him. The enraged Confederates charge the Union line and things get a little hazy. Once your sight returns to normal, look around. The Confederate line should have broken completely. There’s just a few stragglers around. Help the Union survivors pick them off and then push forward through the hole in the fence.
Into the Valley of Death
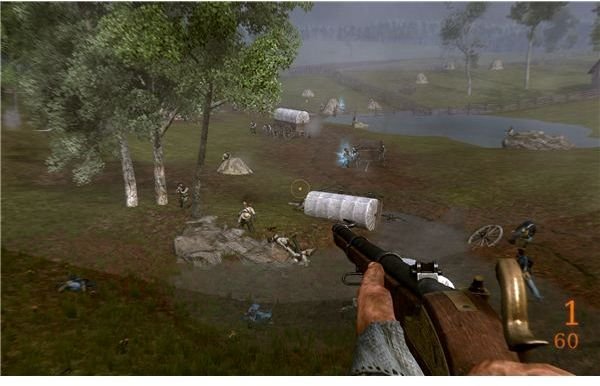
This next spot is just a standard battle. Move over to the big rock by the fence. This is a great spot. Pick off the Confederates by the wagon on the right and nail any stragglers on the left. Then climb up the curved rock and use this as a sniper’s perch to kill the rest of the Confederates by you. Advance a bit to push out the last few near the back fence. You’ll get your orders to charge the cannon battery once the last one dies.
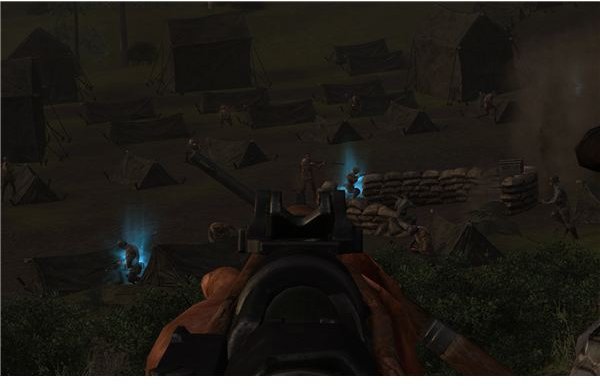
Charging the cannon battery isn’t much different. Advance to the first pile of hay and then hold your position. There are only 2 real problems. The first is that the Confederates are advancing from the cannon position. It’s not unlikely for several of them to use the other side of your hay pile as their cover. This could obviously go wrong quickly since a musket is deadly at close range. Hit “F” and give them a quick stab from your bayonet to solve this issue.
You’ll also need to keep your left and right sides covered. The left side by the fence tends to have a lot of stragglers firing on the field. There are also a few more on the right side. Just be very careful and try to clear the field as much as possible. Advance a bit on the right side to try and convince the rest of the Union line to advance on the battery. They should rout soon and give up the battery.
Fight for the Holy Ground
Turn and get ready for one more charge. This one isn’t too bad actually. Advance up the hill and get behind some hay. Pick off a few soldiers near the top and then look to the right. Your mission is to hit the small guard position behind the fence to the right. There should just be about 6 guys. Once they’re dead, you should be able to get right next to the church. Kill a few men on the right side and watch for a moment. Dexter’s group will advance on the church from the right and effectively crush the entire guard. Kill a few stragglers around the area. Then go through the church and make sure that it’s cleared out. Also look around and see if you can find a Henry rifle. Fire at a few more of the Confederate soldiers to drive them off and secure the church. Dexter will give you the update when he sees you.
This is a standard defense mission. You and a skeleton force of soldiers need to hold the church against a major counterattack. You’ll drop whatever weapon you were holding and get a fully loaded shotgun to help out.
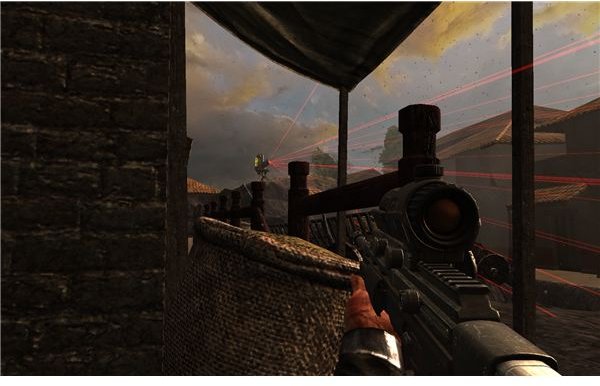
This is a simple concept that is quite difficult. You can’t just hide in the church. They’ll surround you and gun you down if you do that. You need to fire while moving quickly around the church. Step outside and watch the side by the forest. Take cover and use the Henry rifle for now. Pick off the wave of about 15 men. A second wave will hit the other side just as you finish up. Use the open door for cover and attack them as they set up.
Once this is done, a huge group will attack from the back side of the church. I suggest that you just whip out the shotgun and start firing into the crowd. Just circle around the building, watch your back, and fall back into the church if you need to heal. Some of it will just come down to luck though. If one Confederate manages to get behind you, then you are in a lot of trouble. They should eventually break.
Once you get the signal, just fall back to the marked exit.
This post is part of the series: Darkest of Days Walkthrough - Arc 2
This second part of Darkest of Days really heats up. You’ll need to hijack a zeppelin, finally rescue Welsh and Petrovich, and take part in the final confrontations for Antietam and the Russian front line. If you neeed any help turning the tide, then look here for help.