Well, we’re finally done with the Saudi Arabia section of this Alpha Protocol Walkthrough. It’s time to move against Shaheed and seize the missiles that he’s hiding. I’ll tell you how to make it through this level, kill Shaheed’s lieutenant and finally capture or execute Shaheed himself.
Introduction/Intel/Inventory
This one is actually pretty simple. We’re going to have to do a little bit of shooting, but we can mainly stay with stealth. Even the boss fight has a stealth option for you.
There is no good Intel for this level. There’s a map for sale but you don’t need it. We’re going in blind and that’s just fine.
I suggest you take a good combat loadout. Note that stealth players will probably alright with their normal setup. Combat players need to make sure they carry an assault rifle though. It will be the only way to get the range you need for a few of the battles and especially the boss fights at the end. On the bright side, you’ll also get a new assault rifle as a reward.
The Same Old Air Control Tower
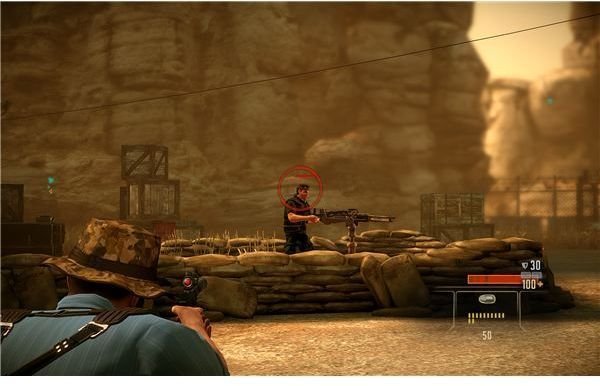
Well, we’re back in the airport but you don’t have to sneak your way through. Sneak out and take down the first guard, then shoot the second guard who’s on the turret. Just use a silenced round from the side. Move around the cameras and then go on up to get into the air control tower itself.
Move on over and try to make your way to the barracks. It’s next to the server room. Move on over and take down a guard by the bunks. You can grab some cash on one of the beds too. When you move back, try to do a takedown on the guard in the server room. Just get him as he passes around the corner. You should have done this last time too, so it’s the same move. Move down the steps into the basement after he’s been taken care of. You can also hide here if you set off an alarm.
There actually aren’t any guards down here, so you should just be safe. Check for supplies and then look for the computer down here. You can hack it again for $5,000 and some more Intel on Al-Samad. Go back upstairs and crack the safe for more money.
You can move up and pretty much pull the same tricks as last time. The stairs aren’t too heavily guarded, but there are two elite guards in the control tower. Move up carefully. One has his back turned and is just reading the flight records. Hopefully you can do two takedowns without being spotted. If worse comes to worse, then the tight area should make for an easy melee fight.
Crack the computer in the corner and then check the bug on the flight recorder. It seems we have a ways to go to get the missiles, so let’s get moving. Move back down the stairs and turn to the left. One guard will kick in the double doors and start searching. If you’re standing to the side of the doors, then you can just do a takedown.
Move along the compound wall and use the console to open the gate up and enter the airplane graveyard.
Airplane Graveyard
Move down this path and take a moment to survey the area.
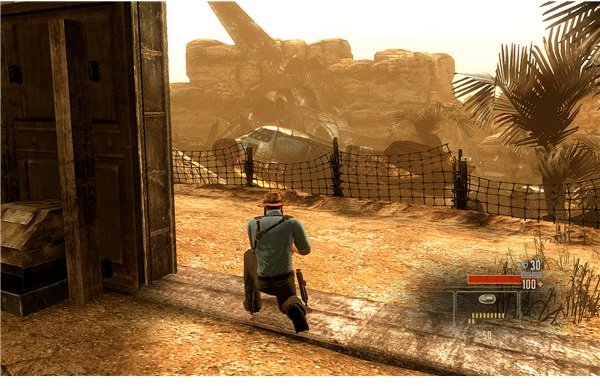
This is one of the few times that I’m going to suggest that you just leave the guards alone. It’s too big of a pain to deal with the guards, especially since the guards up ahead at the security checkpoint tend to see the takedowns or bodies. There is also an unforgiving camera up ahead that you want to go around anyway.
Wait for the two guards on the ground to turn around and start walking away from your entrance. Follow the one on the left and cut through the gap in the wreckage to slip right behind the second guard. Jump over the fence and quickly maneuver through the wrecked plane. Grab the duffle bag and then climb up on the wing of the plane. No one should be able to see you up here. You can wait on the wing until one of the rear guards steps under the drop off point. If you jump down on him, it will be the same as a knockdown. You can then stomp on him to knock him out.
Advance up to the guard post and sneak through the open gate. Note that you need to just leave the console alone. It will just close the gate if it’s already open, so naturally we want to avoid that. Get through and it will all seal off behind you.
The Guard Post
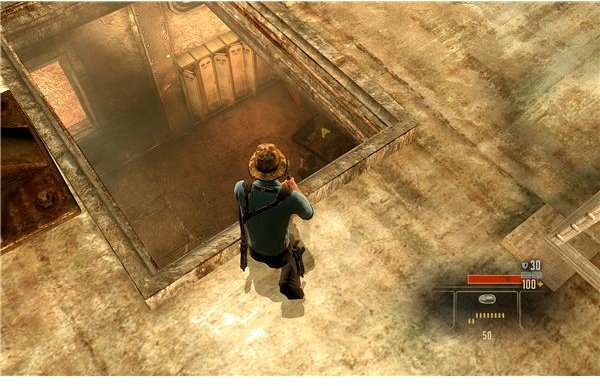
The next gate is sealed off, so we have to make a detour. Shadow the first guard here. You should be right behind him. Take him out and approach the guard shack up ahead. This is really difficult to do, since there just isn’t a way to take them out simultaneously. Stealth players will just about have to use a stealth ability, like Evasion, to actually pull it off.
If that’s not an option, then you can climb the roof and crash through the skylights to surprise them a bit.
I managed to do it without alerting them. although it was mainly a lucky attack. I put a shot through the window and dropped the closest guard. The other couldn’t see me and just freaked out over it. I then went up on the roof and through the skylight to ambush the remaining guard.
Once they’re down, just hack the computer and signal the gate guards. Move back to the locked gate and it should be open but with a guard waiting. Wait for him to turn his back and quickly do a takedown. Move through the gate quickly. You can check this guardhouse here, but it isn’t vital. Watch the alley to the left and wait for this guard to turn around too. You can do a takedown on him and hack the door to enter the main warehouse.
The Warehouse
Unfortunately, there isn’t a lot I can do to help with this one. You basically just have to move through quickly and aggressively. Even stealth characters have to move quickly to avoid being spotted. Just try to go with the flow and you should be fine.
Hack your way into the warehouse itself and get ready to move carefully. There are several guards patrolling the floor and one in the catwalks above. I can’t give exact directions, since you basically just have to go with the flow. Use the crates for cover and do takedowns when you can. Most of the guards have overlapping paths, but moments of vulnerability near the crates in the middle. You should be able to just pick them off as you move for the door at the back left. Go through it to advance to the final stage.
Cutting Off Shaheed
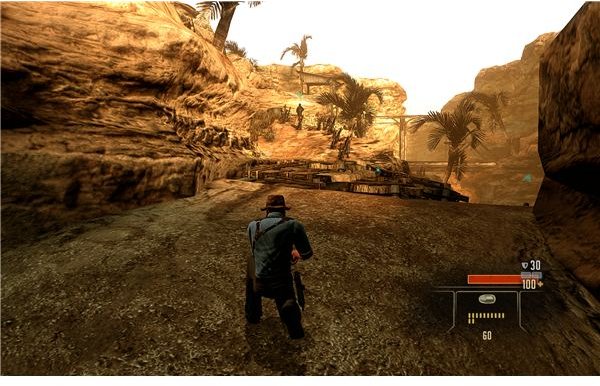
We finally have Shaeed in our sights, but we need the missiles too. You can’t do much for the convoy just yet. Note that there isn’t a time limit on this, so don’t worry about speed. We just have to keep moving along the side road to set up an ambush. This start up is a real pain. Evasion really helps. The two turret gunners will chew you up if you’re spotted (unless you pick them both off first with the assault rifle, which is a decent strategy.
The ground guards can just be avoided. Stick behind the first and then use the crates in the middle for cover. Hang close to the towers themselves and then shadow the second guard to the fence. Do a takedown and then leap over.
Take the high road and do a takedown on the lookout. Loot his stuff and then look down. You can drop off of the ledge, but there are two guards below. Either drop down on them and beat them up or try to drop down between them as they separate and do two quick takedowns.
Move along the path and leap over to the ambush point.
Alpha Protocol Boss: Shaheed’s Lieutenant
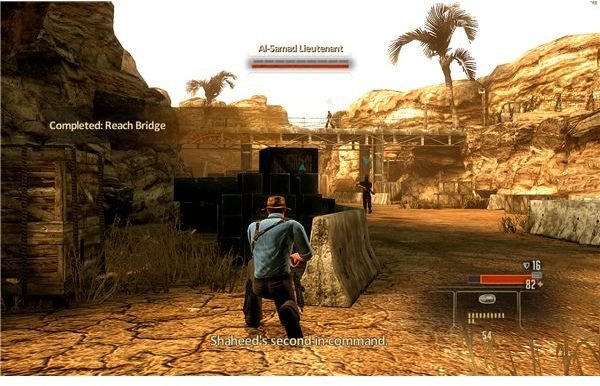
This is our first real boss fight. We actually have two options though. There are three guards searching for you along with the lieutenant at the top. He has an assault rifle and he is very accurate. There’s a fair bit of cover, but most players will still take a whole lot of damage trying to get into position. He’s also got a lot of cover, so it will be difficult to kill him from the guard. The guards have easy to spot patrols, whereas the lietenant moves between two points. You will want to stay behind cover when he’s looking out. He has a very large line of sight from up on the bridge.
Note that you don’t have to fight him. If you get behind him at the objective point without being spotted, then you’ll do a takedown in a cutscene and it will be the same as a kill.
True combat players should just get behind a concrete barrier and shoot it out with the guards and the lieutenant. Time your shots and you’ll be fine. If you have trouble doing damage, then you can also rush up the steps and flank him. There are some boxes up there that provide cover.
Stealth players have it a little more difficult. Use the silenced pistol to pop the first wandering guard from your original cover. Then go up to the next batch of crates and barriers on the left side. Wait for the guards on the ground to separate. The lieutenant will see a takedown, but will not see the bodies. You’re fine if you just shoot them quickly from cover. Counter intuitively, you need to actually hit the last stationary guard under the bridge while the second moves further away. Kill him the guard and wait for the second to come back into the range from the side. Kill him with a takedown or another shot. Your way is now clear. Go up to the steps and use the boxes for cover. Wait for him to look out over the bridge. This is your signal. Step behind him to take him down.
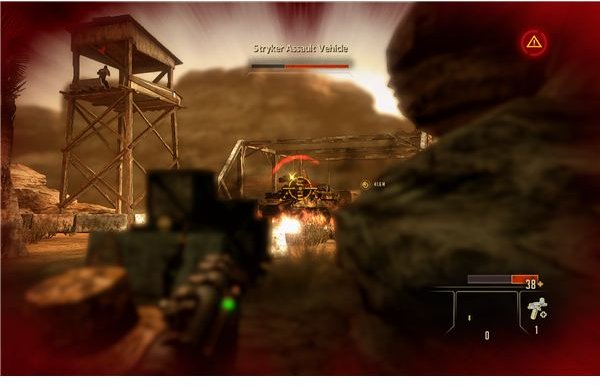
Alpha Protocol Boss: Shaheed’s Stryker
Yeah, we’re still not done.
The convoy is now here and trapped, but we still have to kill a Stryker. The Stryker can use heavy machine gunfire to do a lot of damage. Thankfully, it has a long cooldown period and should give you pretty clear signals for when it’s about to fire. Move between cover in between shots, or just sprint from cover to cover. It can’t track you that well.
There are three guards in the area. Two are confused and on the ground. One is on a machine gun in the guard tower. I suggest that you just ignore the gunner in the tower. He can’t do much to hurt you if you stick to cover. The other people can just be beaten up or quickly shot from close range. They’re worth killing, since they can be pretty annoying and one is in the way of a missile cache.
You just need to hit the stryker with a few missiles. There are launchers laying on both sides of the road. Just move from cover to cover and take the time to line up your shots. It shouldn’t be too hard to avoid it’s machine gun fire. After a few hits it will all be over.
You just have to decide whether to spare Shaeed or not. That call is completely up to you. Note that there isn’t much in the way of a material differences. It’s mainly a story decision.
This post is part of the series: Alpha Protocol Walkthrough - Saudi Arabia
We’re now a part of Operation Desert Spear. We’re moving into Saudi Arabia to kill Shaheed and try to find the missing Halbech missiles. This operation will require us to capture the arms dealer, Nasri, raid the Jizan stockpile and bug the Al-Samad airfield. This guide has all the help you need.