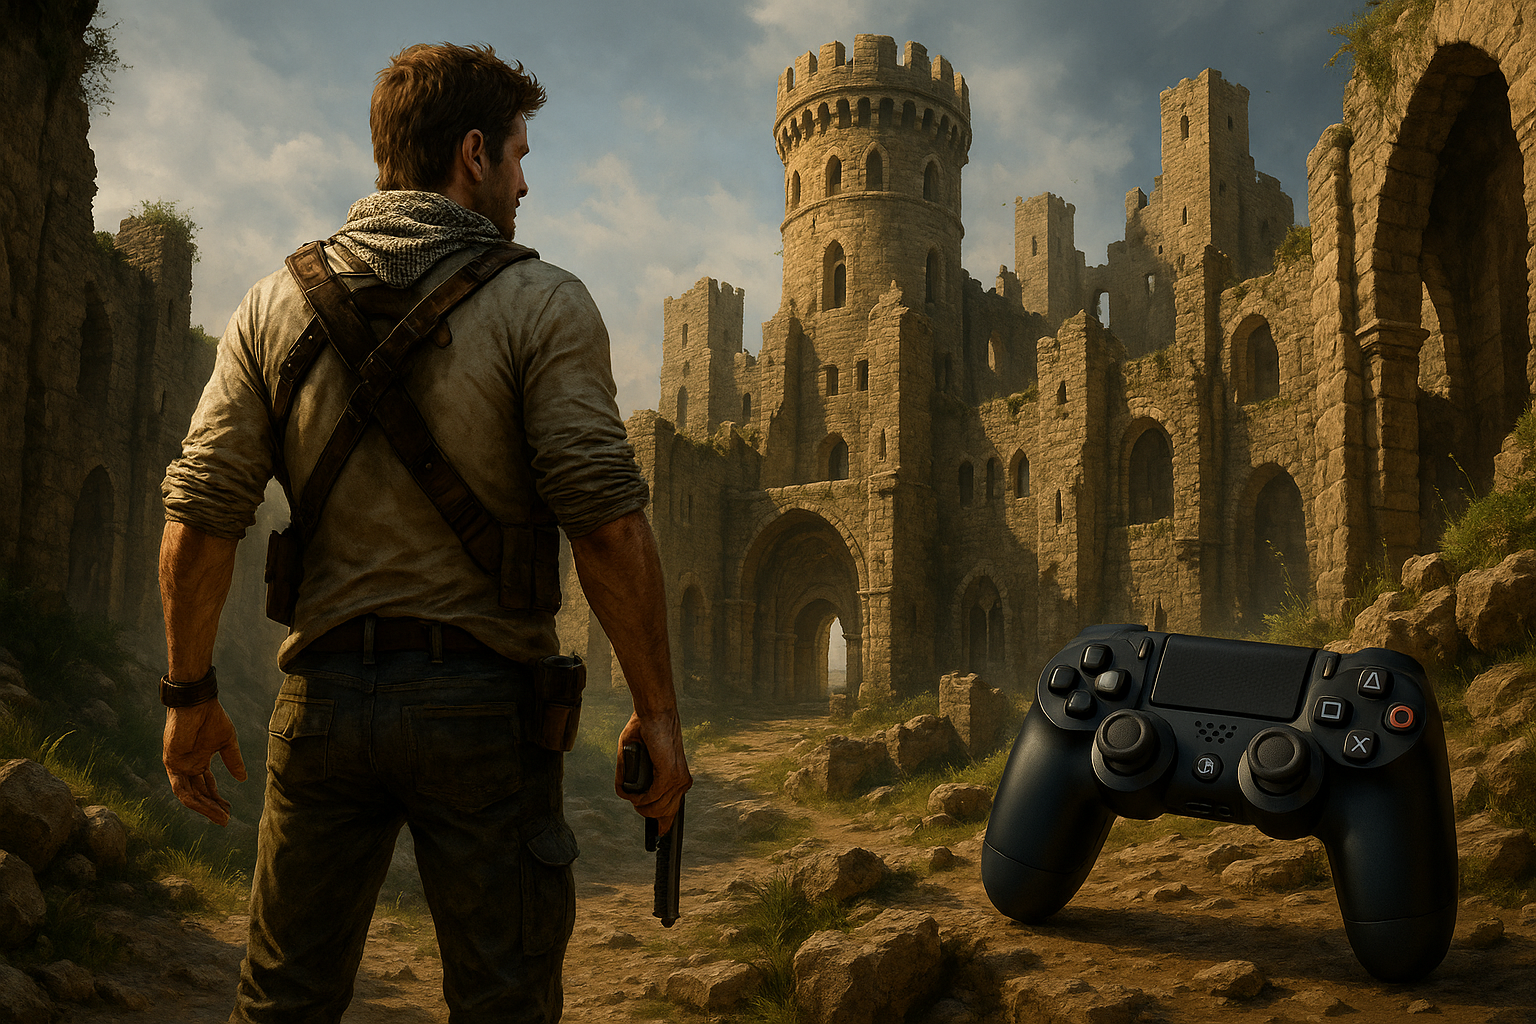
We’re going to an old castle for this one, and it’s going to be one very long battle. You’ll need to deal with a ton of Marlowe’s thugs, make your way to the top of several towers and finally track down the path to the main tomb, which has some very fancy puzzles waiting for you.
Slipping In
It looks like we have to break into it, like always. You should be able to climb your way up onto the raised pathway through some creative climbing. Once you’re over the garrison walkway, you can start moving forward. There’s a little area marked off with caution tape, and that’s just begging to be explored. Jump over the markers and drop off the edge. Hang for a moment, then drop off to one of the arches below. If you climb over to the one on the right, you should be able to grab the first treasure in the chapter.
Climb back up and approach the door. Sully should point out that just charging in is a pretty bad idea. If you go on the right side, you’ll be able to work your way up some railings and rocks to get into a raised window, and from this point you’ll be able to see a few guards.
If you want, you can do this in a completely stealthy manner. I believe that there is no real benefit to this, unless you just enjoy stealth. There are five guards, and the ones on your side are fairly easy to slip behind for quiet takedowns. Crossing the divide will be hard, but if you just watch the surviving patrols, you’ll find that they give you a few options.
If you want to go in shooting, try to do takedowns for the few guards on your side, then get into a nice position by a rail and take out one of the survivors with a quick burst. The rest will be easy enough to pick off once they start shooting. Just return fire and you’ll be fine. Loot the bodies, then go to the door and lift the bar to let Sully in. He’ll then help you spin the wheel and open the door to the next area.
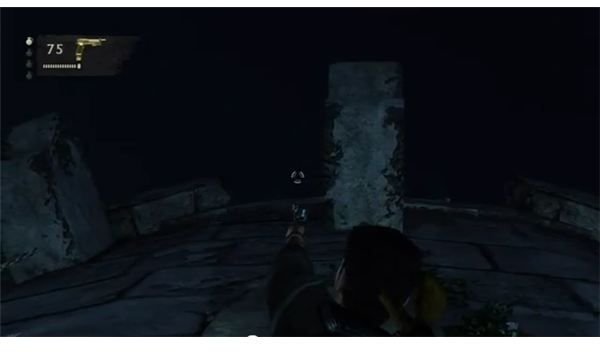
Move forward until you can see a locked gate. Note that there’s a glowing treasure on the wall here. If you look a bit above and to the left of the locked gate on a nearby wall, you should be able to spot the glimmer. Shoot it to knock the treasure down so that you can pick it up. The locked gate can also be opened with a simple shot, so blow the lock off and go forward. There’s a statue just past this locked gate with a treasure at its feet. Grab it.
Inconvenient Locks
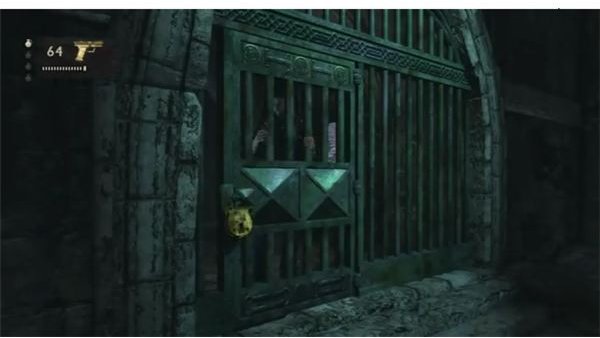
The next set of locked gates won’t be so easy to get through though. Once you confirm that you’re locked out, you’ll need to look for the nearby well. Jump into the bucket and get Sully to lower you down to take the low road past the gates. Approach the scaffolding ahead, and climb up to the raised railing. Just hang here for a moment until an unlucky guard walks right up to it. You can safely pull him over for a quick takedown.
Jump over and use the right wall for cover as you watch for the flashlight to appear. Hang back for a moment, and you can slip right behind this patrol for an easy takedown. Turn around and watch the hallway to the left. If you hurry, you can go behind the patrol by doing a little circle and stealthily clear the whole area.
Loot the bodies, and run around through the patrol routes to find a treasure lying on the ground, then climb up to a new area in the back. Look out the window in this first tower and you should be able to see Sully waiting by his door. Fire a shot or two into his lock to let him out. You can go through the hole in the wall to reach your own locked door. Wait a moment, and Sully will shoot it off.
As you walk out, turn around and search this corner of your building for another treasure stuck to a wall. If you look up, you should be able to find the glimmer. Shoot it down, then grab it. Once you have the treasure, go ahead forward through the only unexplored archway to find Chloe and Charlie.
The Tower
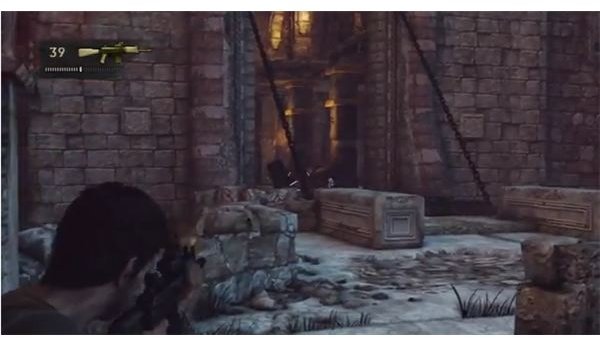
Once you regain control, you’ll run into the man group of Marlowe’s men in a large courtyard area. You can do this stealthily, but I don’t see much of an advantage to it. If you do it quietly, fewer people will spawn, but you’ll have to do all the takedowns yourself. If you get into a firefight, your whole gain will join in and make it fairly easy. Plus, the firefight is just a sniper’s dual in which you have access to lots of assault rifles and pistols that are lying on the different stone tablets. Just pick out a target, then settle in and take out the reinforcements.
Once again, cross the path and look for a gate and some stairs that will take you up to a large tower structure. Go up the steps with your group, and reach the second floor. There are a lot of thugs up here, including a new armored mercenary with a shotgun. The halls are narrow, so either use a shotgun or fire from the hip for easy kills. Running forward and using melee is a good idea too. The men are usually spread out enough for easy kills. The armored merc will show up last, so just rush him and take him out with a longer series of attacks. There’s also another treasure up here. Check all the windows to find it.
When you’re ready to do so, go up the steps. Leap over the rock that falls until you get trapped in an ambush. After it finishes, you’ll be left outside with some chains. This is actually a simple puzzle. You can run along the walls with your chains, and climb up too. Use a mix of both to climb up the chains to make your way back up to the top of the tower. You will come under fire, but each of the chains have a large stone block above them that provides fairly good cover. Just use your pistol to carefully pick the unlucky mercs off.
Once you’re at the window, you can pop back in and find a few more guards. Just turn to your right and fire away at the group of three. At close range and without much cover, this should be easy. Look around and you should be able to spot another pair of guards across from you. Take cover and pick them off as usual.
There’s a single door that leads to the staircase, so go ahead and open it up. Unfortunately, this will let a brute out. I expect that you know how to deal with them by now though. When he’s down, go up to the top of the tower with your group.
You’ll get a short break for now, so enjoy it. Just look for the cup of the big dipper and then go to the right and focus on the littler dipper’s tail. This will start up an unfortunate exchange though. For now, just run forward with your group until you get to the tower at the end. There should be a stockpile of sniper rifles here, so grab one, then get ready for a challenge.
RPGs and Snipers
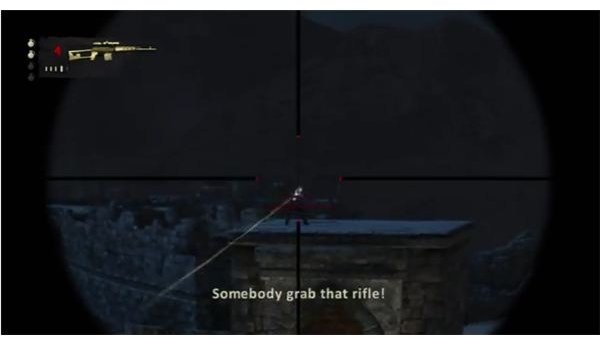
The key to surviving against the RPG users is to stay out of sight of the majority of them. You never want more than two to be able to hit you. Start by ducking down behind the lowest wall, right next to where you get your sniper rifle. You should be able to draw a nice bead on the RPG thug right across from you, at the highest point. Use the scope and shoot him until he’s dead. It may take two shots to the chest. From this cover, you should be able to look to the right to spot the next RPG user. Just take him out.
The last three are harder. There are two at roughly a medium level right across from you, and one to the left. You can trade fire with the two in the middle if you stick to the pillars on the left, but you’ll need to be ready to run down and jump behind a wall when they fire. Once you’ve traded fire with them, carefully walk out to the right and snipe the last one.
Once the path is clear, you can use the zipline to ride down and then just follow Cutter across and around to the marked spot. There’s another fight ahead, but I have to assume that you’re going to be used to this by now. Note, that apparently there’s a nasty glitch that can happen if you take everyone out stealthily, so just do it the fun way. Take a few out quietly to get into a good position in the little shelter area on the ground. From here, you can get cover from all sides, easily gun down anyone foolish enough to rush you and pick off the rest. Just watch out for armored soldiers and take them down.
Make your way to the door with Cutter to trigger another scene. You’ll get to use the telescope again, so just look around on the ground for a marker, then follow the marker up to some very interesting pillars. Once again, things will work toward a gunfight though. Get down behind the wall and trade fire with the snipers, then work your way down to the courtyard. After you make it down a bit, Sully and Chloe will find a RPG stash and start massacring the guards in the field. If you want, you can just hang back and let them kill just about everyone. If you pick off the survivors, you can enter the damaged building and start making your way up.
The final treasure for this chapter is in the damaged building. Just look over to the right in a little alcove to pick it up. Get up to the top and meet back up with Sully and Chloe. If you follow the walkways, you’ll wind up at the marked pillars with no apparent way to get through. After you fail a few times, go around the corner to trigger a cutscene. Once you regain control, push on the space between the pillars to enter the tomb itself.
The Globe Puzzle
This is a less action filled chapter. For now, just move forward through the tight spaces until Charlie finally snaps. Hold your own in the fight until the cutscene plays out. You’ll then be able to continue through until you reach a room with a big sphere.
In this room, you’ll find the first treasure. Just walk along the wall until you find it, then grab a torch from the brazier. Go up the steps and light all of the braziers behind the statues up top. Once all four are lit, you’ll note that the globe has to be able to spin, which triggers the next part of the mission.
This is actually an easy section that doesn’t need a lot of extra information. You need to scare the spiders off with light, so toss a torch to light a brazier, then jump to the platform. For a few of these, you’ll need to go along ropes or beams, but it’s all basically the same and you’ll usually have a clear line of sight for where you need to go.
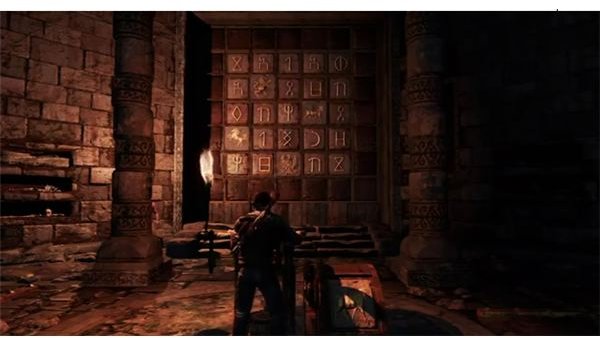
You’ll reach the little blockades once you get to the end. With Cutter’s help, you’ll be able to open them up and get the water over to the globe. Once the chamber in front of you has filled, drop into the water and look along the upper right wall for a glowing treasure. Get below it, and fire a shot into it. You can catch it as it falls. If you miss the catch, then it’s gone for good. Only a restart will respawn it.
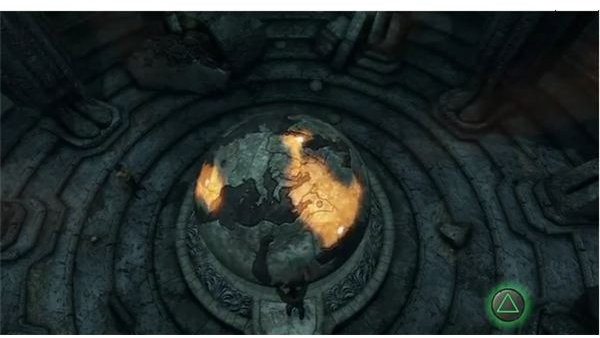
Get back to the globe, then start turning it. You basically just have to keep spinning, then rotating until you can find the Middle East and line things up from there. There’s no quick trick, so just keep trying. Left stick will spin the whole thing, while the right analog stick will rotate the entire face. Once you’re in the right spot, the staircase above you will open. Go up to it and enter the tomb. The final treasure is in a tomb just to the left of the entrance. Grab it, then just keep walking forward until you can reach the main tomb and take the etching.
The Escape
Once things wrap up, you’ll be back in control outside and under fire. Just run away for now until you see the scene with Charlie. Once you help him back up, you’ll need to cover him as you make your escape. You won’t be able to just run after this, so get ready to fight. Get down the steps and melee anyone in your path to the bottom, then get into cover and start picking the mercenaries off.
The real thing to watch for is a guard with a riot shield. If you can take him out with a grenade or a good shot, then you’re basically set. Run forward after you kill the first wave and grab a bunch of ammo for the machine pistol, then grab the riot shield. With this in hand, the next set of enemies will be easy. You can block all the shots from the front and easily shoot them in the head with your pistol.
Just keep going forward and open the gates for Chloe and Charlie, and bash through the main force ahead. There will be a few brutes, but the riot shield makes them a minor annoyance, and other riot shield users will provide new shields for you. Once you make it outside, pick off the last few people and make a run for the buses ahead to wrap up the chapter.
References
- All screenshots and information from Uncharted 3: Drake’s Deception
This post is part of the series: Uncharted 3: Drake’s Deception Walkthrough
We’ve got a long adventure ahead of us. We’re going to have to make our way out of a deal, go through a long flashback, follow the trail of a long lost conspiracy through London, France and Syria, then spend some time with a few pirates.