It’s time for a lot of spiders and fire, along with an annoying tile puzzle. We’re going down into the chateau’s tomb, and we’re going to find some very dark things inside. After this little descent, we’ll still need to make our way out of the crumbling ruins to the relative safety of the forest.
The Tile Puzzle
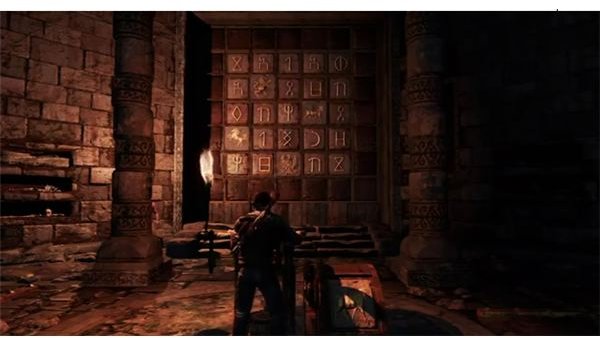
For now, just keep moving forward until you reach a new area in the tunnel. Once you’re in, you’ll find a weird tile wall with four tiles that you can move around. This puzzle is a bit tricky, but you have a few of the tile locations in your journal. Start things off by putting the bird at the center on the bottom row. You can then put the horse on the far left in the row just above the eagle. You can get these two locations from your journal, so these where the easy ones.
To get the locations for the others, you’ll need to walk around the room and look at the decorative alcoves. They are each decorated as one of the four tiles, and each one has an odd grate surrounded by what look like pressure pads. As you walk around the grate, it will change to show what symbols need to surround that particular tile.
If that’s too frustrating, just look at the grid. The spaces aren’t random, so put the goat thing in the third row and the fourth column from the left (just one right of dead center). The lion goes in the fourth row from the bottom, and in the second column (so, one up and one left from dead center).
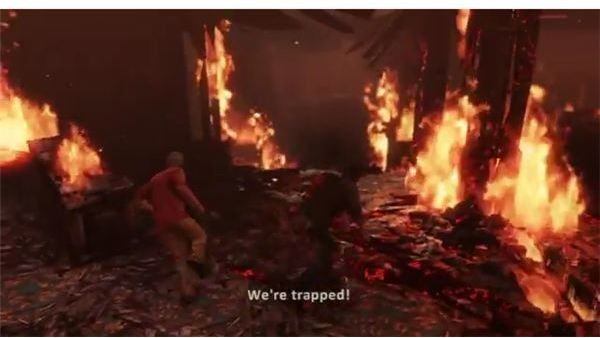
Once they’re set, the way should open to the tomb, but things will get a bit rough as the spiders make a second appearance, except this time with a bunch of new friends.
The Way Out

Make your way over to the gap in the side wall with Sully to start the big escape. This is just a standard chase scene, and in fact it’s a little easier. You won’t die instantly from touching the horde of spiders, they just nip at your heels for a bit and do damage. Just run straight ahead until you make it to the tower and leap out into the sunlight.
Once you’re free, you’ll still need to make your way out of the chateau, so start looking around. At the end of the path, you should be able to drop down into a ruined part of the building. Once your eyes adjust to the dark light, you’ll need to walk along the upper balcony until you see a chandelier. It’s out of reach from this point, but you can jump over the railing, and use the planks on the left wall to climb over toward it. Make the jump, then climb around the chandelier. You should be able to jump over to more planks on the right side, then go up and over to some loose floorboards. Once you start climbing on them, the entire floor will give way and open up a new solution. Just pull yourself up onto the ramp to continue.
Before you go much further, stop and look back. You can run down the ramp and jump up toward a new room, or look for the path around to it. Either way, get into the room above the low end of the ramp to get the only treasure for the entire chapter.
Some Very Loyal Mercenaries
If you move forward you’ll find the thugs pouring gasoline in the chateau. If you want, you can shoot the gas can in the hands of the first thug to start things off with a little bang. The real path is the narrow path to the right, which will let you jump onto some planks. As you make it about halfway there, you’ll come under fire. Just climb along the planks until you get behind the big section of brick wall. You’ll be fairly safe here, so just take your time and help Sully kill the first set of guards that are here, then follow the rest of the plank path until you can get onto solid ground. Things are still a little hectic though. You’ll need to melee at least two hidden mercs to break free, and then finish them off with a few quick hits (preferably into one of the walls). Kill anyone left here, then start looking around for a path for Sully.
Turn the corner and look for a large beam that’s propped up fairly high. If you interact with it, you can knock it down to make a little bridge for Sully. Fall back a bit to the nearby wall, and use it for cover as you watch over Sully as he makes his way across. There will be at least two thugs that try to take him down. If you cover him, he should be fine.
Move forward and shoot both of the thugs that will be above the big hole in the ceiling. There’s not much cover, so just move and fall back if you start taking too much damage. Once these two are dead, Sully should move into position below the big ladder sitting a floor above. Approach him and hit the triangle button to try and jump up to the ladder, only to fail.
Wait for a moment and look around the nearby area for a way out, until a single foolish mercenary decides to fire at you through the walls. Take him down, then fire a few more shots at the burnt beams to clear a path through to one of the less dangerous parts of the chateau. Keep moving along until the floor breaks below you.
There’s a beam to the left that you can climb until you reach some loose bricks in the wall. It will start to break at this time, so just jump up to grab onto them and get away from the fire. Climb all the way to the ceiling, then use the beams like monkey bars to get over to the other side. Make the big jump and reunite with Sully, then team up with him to break the door down and reach the main lobby.
The Exit
You’ll run right into a brute, and he’ll force you into melee combat. There’s no easy way out of this. Just try and counter his attacks and work him toward the fire or a wall. Once he’s down, move down the steps and get to one of the statues or overturned bits of stone. Clear out the few men on the landing, then look down toward the main entrance and fire on the survivors. No matter how fast you are, they’ll manage to torch the entrance and seal you off. Feel free to toss a few grenades to break things up, then move along carefully and take out the last few guards. If you go into the back left corner, you’ll be able to climb up the platforms to a side exit.
As you try to escape through this path, the floor will break. Once you regain control, pull yourself back up over the railing and start running. At the first turn, your foot will get stuck and you’ll need to gun down two thugs that rush down to ambush you while Sully sets you free. After that, just keep moving until the next set of the stairs collapses. Make the leap to the broken beams across from you. Go to the right, then up until Sully pulls you back onto the stairs.
On the next collapse, you’ll need to climb to the right and help Sully get back onto the railing. The last set of stairs will collapse, so you’ll have to climb up the remains of the stairs like a ladder until you reach solid ground again.
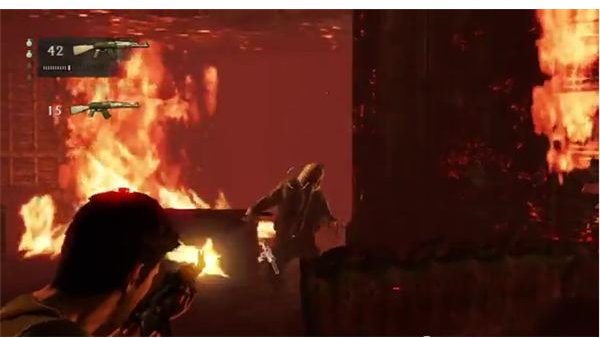
Follow this path down and around until you reach the burning chateau again. A few more guards will be triggered by the falling bathtub. Go ahead forward with your gun drawn and take them out. At this point, keep an eye out for a shotgun. As you go forward into the large burning room, you’ll find a lot of guards spread out. A shotgun with a mix of melee attacks comes in very handy, but it’s not the only way. Just move around while aiming and you should be able to cut through the scattered guards.
Kill any survivors until a large section of floor falls and creates a ramp. Run up it to find one of the last surviving ladders. Make the jump, then work your way up to the top as the building collapses. Once you’re on the roof, just start running along any section of the roof that survives. Near the end, you’ll be thrown clear of the crash and you’ll be able to slip away.
References
- All information and screenshots from Uncharted 3: Drake’s Deception
This post is part of the series: Uncharted 3: Drake’s Deception Walkthrough
We’ve got a long adventure ahead of us. We’re going to have to make our way out of a deal, go through a long flashback, follow the trail of a long lost conspiracy through London, France and Syria, then spend some time with a few pirates.