We’re starting off Uncharted 3, with a long scene throughout London and through the past. If you’re looking to get the game off to a good start, then our guide will really help you out.
Another Round
We might as well start our Uncharted 3 gameplay walkthrough with a bar fight. Once you gain control, take a moment and go through the fighting tutorial. It’s pretty easy (It’s not exactly Arkham City or anything). Square will throw a punch, Triangle is your counterattack and Circle breaks grapples and will eventually let you throw people around.
As a rule, the fights are really more about location. You’re trying to push the person you’re fighting into a wall or obstacle so that Nathan can actually knock him out. Be aggressive and just watch the bottom left corner for the counterattack prompts.
As you do this, see if you can make your way over to the jukebox. A piece of treasure is on the floor.
Once you hit the first floor (quite literally), you’ll need to fend off the crowd. Throw the first guy to get room to breathing room, and then focus on clearing the room. Note that pushing people toward the windows and tables will allow for fairly easy takedowns. Once you’re cleared the room up a bit, the big guy will come in.
Make your first strike to take your beating and go into the stall, then come out. You need to walk out of the stall, and then wait for him to attack. Counter and start striking him in the middle of the move. If this doesn’t work, you’ll get another chance. Once you work him into the stall, just make sure that you hit the counter attack to knock him out for good. Before you follow Sully, look behind the bar on the shelves for another piece of treasure.
Walk out to meet back up with Sully. Throw the partition down on the last thug’s head to help out, then go through the kitchen. Thanks to all the doors and pots, it should be easy to dispatch the cooks, although things won’t go so well once you’re outside.
Greatness from Small Beginnings
Time for a flashback. Once you gain control of young Drake, walk forward and look around at the exhibits. On the first floor, you can look at the exhibits if you want. You can pick up some treasure out of the third cannon in the line. There’s also a small piece of treasure lying behind a chair in the secluded back room by the stairs.
When you’re ready, go up the steps. What you’re looking for is in a case by the diving suit. Look at it to trigger the next cutscene.
Once you regain control, look to the right as you pass the blue car. There’s a piece of treasure lying in the doorway. Grab it, then walk forward and turn the corner to the right. We need to follow Sully for now.
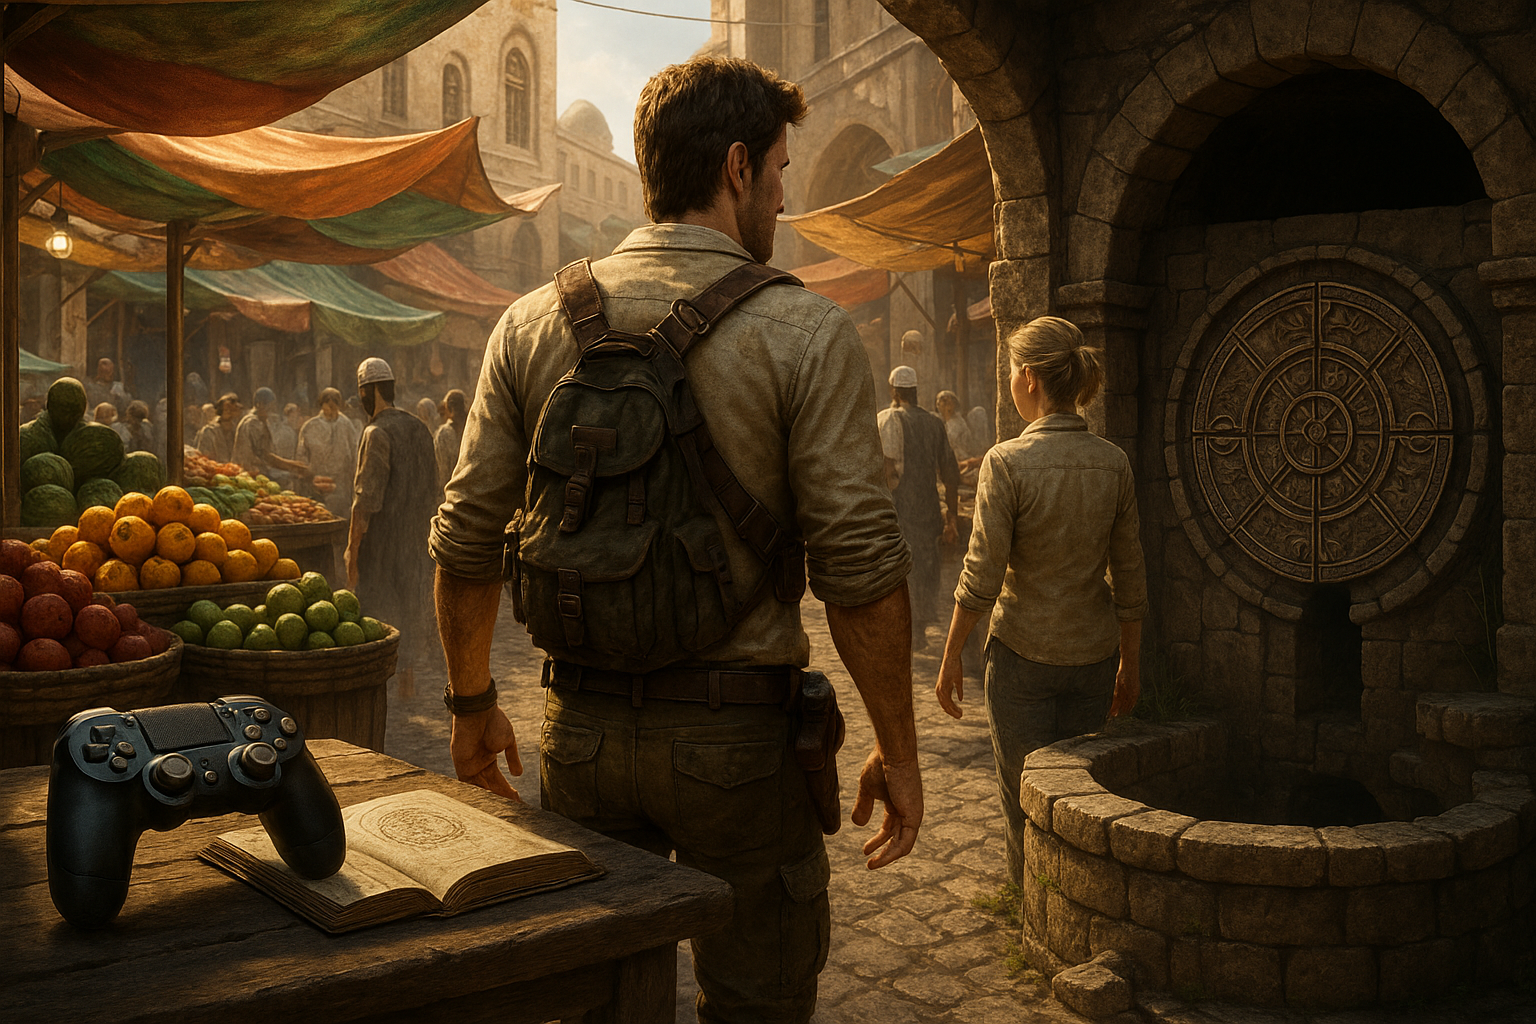
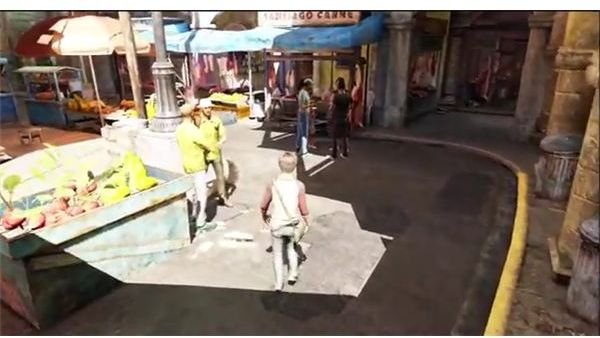
Use the cover of the plants to move along with him. After Young Drake eats the fruit, you’ll get tossed around a bit. Once you’re in control again, turn to the right and walk along the market. You’ll spot Sully off in the distance. On the right side there’s some pottery. Look at the side of the first stand for a piece of treasure.
Note that following Sully advances the area, so take a good look around the market before you go. There’s another piece of treasure ahead. Instead of going into the meat market, turn left and look for a cafe. There’s a piece of treasure at the top of the stairs across from it.
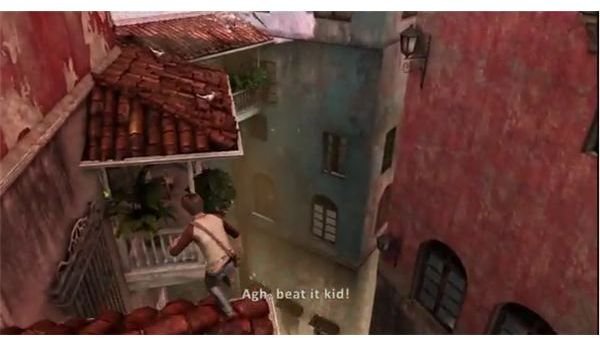
When you’re ready, follow Sully through the butcher’s shop and the big doors. Watch him walk into the large building and inspect the doors to note that they’re locked. Our way up is that large yellow pipe just to the left and back from the entrance. Climb it (use X) and then move across the balconies to reach the ones under Sully’s window. Move along, pull yourself up and get on the pillar to watch the scene.
After you note it, you’ll be stuck on a yellow pipe. Hold down the direction button to get a little momentum, then jump to the balcony. There’s a piece of treasure at the end, so grab it as you follow Sully.
Jump across the street to the other ledge. Go ahead and pull yourself up, then walk along it until you find a spot that will let you jump across to a red rooftop. Move toward the hotel sign. The last piece of treasure for the level is in the “O” letter. Jump onto a letter, climb up to grab it, then drop down until you hit the street. Move up the steps and follow Sully and Marlowe to the bar, then approach him to trigger the cutscene.
Second-Story Work
Once you regain control, run off the edge of the rooftop and grab the rope. Use it to get across and on top of the museum rooftop. To get into the actual courtyard, use the breaker box to get on top of the shack’s rooftop. Jump off of it to the rooftop, and then use the blue planks to jump onto the nearby roof by the windows.
If you want some treasure, look for the yellow pipe. There’s one that you can grab while you climb down.
Look for the open window on the second level, and climb in to reach the case with the ring. Before you use your key, grab some treasure off of the diving suit, and look for another treasure that is hidden by the green door that leads into the room. Interact with the ring case to start off the big chase scene.
After the cutscene ends, you’ll wind up in a fairly long chase. Don’t worry too much about making mistakes, the checkpoints are quite forgiving. Run up the stairs and get through the opening above the door to make your way toward the rooftop. Beat the QTE event to get through the fence, and then jump to the rooftops nearby. Look to the right. You should be able to spot another ramp made of blue planks. Run off it and jump to make it to the next building.
Keep moving and jumping until you make it over to the next set. Once you get the hang of this, it should be pretty easy, just watch for windows that you can climb and don’t be afraid to take some risky jumps. Once you make it to the apartment, you can run past the refrigerator to automatically slam the door in one of the thug’s faces to buy yourself some time. Then just make the final run. When the guard cuts you off, leap off of the building over the railing on the left to make it to the end. Then just watch the cutscene.
Run to Ground - The Warehouse
Squeeze through the alley to the left, and then look to the right. If you go past the garbage you’ll find some treasure.
Move forward and climb on the yellow box to the pipes to get over the barbed wire. Drop down and walk along. Push that construction equipment over to get over the wall and trigger another cutscene.
Jump onto the yellow pipe, and climb up. When the pipe breaks, jump to get to the safe part above it. Move along to the left and drop down to the rooftop. You’ll find more pipes at the end. Climb along them, then use the signs to reach the open window.
Climb through and use the pipes to drop down to a set of open windows in the wall. Don’t go through right away though. Look just below and to the right of the windows to spot another pipe. If you follow it to the platform, you’ll get more treasure.
Climb through the open windows in the wall, and you’ll be able to follow more pipes over and around, then drop down to the floor. Look in the back corner of the warehouse at all the crates. If you climb to the top of them you’ll find another treasure piece.
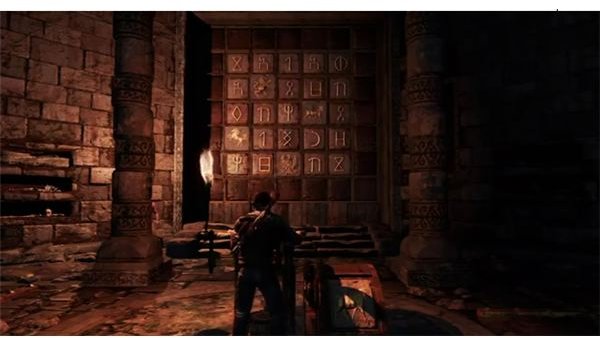
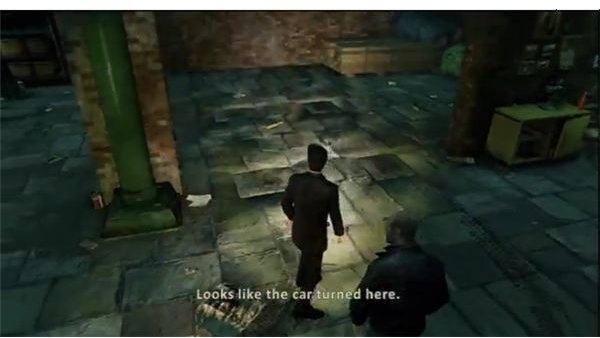
Approach the big green door and open it to let everyone else inside. Look at the tire tracks after Charlie points them out. Walk forward along their path until you find the pressure pads. Step on two of them to trigger the next scene. When you get the prompt, turn and face the wall and focus on the mechanisms turning as you shine your light on the wall. You’ll solve the rest of the puzzle and open up the base.
Continue reading on page two for more of our Uncharted 3 gameplay walkthrough….
Run to Ground - The Hidden Base
Walk down the tunnel, and look for the locked door. Inspect it, then shoot the lock off it. Continue along through the tight space. You’ll soon run into the guards up ahead. Take cover on the door and kill at least one of them. Charlie seems to be good at getting the second.
Move into the room and take cover on the big generator in the center. Lean out to the right and watch for the next three men. Pick them off from your fairly good position. Before you leave the room, look in the back right corner. There’s more treasure to grab.
More toward along the path. You’ll eventually reach a massive vertical pipe. Climb down the pipes, but watch for the grate on the left. If you leap to it, you can get another piece of treasure. Slide down the pipe to reach the bottom, and then walk out. When Sully warns you, take cover and wait to ambush the pair of guards. Wait for them to get close and shoot them both.
Continue along the path to note the ladder leading out of the sewer area. Use the pipes to reach it, and climb it to loosen it up and make it fall for Sully and Charlie.
Climb to the top to reach another similar area. We need to pull the lever to drop the bridge, but the path is a bit obscured. Climb up the set of pipes that you can reach. Once you go up a few levels, work your way to the left to grab the last piece of treasure. It’s just sitting on a pipe. Climb high enough up that you can get over the large pipe blocking your path, then drop down to get around the other. Climb and up and use the lever. Once you and Sully grab them, hit the Triangle button until you successfully pull it down. Climb over to the bridge and follow the tunnel to left to transition into the new chapter.
London Underground - A Quiet Entrance
When you walk out, you’ll soon reach an old lift. You’ll need to climb up the yellow pipes, then follow the pipes at the top to reach the counterweight. Once Sully and Charlie are through, climb onto the nearby girders. Follow the upper path to the ledge, and then jump to the chandeliers. Work your way over the nearby fixtures on the wall, then drop down. Slip in behind the guard that catches Sully and Charlie for a quick stealth takedown.
Keep walking past the car until you reach the hole in the wall. Do the cover takedown with Charlie to clear the path. Move up through the library and you’ll soon get your cutscene.
Once you regain control, jump over the ledge, and then drop down on the guard below you. Sneak over to the nearby table and use a cover takedown to disable the other guard.
You’re free to explore now. If you want treasure, there’s a piece of it on top of a ledge above a painting of a man on a winged horse. It’s to the right of all the animals heads. Jump on the furniture, then the painting and climb to the little ledge to grab it.
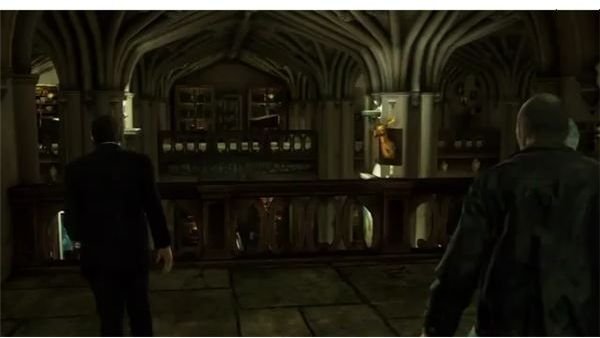
When you’re ready, look at the golder cipher to trigger the next scene. You need something from the Golden Hind. If you look in Drake’s notebook, as the game suggests, there’s a large golden deer head as the figurehead for the Golden Hind. And there’s a golden deer head on a pillar in the library. Look up to see it. You’ll know you’ve found it, because Drake will comment on it.
To climb up to it, look at the pillar to the right of it (toward the wall of animal heads). On the backside of this pillar, you’ll be able to climb up some shelves to make it halfway up, then slide around to the painting across from the figurehead. Climb up to the top, and jump over to the ledge by the golden deer head. Climb over to it to trigger the cutscene.
London Underground - A Loud Exit
Once you regain control, the guards will make their way back inside. For these first two, just take your time and save ammo. You need to be able to kill three more, so go for headshots. Once they’re dead, the figurehead will fall and you’ll get the map out of it. Once you regain control, get behind a pillar and open fire again. If you’re out of ammo, you’ll need to take them out in hand-to-hand. Use the cover of the railing and the pillars to get close, then sprint up the steps and start swinging.
At this point, Charlie will finally note that you’re all low on ammo and having a silencer isn’t much of an advantage. Pick up a .45 pistol from one of the dead guards, and get some ammo from the others. When you’re ready, go out the door.
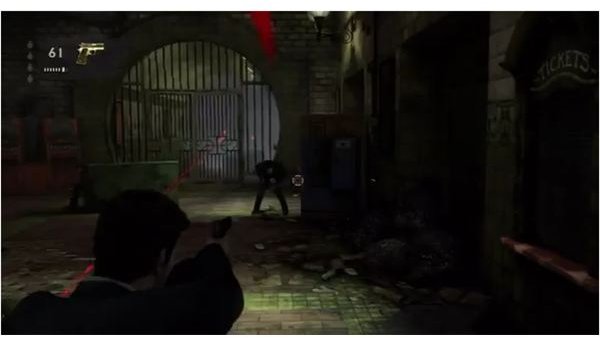
At the first open area, you’ll be ambushed. Note that there are several laser-sighted shooters in back. You can’t really target them, so just watch carefully and duck back down if they get the laser dot over you. You’ll get off to a good start by following the railing to the left. This will get you away from the shooters in back, and let you flank the first group on the floor. Move up to a container to take out the rest.
Later fights will all be in the same style, so take your time now to get used to it. Loot guns and ammo off of the ground, and look for the assault rifle that one of them should be carrying. When you’re ready, move up to the old train yard. Take cover on the first train to the left, and fire down the line with your assault rifle. You’ll be fairly safe from the guards with laser-sights in back, but you will have to deal with rushers. If anyone tries to run past you, or actually makes it around, use blindfire to aim in their general direction. At this range, you’ll kill them quickly.
Once you pick off the shooter on top of the other train, it will be fairly easy to patiently clear out the rest of the room. The laser-sighted shooters will fall back, and you’ll have a moment of peace. If you want, stop here and look at the ledges beneath the clocks. One of them has a piece of treasure below it. If you shoot it, it should fall down and let you pick it up.
Advance through the station and follow the way up. Watch for a guard with a shotgun at the top of the steps. Be ready to fire quickly from the hip to kill him. I would actually recommend swapping out the assault rifle for the shotgun. It may only have two shots, but at close to medium range, it’s an instant and easy kill.
Regardless of your choice, swing around and engage a few more guards. After a bit of a firefight, you’ll eventually reach a group of laser sight shooters positioned behind a gate. You can’t hit them and they’re not going anywhere. Just fire quickly to kill the nearest guards, and then run out of cover and go up the steps. Shoot or punch the guards that you run into, then make it out to the next station. You should come out at the North Atwood station.
After killing the first guard you meet, walk down the left side of the train on the tracks with your weapon out. You should be able to aggressively make your way down the tracks, and flank the guards waiting behind the train. There’s a piece of treasure lying on the tracks just at the end of the train, so grab it and go up the steps.
Move up and around. Kill the last batch, then watch your back as you make a run for the exit at the top. A few more guards will come from behind, spin around and kill them, then just make a run for it. You should be able to trigger the cutscene and end the mission.
References
- All information from a normal difficulty playthrough of Uncharted 3: Drake’s Deception
- All screenshots from Uncharted 3: Drake’s Deception
This post is part of the series: Uncharted 3: Drake’s Deception Walkthrough
We’ve got a long adventure ahead of us. We’re going to have to make our way out of a deal, go through a long flashback, follow the trail of a long lost conspiracy through London, France and Syria, then spend some time with a few pirates.