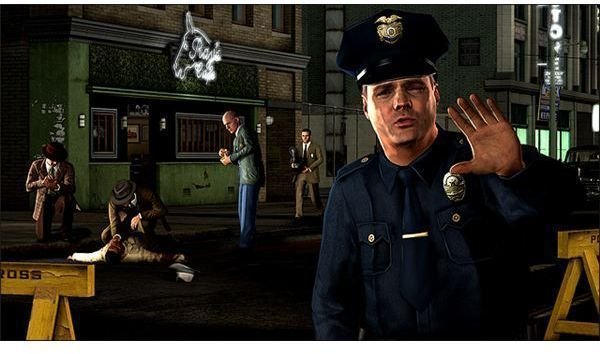
The serial killer is back. We have another “copycat” killing, and that means another homicide investigation. I’ll help you track the movements of the victim, find all of the suspects and track down the cab and bus to tie up a few loose ends in the case.
The Crime Scene
Drive on up to the crime scene, and then report to the officer to find the body.
The only thing to note on her body is the laundry label in the collar. Turn her head to the right to see it. Go to B to note the shoeprints, and then look at the tire tracks at C.
If you try to leave, another cop car will pull up with a neighbor. Note that this is also probably the easiest interrogation in the game. Talk to Catherine Barton and ask about the suspicious person. She’ll telling the truth, so just liste to her and agree to get some details on the suspect.
You can also use the gamewell nearby to find the address for Superior Laundry Services, and also get the new location of the closest hobo camp.
Go to Superior Laundry first, and then ask the man behind the desk for his register. The numbers are in order, so just pick it out to get her address.
Taraldsen Residence
This is another standard home search. You should actually have a good idea of what to do by now.
Look at the matches on the dresser to get the address for Baron’s Bar. Pick up the turned down picture too. You can use the telephone to call R&I and have some officers find Bobby Ross and confirm the alibi.
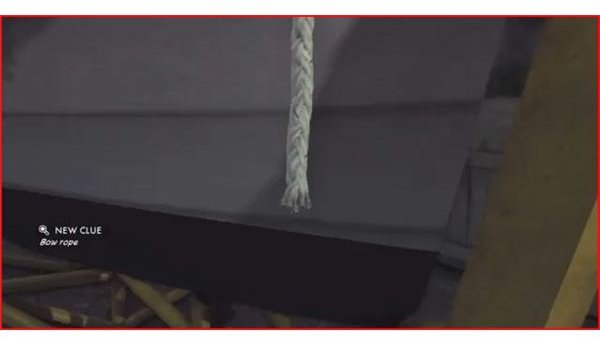
Go through the house and look at the boat, and then go through the kitchen. You can find her handbag in the back room, and Lars’ wet jacket hanging on the door. Check the work boots by the door too. Go outside and look at the frayed rope hanging off of the boat.
Once this is done, go back inside and talk to Lars Taraldsen. Ask him about possible suspects, and accuse him of lying based on the frayed rope in the yard. Go ahead and doubt his alibi (since it hasn’t been confirmed yet). Doubt his story about her state of mind too. Call him out for another lie about his last contact with his wife. Use the muddy boots that you found as your evidence. That’s all that we can do for now.
Let’s travel down ot the bar.
Baron’s Bar
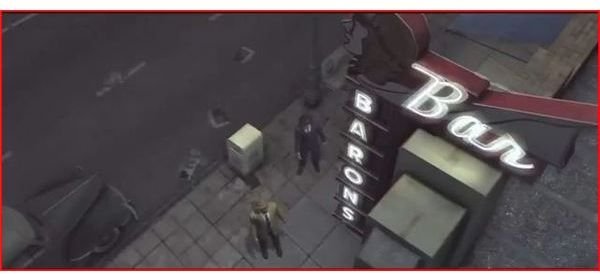
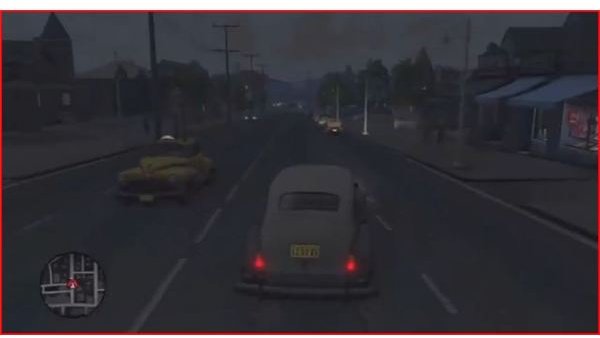
Walk inside and talk to Benny Cluff inside. He’s telling the truth about his last contact with the victim, and about calling a cab. You should doubt his denial of any possible suspects though. He’s got a few in mind at the bar. Richard Bates won’t stick around though. Chase him out of the bar, and watch him make it to his truck. A car will stop right next to it though, so take it and
Chase after him, and commandeer the car that swerves and stops. Weave through the backyards, and just try to hang tough until you get to the straight roads. Then just take him out by letting Galloway get a few shots at him. You’ll get to do an impromtu interview at the crash scene.
Doubt his story about his last contact with the victim. You should also doubt his alibi. That’s all that we can do for now though. Use the the nearby gamewell to get an APB on the cab, # 3591, and check for incident reports at Baron’s Bar and also get a message about the sailor in question being detained.
Do Not Have Your Partner Drive You After This Call! You need to be driving to answer the call and find the cab!
Chase after the cab for now. Put a waypoint flag on the cab trace on 7th street. Swing over there and then go up the street to the side. As you hit the waypoint, you should see the cab in the distance. Rush up and pull along side to stop him and get the location that he took the sailer and Mrs. Taraldsen to, the Crystal Ballroom.
Checking the Sailor’s Story
Travel to Central Police Station to investigate the next section of the story. You can go into interview room two to find the sailor, James Jessop. Doubt his story about his last contact with the victim, about his story for what happened to Bates and his own movements for the night. Top this all off by doubting the story of his cab ride. This will at least let us get a new lead for the bus.
Travel to the bus depot first to see if his story is actually true. Go into the terminal and talk to the receptionist to find out which driver you need, then you’ll get the route. Just run the route with the siren. Stick to the center and it’ll go fast. This is actually apparently random, so there’s no real help that I can give you. Pull in behind him, and either tap him or wait, then just jump out and talk to him.
Checking the Hobo Camp
The disfigured man is finally there (after being absent for the entire chapter), so drive to the Hobo Camp.
You’ll need to fight Stuart, while Galloway uses the shotgun to drive back others. Just dodge the first hit and chain a few up. He doesn’t seem to use combos, so it’s easy.
Go into his shack, and look at the newspaper if you wish. There’s a bit of bloodstained rope on the nightstand, turn it over and examine it. You’ll find a monogrammed handbag on the table, turn it over to spot the initials and then open it up. Turn the ticket over to spot the ballroom ticket.
Now we just need to wrap it up. Go into interview room one and talk to Stuart Ackerman. Doubt his ramblings about motive and his contact with the victim, and call out his alibi as a lie. Use the purse as your evidence. That’s about all that we can do for now. The case will wrap up automatically.
References
All screenshots from L.A. Noire
Due to the branching nature of the game, your experience may differ. Feel free to post any differences that you see in the comments section below.
This post is part of the series: L.A. Noire Walkthrough - Part 2
Things are speeding up on the homicide desk. We’ve got five cases with an oddly similar setup, and it seems that we’re on the tail of a serial killer. If you need help with the cases on the homicide desk, you can look here for guides for a 5-star case.