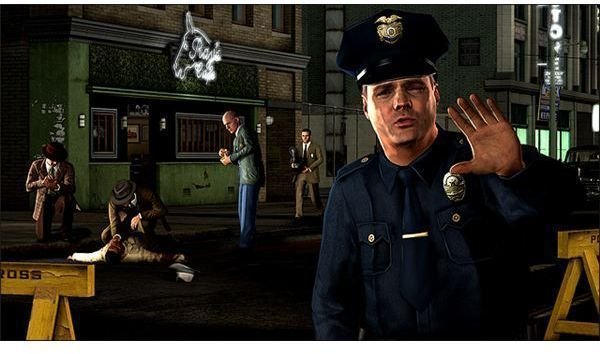
Everyone has to start out somewhere, and for us, that means starting out on patrol. We’ll have two cases, a foot chase and a shootout to deal with. If you need any help with these first steps in L.A. Noire, then you can get some help here.
Upon Reflection - Your Big Break
Drive to the alleyway to answer the call, it’s just a few blocks away. You should get there quite quickly. Approach the marked objective to trigger the cutscene.
Go ahead and walk back with your partner. You can pick up a beer bottle and turn it around if you want a quick introduction to the evidence system. There’s also a newspaper on the crates to the right. You can examine it and view some backstory if you want.
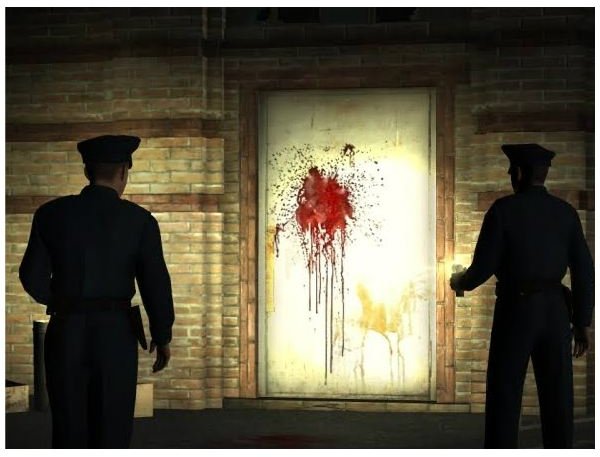
Look at the bloodstain on the door with your partner. Just to the left of the door, you should be able to spot the gun in the window’s reflection. Climb the drainpipe that your partner moves next to, and then pick up the gun on the roof. Turn the revolver all the way to the right to zoom in and record the serial number. Then choose to further inspect it to examine the chamber and confirm that it fired two shots.
Climb back down and meet up with your partner. Set the gun store as your location in the notebook, and then walk back to the car. Drive over to it, again it’s just a few blocks away, and take the chance to get used to the controls. Pull in and walk inside to talk to the owner. He’ll hand over the ledger, and you can look through it. Just pull out your notebook to get the serial number, and then look through the serial numbers. If it helps, you’re looking for Errol Schroeder. Pick the name to add him to the notebook. Set his apartment as your destination, and take the short trip over.
Go inside the marked apartment and then look at the mailbox to find where he lives. Go up the stairs to his apartment, and then knock on the door. It’ll end in a fight, so keep your lock on him and hit him with a few punches. He telegraphs his moves, so do a few quick dodges and then put him down.
Look in the drawer to find the ledger. Open it up and turn the pages until you find the book with Floyd Rose’s name in it. After that, just watch the cutscenes and wait for the next case.
Armed and Dangerous - A Glorified Combat Tutorial
This is fairly quick, and it’s your first taste of combat. You’ll automatically grab your shotgun and take cover. Aim out from behind the truck, and just pick off the first robber on the right when pops up. Repeat it with the one on the left. You can then move up to the left side of the doorway. Just rinse and repeat. You can use blindfire to blow away part of the pillar, if you wish. Then lean out and kill him when you can get a shoot. You should be able to shoot the man behind the desk by shooting through his cover. The one up top won’t actually get in cover, so just take him out. Once they’re dead, the mission will end.
Warrants Outstanding - Your Chase Tutorial
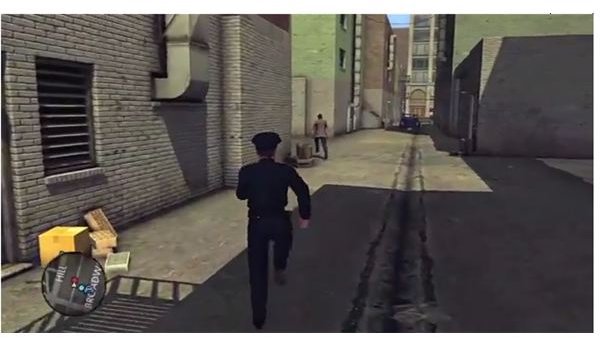
This is just a simple foot chase. Run after him and make it to the ladder. To go up the fire escape, it’s right and up, not left. Chase him up the drainpipe and follow him around the corner to get into a fist fight. He actually goes down quickly, it should only take 5 punches.
Buyer Beware
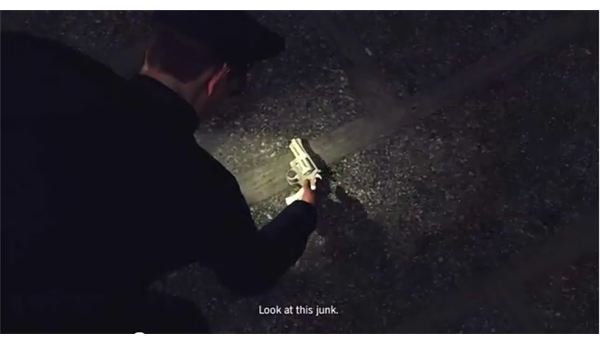
Once you take control, you’ll get a chance to do your first real investigation. Start out by examining the body. Check the head and arms to fulfill the objectives. The main thing of interest is the right (his left) jacket pocket. Examine the layaway voucher and add it to evidence. Look just past him to find a little glimmering thing in the sidewalk. Pick up the shell casing to confirm the caliber. The gun is stowed away in the trash can right next to the scene. Take it out and turn it back to the right to see the serial number and add the gun store to your notebook.
When you’ve got the three clues, walk inside to talk to the witness. The game walks you through it. Start by calling her out for her lies in the eyewitness account. Use the layaway claim to make her break and tell the truth. Believe her account of the details, and doubt her weak description of the suspect.
Go ahead and go to Eagleson’s gun store first to confirm that it’s Mr. Kalou’s gun. Then drive over to Hartfield’s Jewelry. Kalou will try to run for it, so jump over the counter and chase him out back. It should be a straight run. Just get close after a few blocks and tackle him when prompted.
You’ll get to do another interrogation after this. It’s fairly quick though, but it will be your first real test. Then again, you’ve got this walkthrough to cheat through it. The first question will be an obvious lie. Use the positive ID in your notebook to call him out for it. When you question whether there was a religious motive to it, you can doubt his answer to secure the confession.
Once that’s done, the case will close up and you’ll be moving on up to the traffic desk.
References
All screenshots from L.A. Noire
I will try to cover the way to get a “perfect” case, but there are many branching paths in L.A. Noire. If you experienced other outcomes or events, feel free to share them.
This post is part of the series: L.A. Noire Walkthrough - Part 1
We’ve got a lot to do in L.A. Noire. Our first steps will start on the patrol, but we’ll soon be up to the traffic desk and the homicide desk. If you need help with any of these cases in the beginning, or you want to find all of the clues, look at these guides.