It’s time to help retake City 17. The next stage of the assault will feature snipers, zombies, and a full scale raid. This guide will cover the first 1/4 of Chapter 11 and give you the directions you need to beat the Combine. This includes the first snipers, the zombies, and Barney’s raid.
Snipers
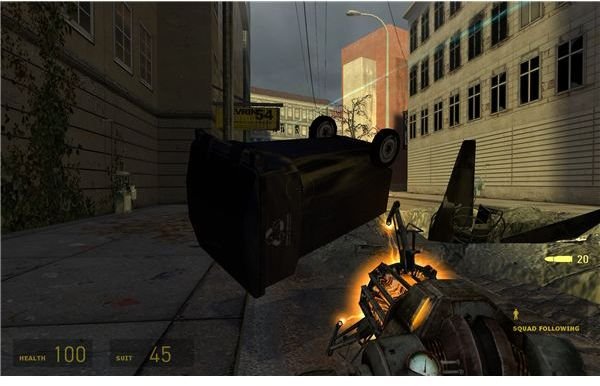
There are more snipers ahead and you are in a bad spot to deal with them. Go out and sprint in a diagonal line toward the blue recycling bin and trash can. Grab the blue bin with your gravity gun and use it as a shield. Stay crouched and hold it directly in front of you. Be ready to pick it back up when the sniper shoots it out of your hands. You are just trying to get to the next niche in the wall to the left. Look for the yellow sign.
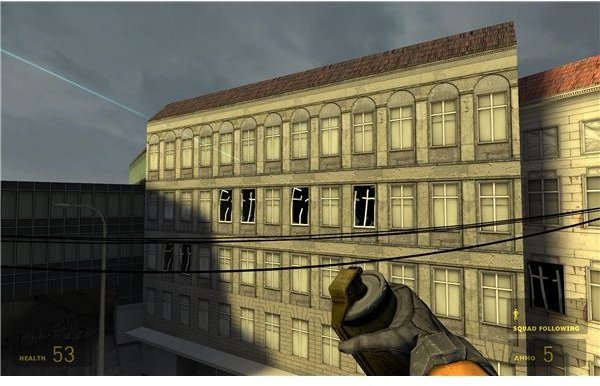
Once you are there, sprint to the end of the truck. There is another sniper down the side street, but you should be covered from both sides if you stick near the tail gate. Work your way to the little niche in the wall on the corner between the two snipers. You should still be safe. It’s possible to kill the first sniper, but you’ll just lose health. We’re going to leave him along for now and just make a run for it. Shoot the shop’s windows in front of you to weaken the glass. Then charge straight through and meet another 2 rebels. Your goal now is to make it to the little blockade at the end of the street and go through the door to the left. Just sprint as fast as you can in a diagonal path to avoid some of the gunfire until you get to the blockade. You should be just fine. Go through the door to relative safety.
Headcrabs and Snipers
There are a few headcrabs in this room. Use your crowbar or the gravity gun to kill them. They obviously aren’t much of a threat. When you’re done, pull out the shotgun and go down the ramp. Kill the fast zombie that rushes out and then go down to the cries for help. You’ll find a wounded rebel next to a lot of supplies. This triggers a zombie rush, so be ready. If you have plenty of ammo for the shotgun, just hold your ground on the platform and wait for them to bottleneck toward you. Otherwise, fire and move to kill the eight slow zombies and the two fast zombies. You need to go past the little shelter to the bluish hallway. Go inside and up the stairs.
Stay behind cover and wait for the sniper to kill all the zombies up here. It shouldn’t take long to kill all five of them. Then just pull out a grenade and round the little outcropping to get a line of sight on the sniper. Just toss a grenade into the window. It’s an easy throw. Aim about a centimeter above the window to get it in easily. Walk forward and around the fire. Grab more grenades before you go though. Barney should call out to you and warn about more snipers. Keep that in mind as you move upstairs.
Stop and watch the snipers shooting at the crows to get a better view of their positions. The one at the far end of the building who has Barney pinned down, isn’t a threat for the time being. The one to the left is though. It’s just a repeat of the first one. Step out to the opening in the wall and throw a grenade into the window directly across from you. Then use the gravity gun to pick up that green filing cabinet. You can throw a grenade into the other sniper’s window from the section before Barney, but it’s a little hard. Just crouch and use that cabinet as a shield as you cross the beam to Barney. He’ll keep shooting it, but you can keep picking it up or just push it forward. Once you get to the end, just set it down in front of you as a shield and throw a grenade into his window. It should be another easy throw with an almost identical line of sight as the others. Then just follow Barney to the ground after you grab some more grenades.
The Quiet Before the Storm
Barney should go down the street and open the big gate. The cat comment is just a joke (Barney originally had more lines about the teleporter’s first test and the “unfortunate” results for the cat). Go through the gate and walk through the door to the left. You’ll end up in a courtyard with a big staircase right in front of you. There’s a turret and three Combine at the top of the stairs, so be careful. Grab an explosive barrel and get ready to go up the steps. Shoot the barrel to the top to knock over the turret and kill the three soldiers in the resulting explosion. Three more rebels should come in at this point to reinforce your. Break the crates and go through the now unguarded door.
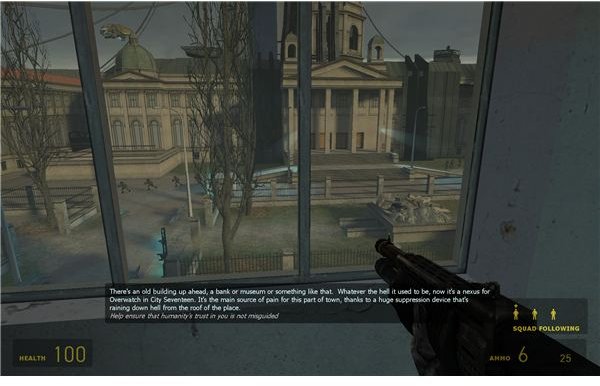
Go up the stairs and around to the lookout point upstairs. Barney will point out the bank/museum ahead. That’s your next target, so go ahead and get a good look at the grounds to familiarize yourself with the area. Barney will open the next door and you’ll be immediately spotted by a camera and treated to the power of the suppression device. Brace yourself for one heck of a run.
Go down the steps and stop before the hopper. There’s a turret hidden behind the corner to the left. Grab the hopper and turn around the corner. Use the hopper to blast the turret and kill two birds with one stone. Head outside to start your next run.
The Suppression Device
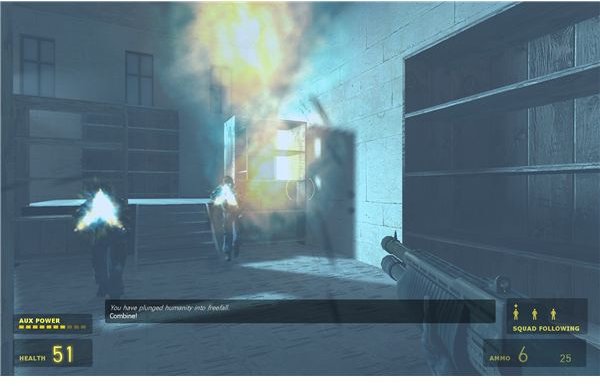
It’s a tough run to the museum. The suppression device fires at you the whole time. It will take about 4 seconds to charge between shots. The affected area will light up as a white energy spot for about 2 second before it hits. If you see a spot in front of you, run backwards and jump away to limit your damage. Rush out and head for the blue container and try to sprint the whole way if you can. Avoid the hole in the street and forget about your squad. They’ll either survive or they won’t. There is nothing you can really do to help them. You’ll get replacements soon anyway. Barney seems to have a lot of health and is effectively immune, so don’t worry about him either.
Get inside the blue container and let your auxiliary power recharge so you can sprint again. It will also let your squad catch up and get into cover. Once you’re charged again, run out and turn around the container on the narrow path between the container and the rubble. Do not go down the path by the wall, it’s a dead end. You need to get to the blue door at the end of the street to the building on the left. Sprint the whole way and get inside. You’re safe from the suppression device, but you need to kill the three Combine. The shotgun or the AR2 is fine for this range. Heal up at the health charger and wait for Barney and your squad to regroup. You should be safe enough if you just peak out the door to check on Barney. He can get held up by the suppression device around the container, so just wait if this happens. He’ll get by eventually.
Once your squad is back together, open the other door and run into the courtyard. You need to get into the bunker that’s ahead of you. The suppression device is firing again, so just run and be ready to jump back if you see it zero in on a point ahead of you. Kill the one Combine in the little bunker and wait for your squad to regroup. The suppression device will keep firing, but the bunker deflects the blast. You just need to go a little further.
Run out of the bunker and charge the building on the end of this row. As you approach, two Combine run out. Kill them both with your shotgun as you run into the building, then blast the two remaining Combine inside. Try to be as quick as possible. There are prisoners inside the cage here, but the Combine tend to kill them with stray fire if you aren’t fast enough. Shoot the lock off the door to let them out of their cell. You are officially done with suppression device from now on.
This post is part of the series: Half-Life 2 Walkthrough - Chapter 11: Follow Freeman
The final part of the battle for City 17 is in action. You’ll have to regroup with Barney, get past some snipers, raid an enemy stronghold, and get into a huge battle with striders as you rush to the Citadel. If you need any help with your fight against the Combine, then look here.
- Half-Life 2 - Chapter 11: Follow Freeman - Table of Contents
- Half-Life 2 Walkthrough - Chapter 11: Follow Freeman - Snipers and Suppressors
- Half-Life 2 Walkthrough - Chapter 11: Follow Freeman - One Big Raid
- Half-Life 2 Walkthrough - Chapter 11: Follow Freeman - We Will Fight Them on the Rooftops
- Half-Life 2 Walkthrough - Chapter 11: Follow Freeman - To The Horse