Things start off with a big bang, as you need to stop the terrorist attacks in the Sariff labs and at the shipping center in Milwaukee. I’ll take you through the tutorial and the first few missions, and help you save the hostages and come back alive.
A Little Outgunned
Start by talking to Doctor Reed, and then just sit back for your tour of the facility. Once you finally regain control in Sariff’s office, walk over to the elevator in back and use the keypad. Punch in his code (it should be 0451) and then step inside to trigger the first mission of the game. It appears that things have really gone crazy down in the labs.
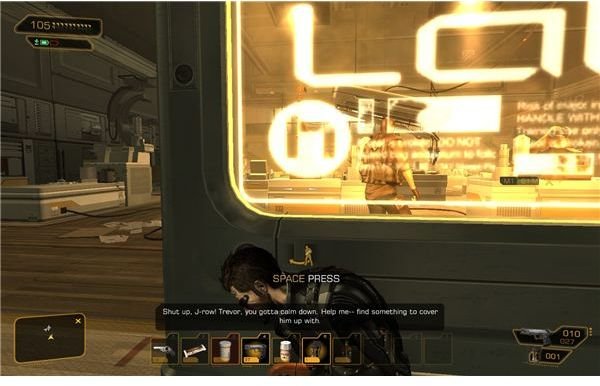
Move forward, and walk through the wreckage. For now, just keep advancing until you get a front row seat for an execution. The only available path is through the burning door. Turn to the left and move the boxes out from in front of the vent, and then pull the cover off to get a new route. The men at the door are dead, and the soldier is gone, so just advance.
Once you make it into the next room, you’ll get the prompt for your first bit of combat.
NOTE: Apparently this section counts for your “no-kill” run, at least as of this moment. If you want to get the achievement, or just do it for yourself, then you’ll need to avoid the men ahead.
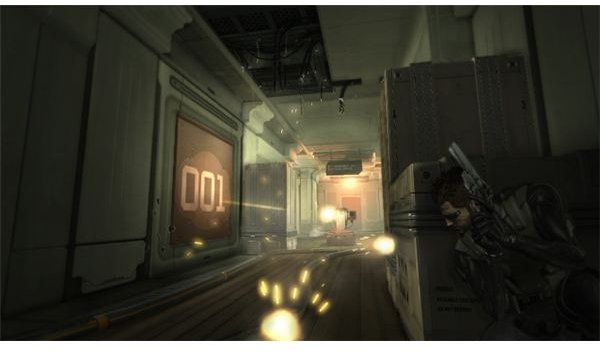
This first room just has two mercs that will move down the ramp. They’re easy to pick off in one good burst if you can get behind a lab table. If you want to sneak past, just watch for the scientist to go over the railing, and hide. You should be able to slip right past them after that.
Move forward and around the corner, then crouch. There are three men in the next room. There’s plenty of cover, so it shouldn’t be too difficult to move around after they split up. If you just want to gun them down, move quickly and hit the two in the center. You can then just use the doorway for cover to kill the third.
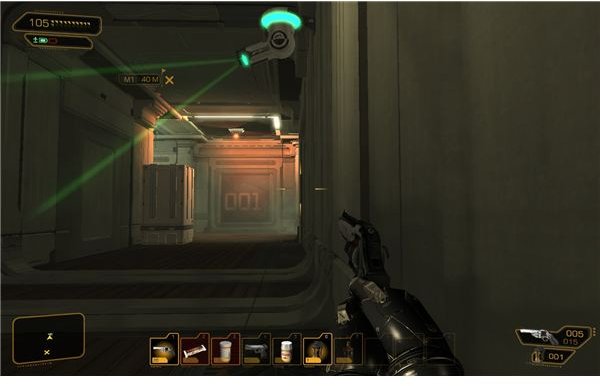
Advance up the steps and move forward. You’ll get a look at a few more executions before the doors open. Get down quickly and behind the cover up top though, since four more soldiers will move into the room through the double doors on the floor below. This position offers an excellent sniper’s perch, so just open up on them if you want. Otherwise, move down and weave around them.
Detroit HQ
When you regain control, just go up the steps to the marker to talk to Pritchard and get your HUD fixed. Once that’s done, you can either challenge his arrogance a bit or just let it go. It’s all up to you. There’s not much else to do at the moment, so unless you just want to explore a bit, walk over to the helipad and talk to Faridah.
She’ll take you over to the plant when you’re ready. During the flight, talk to David and decide on your loadout. You can decide on lethal or non-lethal, and then whether you want a short or long range weapon. Make your picks, then wait to land.
Note that you can buy these weapons through a few gun dealers once the mission is over, so don’t worry too much about making the wrong pick.
Entering the Plant - Door or Roof?
Once you’re on the rooftop, talk to the officers outside and then walk in. There’s an energy bar in one of the lockers on the right. After you grab it, move up and talk to the SWAT captain to get some information on the hostages and layout.
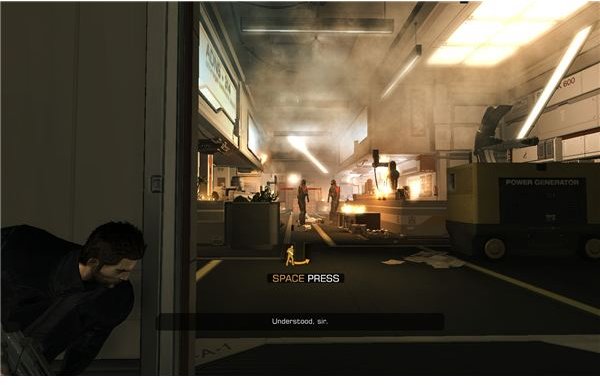
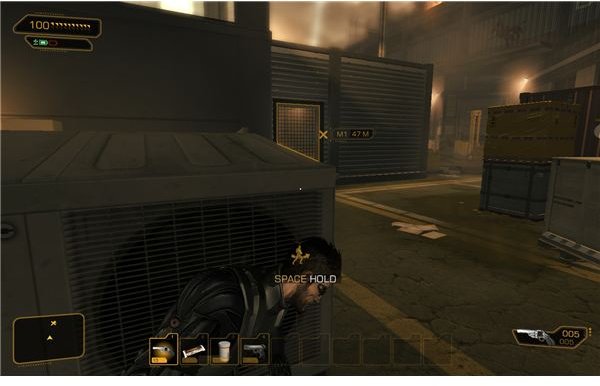
When you’re ready, just go through the door and drop down the ladders. As the tutorials note, your first guard is up ahead. It’s probably best to just do a takedown on him. Pick either lethal or non-lethal and then drag the body over behind the vents. He should have some money and another energy bar on him.
There are two ways to get into the shipping facility, as noted by Pritchard.
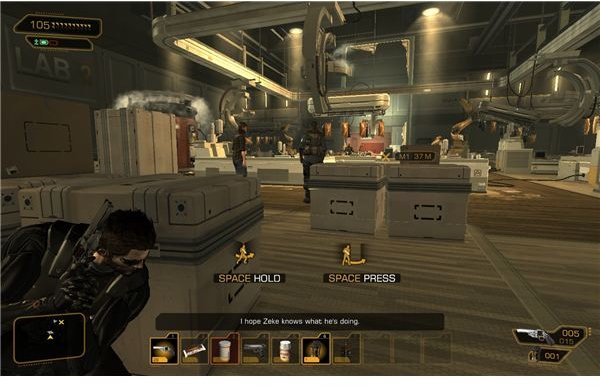
The front door has three guards on it. Two are right next to the door, and one is on a patrol outside. If you want, there’s a security door right past the first guard that you take out. You can go inside, and jump over the boxes to find a small crawl space that will take you right up to the front door. You should then be able to take out the guards using the cover available. You can also just throw some boxes around to draw the patrol down the alley. Shoot him, and take cover. If the guards don’t see you, they’ll just be cautious as they check the body. You can then pop both of them from cover and do it all without taking damage. You can then just waltz inside.
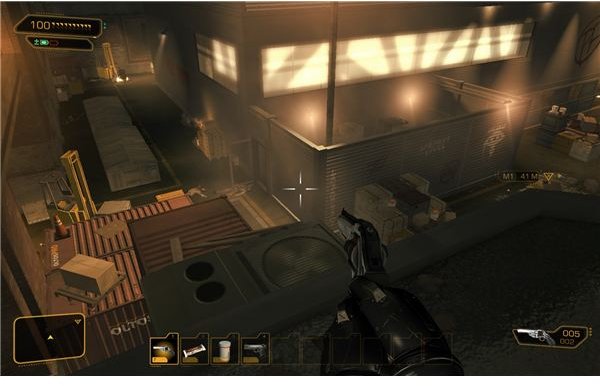
For a softer way to get into the building, consider going in through the roof. Before you turn the corner, you should note a whole bunch of crates and pallets that form a makeshift ramp. In that same side room with the crawl space, there’s a cardboard box that you can pick up. Pick it up and take it outside, then drop it by the large stack of crates. Now climb up and jump over to the roof.
The main path starts out as electrified, so pull a crate over to reveal a vent. Go through it, and then pull the breaker in the second room to clear the main path. You can then just run over and find a vent that will let you down into the main factory floor quietly. Climb down the stack and then go down the ladder into the office. Grab the ammo from the lockers, then read the emails, newspaper and e-book inside.
The Warehouse
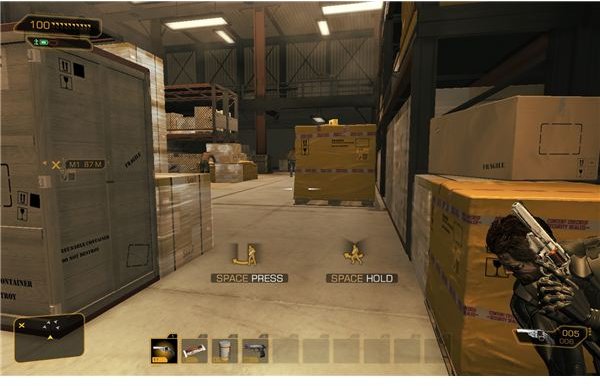
Regardless of how you get inside, you’ll probably want to just ghost the warehouse. The only other option is to just get into a shootout, or get creative with the stun gun and tranquilizer darts. There’s a clear stealth path that you can take. If you came in the front door, make your way over to the office in the corner. You’ll already be here if you came in through the roof.
From the office door, you should be able to see a clear path to the left. There are only two true patrols and there’s plenty of cover. As long as you stay crouched, the men looking in the crates shouldn’t notice you. That said, don’t bother taking them out. It’s hard to hide a body in here.
Swing to the left and walk right past the man searching in the crates. The first patrol will just walk down the center of the room, so you should never be in his line of sight. Move over to some crates on the left and then take cover. Watch the patrol here and wait for him to turn away and walk back to the center of the room. If he’s walking away, you should be able to keep sticking to the left wall, and make it to the door that leads to the lobby. Move inside and shut the door.
There are two men inside. You should be able to chain up two non-lethal takedowns, or even just ignore them, since they’re focused on the barricade and not you. The only thing of interest inside here is a computer that you can get a few emails off of, and a drawer with a 100-credit card on it.
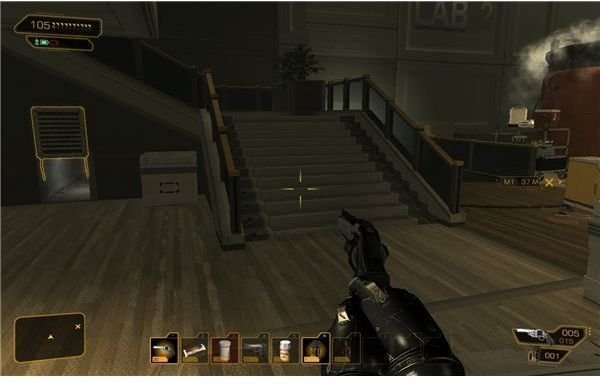
Go up the steps to the office and swing the door open, then quickly take cover. Wait for the three men to split up. One will go into the locker room on the left, one will go into the break area on the right, and the last will just patrol the hallway. Wait for him to make a patrol, then move up and just take him down quietly.
You can actually just ignore the room on the right, unless you just want to keep things clear. Note that any noisy kills in here will draw in any surviving guards in the main warehouse or the lobby, so keep that in mind. The locker room guard is in a simple patrol, in a room filled with cover. It should be an easy takedown. There’s a lot of ammo inside the lockers, along with a concussion grenade. Feel free to stock up.
The real objective is to turn the corner and make your way over to assembly line 1. Just do the easy hack and enter the checkpoint. Go through and wait for the decontamination to run. There’s an energy bar on the floor, so grab it while you walk through. Once the doors open, just enter the new area.
Assembly Line 1
Do not take the left staircase because you will just run into a patrolling guard. You need to go to the right, and walk down. Quickly move over to the big electric sign. Regardless of the path that you want to take, wait for the guard patrolling here to pass you in either direction. He has a machine pistol, so he’s a priority target. He’s also going to get in your way regardless of what you want to do, since you really need some freedom of movement in the hallway for stealth paths.
You should be able to do a takedown on him when he’s near the end of a patrol, and then drag the body behind the sign. Just watch and make sure that the center guard in the lab isn’t looking, and you should be fine.
It’s time to go over the layout here, since the room is a little confusing. Your goal is to make it into the series of offices to the right. There’s a door to this area at the back of the assembly area, and another just to the right of the sign.
There’s a storage room to the left, it’s not actually that important. It has one guard inside, so remember to watch for him if you’re going in shooting. Otherwise, there’s just a clip of rifle ammo that I wouldn’t personally bother grabbing.
That raised office in the back at the top of the stairs has all the hostages in it.
Saving the Hostages
The hostages are tied up in the raised room in the back, and they don’t have a guard with them. If you’re good at hacking, you can just walk right inside. Going through the doors triggers a gas bomb with a 30-second countdown. You can hack it in time if you’re comfortable with the mini-game. If you don’t want to risk it, you can take a vent to get inside.
I’m going to assume that you want to save the hostages. There’s not really a reason to skip it, as far as I can tell.
The easiest way is the vent path. While waiting by the big sign, look to your right. You should see two crates underneath the staircase. Move over, and then push the crates aside to reveal a vent. Then just follow the long winding path up and over the room to end up with the hostages. You should then be able to hack the bomb in relative peace.
You can also go up the staircases. It’s possible to do takedowns on the three guards on the line. It’s just hard. The one on the left isn’t a real threat. The one on the right is vulnerable while he’s looking in the boxes. You should be able to knock him out and drag him behind a counter if the center patrol isn’t watching. Without the patrol on the right, the center is vulnerable. Just get behind him and take care of him.
The way is basically clear then.
You can go through the offices to the right and come out at the back of the room, but there isn’t a real advantage to doing it that way.
Once you take care of the bomb, through any path, the hostages will be safe.
Reaching Assembly Line 2
The next step is to get into the offices. There are two access points. If you made it across the room, you can go down the steps by the hostages, and go in the back door. The front door is to the right of the big glowing sign. Either path will work, but I think that the front actually works better.
The challenge in here is that there are two cameras set up in the corners. There’s also one guard on a patrol. Note that for both cameras, you basically just have to wait until they’re looking away and then move. Also note that the game correctly notes the camera’s blind spots. If you get close enough or get under it, it won’t see you either. You can use this to walk right under the camera watching the back entrance.
The patrolling guard is fairly easy to take care of. Just watch your map for him and try to do a takedown at some point, preferably away from the cameras. There are two terrorists talking in the meeting room. Regardless of the direction that you come in from, they’ll talk briefly and then split up. One will approach your area and another will walk away.
One of the terrorists will just watch the TV, so you would actually be safe just ignoring him. If you have the energy, it’s better to just take him out though. The other patrol can be taken out by using the table as cover.
Once the three guards in this office area are down, you should be able to move over to the marker without to much trouble and reach the second assembly area. Just as before, go through and wait for the decontamination to open the doors.
The Second Assembly Area
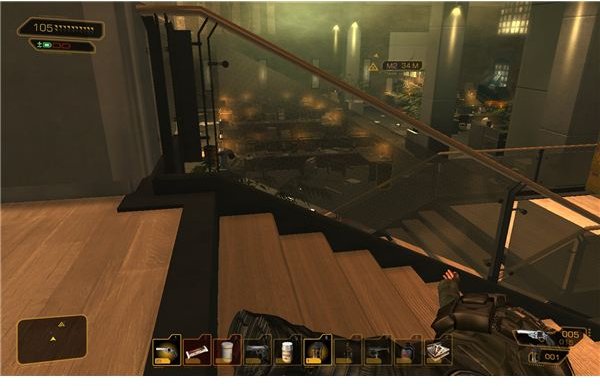
Once you’re in here, you’ll need to carefully move forward. There’s nothing up the steps, so just ignore them. It’s really hard to ghost this area normally, since the patrols overlap. A shootout isn’t too hard though, since there’s plenty of cover and the guards are spread out a bit. I had no trouble picking them off with a revolver. Just be wary of the two guards in the storage areas.
If you want to do this right, the best way appears to be a hidden path. If you look under the staircases, you’ll be able to pull away a garbage can and crate to reveal a vent. This will take you over to a storage area in the back left of the room. Just watch for the single guard in here, and take him out once he turns his back. You can loot a frag grenade from the closet too.
This rear area should allow you to just slip right past them and into the server room. Grab the Praxis Kit off of the ground to get a free point. Feel free to see if there’s anything that you want to upgrade. The server room is covered by a turret and a camera, but there’s a vent in plain sight. Move over to the crate and quickly push it forward a bit. If you stay crouched, the camera shouldn’t see you. Then pull the vent up and go through it to come out behind the turret. There’s nothing else to really bother with here.
Approach the door to the server room to start a cutscene. Loot the dead hacker’s body for some software, and then look around. When you’re ready, go out the door in the server room to get on the path toward the head office.
The Admin Offices
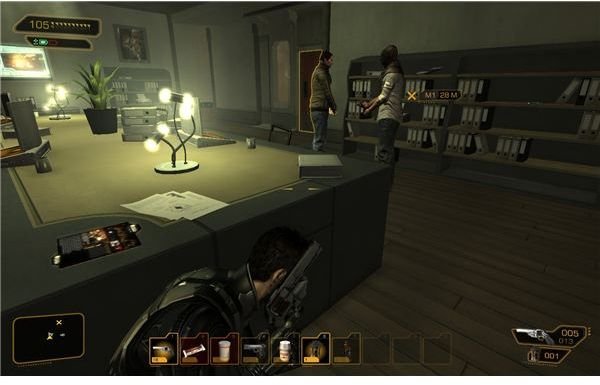
Just keep moving up until you reach the office area, after a nice view of the SWAT team seizing the front gate. In the start of the office area, you should be able to easy take out both of the guards after they split up. From that point, I suggest that you look through the upper area for a few things to loot and an ebook. Also start checking bodies. Most of the bodies in here have pocket secretaries with passwords on them for the employee’s computers. If you’re noisy and hate hacking, it’s a good idea to grab these.
Once again, unless you just want to go in guns blazing, I suggest that you look in the left side of these upper offices to find a vent. Open the hatch and climb through it to turn up in the bathrooms. There’s one guard watching the bathrooms, and it actually seems like a fairly good idea to whip the door open while he’s watching (look at the minimap). He’ll walk over to the check it out. You can easily hide in a stall and take him out.
After that, you shouldn’t have much trouble moving out of the bathrooms and hitting the closest guard while his back is turn. Then just use the cubicles for cover and take out the last man or two. If you already hit the guards upstairs, then you can also just use weapons. No one else is around to sound an alarm.
If you want, go ahead and hack the computers. You can hack to your heart’s content, although there isn’t anything vital. You can come out with some credits and software from hacking databases though.
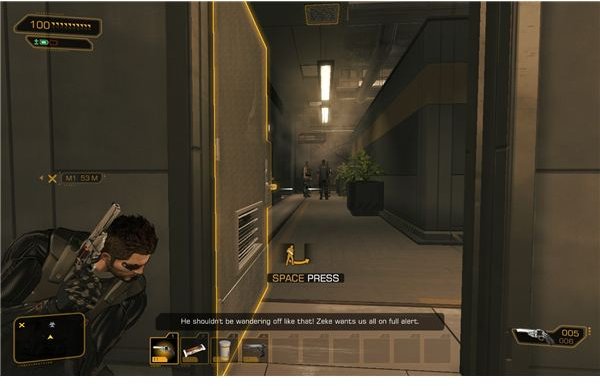
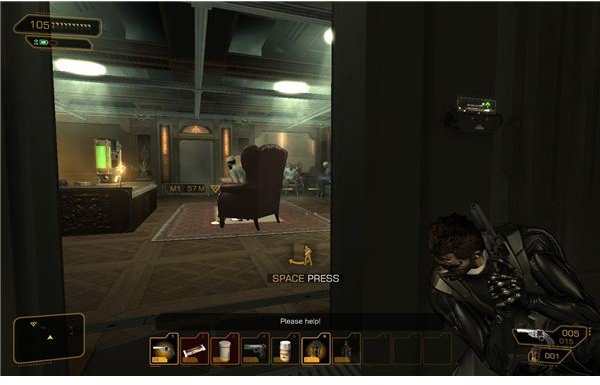
When you’re ready, keep moving up. You’re just about done. Make a good save here, in case something goes wrong, and then approach Thorpe’s office. There’s an e-book on the receptionist’s desk, so grab that before throwing the doors open.
Once the doors are open, you’ll need to deal with Zeke.
Zeke Sanders
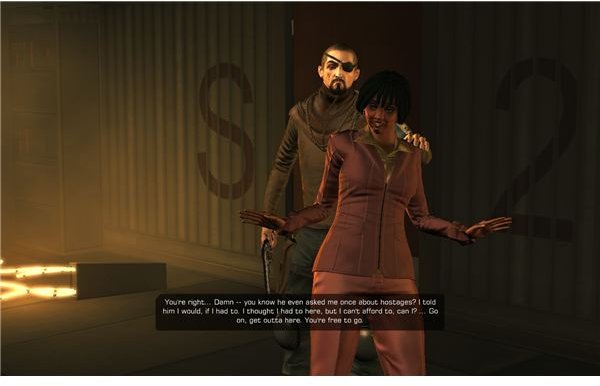
There are a few options. I assume that you want to save the hostage, so just letting him go is a bad idea. If you try to free Jane, you’ll go into a persuasion game. Going: Reason, Empathize and Reason will convince him to let her (that’s at least one sure path), but he will slip away (as you predict). If you let him slip away, he will come back later with some useful intel and codes, so it may be worth it strategically. If you try to fight him, you’ll have about three second to move your gun to the right and light him up before Zeke shoots the hostage. You’ll then either kill or capture him, depending on the weapon. It’s all up to you though.
Once you take care of this, you’ll automatically secure the area until the police come in. Talk to them and Jane, and then head out. If you saved the hostages, Greg will be here too. You can report his wife’s fate to him if you wish.
When you’re ready, just go to the helipad and talk to Faridah to head out. She’ll take you back to the Detroit HQ and finish up the mission.
References
- All information and screenshots from Deus Ex: Human Revolution
This post is part of the series: Deus Ex: Human Revolution Walkthrough - Part 1
Things get off to a rough start in Deus Ex: Human Revolution. We’ll need to clear the Sariff labs out, raid the Milwaukee Factory and then carry out a few missions in Detroit to get to the bottom of it. If you need help with the side quests or main mission, these guides will help.