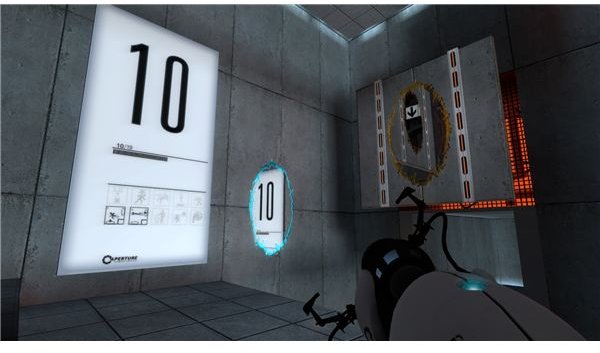
The tests are getting a bit hardy and we need to stay on GLaDOS’ good side. This Portal walkthrough will cover chapter 5, chapter 6 and chapter 7. This includes testchamber 13, testchamber 14 and testchamber 15. If you need help with the portal gun or meeting GLaDOS’ demands, look here.
Chapter 5 - Testchamber 13
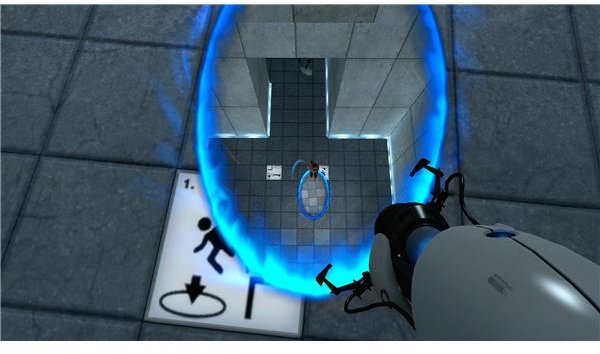
T
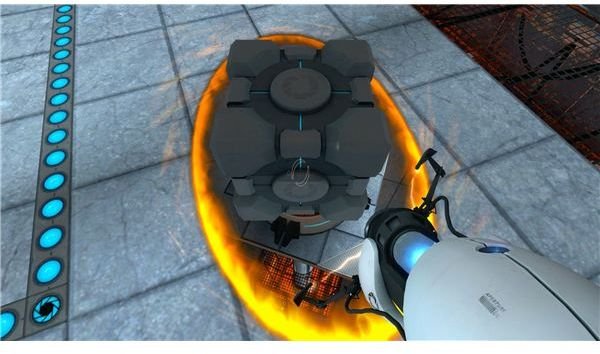
hings are starting to heat up a bit. For this one, start out by firing a portal on the ground and another on the catwalk above you. Use this to grab the box and drop it on the button. Now, to save a little time, look through the door. Fire one portal through the doors onto the ceiling of the big room. Put another on the floor by the button you just pressed. We’re going to need two boxes, so grab it now and use the portals to bypass the door.
To get the other box, start by watch the energy ball on the left. Put one portal on the burned spot and another on the orange light. This will make the tram start moving again. Fire a portal above the tram on the white portion of the ceiling. Put another on the floor and look through the portal until the platform is visible. Drop down on it and grab the box. Jump off. We’ve got two boxes now. If you didn’t, then don’t worry. You should be able to fire a blue portal through the high door you used to enter the big room. Use a portal on the floor to go back and grab the box.
Put a box on the platform on the left by putting a portal above it and one on the floor. Repeat this for the second platform to open the door. Jump over to the doorway and walk through to the elevator.
Chapter 6 - Testchamber 14
The design for this is a little tricky. There’s a button to the right but we need to go to the left. Glados will generate some stairs for you to walk up to the action.
We don’t have an energy ball yet, so focus on the box. We just need to slingshot for this one. Put one portal on the white wall across from the box. Glados lowered the stairs, so you can fire a portal at the bottom of the new pit and jump through it. Get onto the metal structure and grab the box.
Carry it over to the button and open the door.
Cross the toxic sludge by either using portal or jumping across the platforms (this is platforming 101, just jump as they’re raising and wait on the solid one in the middle).
Go into the room with the energy ball shooter and put a blue portal on the burn mark (the color doesn’t matter, but you have to remember which one you used). Leap back across the moving platforms (if you used portals before then make sure that you don’t get hit by the energy ball). Fire a portal onto the orange light to power the “complimentary victory lift.” Ride it up to the elevator to make it to the next course.
Chapter 7 - Testchamber 15

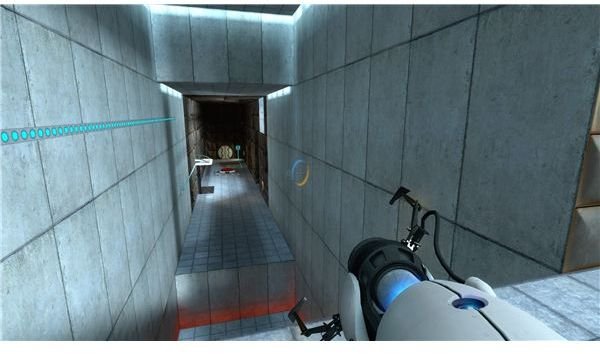
This is a simple one. You mainly just have to figure out how the force fields work and get creative with slingshot moves. You can’t fire a portal through the forcefield. You have plenty of room to work though. Note that it might give you a headache though.
Shoot an orange portal onto the slightly extended portion of the wall above the entrance. We don’t have a pit to jump into, so we have to make our own. Put another portal roughly in the middle of the floor. Drop through this portal and keep moving forward to keep your forward momentum. If you can hit the portal in the floor again, then you should fly through the forcefield and make it across.
The next one is easy once you get the concept. If you go through the forcefield, your existing portals collapse. So you need to move the energy ball in two shots. Start by putting one portal on the burned spot and another that will get the energy ball onto the right side of the divider. Once it comes through the second portal, run through the forcefield. You have a few more passes where the ball will just move back and forth on your side before exploding. Put a portal on its impact point on the wall and another above the receiver.
This will power up the lift and let you through to the next section. The slingshot is a little more complicated, since we can’t make it to the compatible part of the floor. Put one on the raised portion by the entrance and walk through the side room. There’s a shallow pit there. Put a portal there and jump through it to start the slingshot. As you approach the floor, fire a new portal to repeat the slingshot and make it through the forcefield. Still not out of the woods yet. Thankfully, you can just repeat the original slingshot here. Put one on the raised segment above the energy ball shooter and another in the floor to fly across it.
In order to get the energy ball back to the receiver, you need to put a portal on the burned section on the slanted part (we need to minimize how many hits it has or it will explode). Put another orange portal in line with the slanted piece on the right side. I got it to work by placing it right in the center of the second panel on the right wall. It should hit the board and go back to the receiver. Fire a portal above the panels and another on the floor to repeat the slingshot and get back to the original side.
The tram system is running now, but it’s going the wrong way. We have to get creative. Look down the line and put a portal in the corner and another on the outside. Look through the portal and jump onto a platform as it rounds that corner. Once you’re on it, quickly shoot a new portal into the second corner of the tunnel (you can only see it from this point). Jump through the portal to get onto the next platform. Quickly look out the end of the tunnel and shoot a portal onto the back wall. Jump through to get out of the tunnel safely.
This one is tricky. You need to be quick so I hope you’re comfortable with the portals by now. You can ride the first platform on the left up to reach a raised section with a button. This lowered the second shield blocking the energy receiver. Hit the button and look out the opening. Fire a portal into the other side room across from you. Put a portal next to you and run through. Hit the button to open the first shield. Put one portal onto the separate section across from the receiver and then put a new portal on the burned spot (if you do the burned spot first it might come through earlier and put the ball in the room spot).
The ball should get through right as the shields are closing again. This energy will now power the back left lift. Go up to the elevator and jump into it.
This post is part of the series: Portal Walkthrough
A complete guide and walkthrough to the hit game from Valve. I’ll tell you how to make it through the entire game and manipulate the portals correctly to pass all the tests and eventually escape from Glados and Aperature Labs.