If you want to replace the hard drive in your PS3, it is important to be prepared, have a PS3 backup, and know what to watch out for. This guide can walk you through the PS3 hard drive upgrade and replacement so you know what you’re getting into.
Replacing PS3 Hard Drives: Why?
There may be a time where you start running out of space on your PS3 and start thinking about either a PS3 hard drive upgrade or replacing PS3 hard drive to give you more memory. Be it because of too many downloads, giant game data installs, or ever-increasing file sizes, that teeny drive has got to go. You will be surprised that it is relatively easy to do, but there are some choices and preparations you have to make before you ever start to upgrade PS3 hard drives.
Get Ready, Get Set…
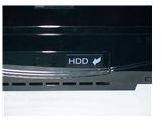
After you have done your PS3 backup , it is time to get your hands a little dirty. Turn off your PS3 and unplug it to make sure that you do not electrocute yourself. On the left side of the PS3 there should be a little plastic flap with a notch in it. It should be easy to find since it says “HDD” on it. Carefully remove it with something flat. If you aren’t worried about scratching your case, such as a flathead screwdriver, but a fingernail seems to work just fine as well.
Go!
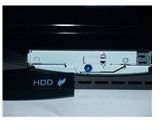
The blue screw in the middle of this part of your PS3 is your next target. It requires a small Phillips-head screwdriver. Great care must be taken to remove these screws, since they are not very sturdy and can be damaged easily. If you do damage one, it can cost you a lot to get another.
Be Very Careful With Those Screws…
Before you take out the silver screws, use the metal loop above the blue screw to pull out the old PS3 hard drive. It should be pushed towards the front of the PS3 before pulling it out to disconnect it. Once it is out you can carefully remove the silver screws to detach the hard drive from the metal frame. There should be four in all, two on each end.
Your newPS3 hard drive upgrade should go where the old one once was. The size limit on replacement PS3 hard drive upgrades apparently tops out at 250GB, so use a larger hard drive at your own risk. Also, make sure that you get the right kind of hard drive (2.5" SATA Notebook HDD).
Slide the new hard drive, secured in the metal frame, into the PS3 and push it toward the rear to connect it to the system. You should now be able to replace the blue screw. Then put the cover back on and turn on your PS3.
Setting Up Your New Hard Drive
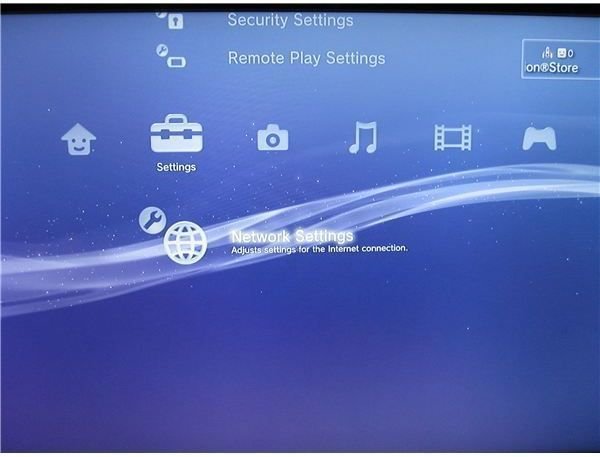
The PS3 will prompt you to format your new hard drive. If you want to be able to use it you have to select “yes”. Once the formatting process is over, you can move over your backed up files. If you used an external hard drive to backup it is very easy ([Settings]>[System Settings]>[Backup Utility]>Restore). If you used a flash drive you will have to go to each section and copy them over manually. You will also have to re-input your login information and download the games and demos you used to have.
Once that is all done, you can now go back to fueling your gaming addiction.
Did You Back Up Your Data?
It is important to back up your data first. If you have not already done this, see how it is done here .