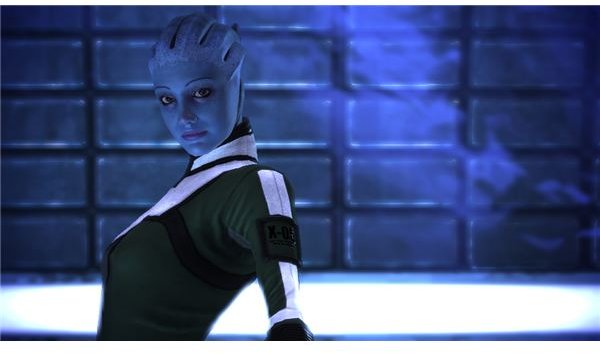
Grunt’s loyalty mission (Rite of Passage) will take us to Tuchanka for a series of tests to prove his powers in combat. We’ll need to meet the Chief of Clan Urdnot and then kill some varren, klixen, and a thresher maw before we’re done.
Introduction
Grunt’s loyalty mission is pretty straightforward. You should get it after you recruit a second tier person and do another mission. You should also be able to get it at the same time as Mordin’s mission, so you can do two birds with one stone.
To start Grunt’s mission, head down to Tuchanka and walk down to the main camp. You can climb the rubble pile to talk to the chief. If you’ve got an old game where you saved Wrex, then he’ll be chief. It doesn’t make much of a difference though.
The chief should be willing to give Grunt a chance to pass their rite. The second-in-command, Chief Uvenk, doesn’t approve though. We’ll handle him later. Walk up the left set of stairs to find the shaman. Uvenk is already trying to block your effort. The paragon path is a pretty normal argument that has Grunt demanding his right to join a clan. The renegade one is a bit more fun, since you can use an interrupt to headbutt Uvenk during the argument over their traditions.
No matter what you say you should be allowed to head off and do the trial. You’ll offload in the new spot outside the keystone. I suggest you walk around and loot all of the bodies and bypass the two turbines. We need to get the free credits before we’re under attack. When you’re ready, press the keystone to call in the first rite.
The Rite of Passage
This is just a series of varren attacks. I suggest you use the submachine gun though, since we might as well save the ammo for the good stuff. The only real trick is to order your squad to stand in the middle. If they’re behind cover, then they’ll only poke their heads out occasionally. We want them firing as fast as possible to put down the varren.
I suggest that you just take up a spot by the keystone trigger. The varren come from all sides except the keystone, so if you can just keep an eye out you’ll be fine. If one gets too close, then just melee it. If you run out of ammo, just look for a dead krogan. You should be able to pick up a lot of ammo from their bodies.
The second wave is made up of Klixen. It’s basically the same. Keep your back to the keystone and just keep firing. They should just come in fairly organized waves, so you’ll be fine. Just try to kill them before they get too close. That little explosion when they die is pretty nasty.
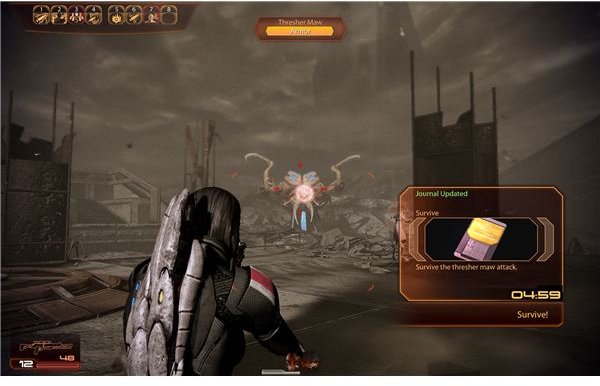
The third attack is the real challenge. It’s a thresher maw. This is one tough beast. It can fire one large ball of acid at you and it is powerful enough to break down those freestanding steel towers. Don’t take cover behind them. Just take cover behind the walls and the connected towers. The thresher maw itself is pretty tough, but you should be able to kill it. Just hammering it with a particle beam will take off at least half of it’s health. Incinerate works well, too. Just use the ammo you have left in your heavy weapons to bring it down.
If worst comes to worse, you can just run around and hide for 5 minutes and you still win.
We’re not all the way done yet. Uvenk will come and challenge Grunt. Note that his best concession is to turn Grunt into a trophy for the clan. Even if you’re nice this will end in a battle. Just get behind a wall and start shooting. The guards should die pretty quickly. You’ve dealt with krogans before. Uvenk has a barrier, but it should also go down pretty quickly.
This post is part of the series: Mass Effect 2 Walkthrough - Loyalty Missions - Part 1
Gaining your squad’s loyalty is crucial to the final mission. Each member’s loyalty can be gained through a corresponding mission. Once they’re loyal, you’ll have access to a new outfit for them and you’ll unlock their fairly nice fourth ability.