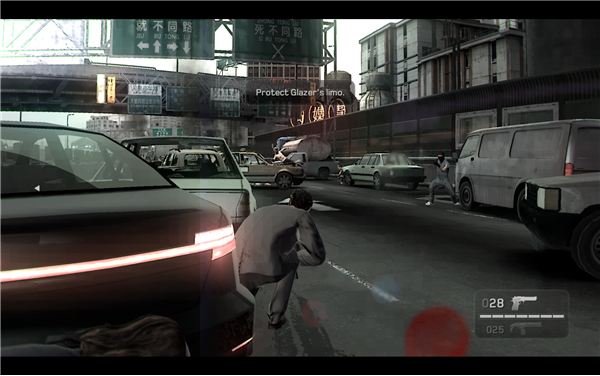
It seems like the arms deal has hit a bit of a snag. Glazer’s limo is under attack and most of the highway is now covered with flaming debris. I’ll tell you how to escort Glazer to safety, get through the parking garage and finally make a clean escape in the getaway vehicle.
Protecting Glazer’s Limo
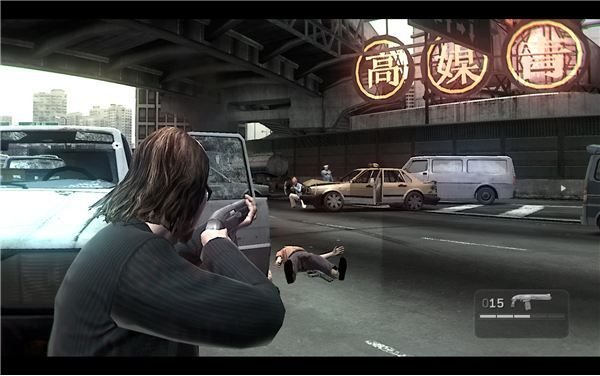
We’re starting off in a pretty weak spot. You need to protect Glazer’s limo as it works its way through the wrecks and gets off of the now blocked freeway. Note that while the car is triggered to move forward as you move forward and kill gunmen, it will move forward on its own if you don’t. You need to keep advancing or it might get stranded at the end of the highway and destroyed. That said, it just has to limp off of the highway, so don’t worry about a few scratches on it.
Don’t just crouch at the start or try to use the limo as cover. It’s really bad cover and Kane will probably block your line of fire. Move over to the pickup truck on the right and pull out a good gun. If you’ve got a shotgun, then this is the time to use it. Three men will rush right up the center. Two from the right and one from the left. If you’re ready, then you can just gun them down. If they make it to you, then you’ll probably get killed.
After that threat is taken care of, start picking off a few of the gunmen ahead of you. Turn to the right and go behind the truck to flank the remaining gunmen to the right. If you can’t pick them off, then they’ll ambush you as you run up the center. Taking the route to the right will flush them out.
Sprint forward to the half destroyed orange car in the center. This should be good cover for the next segment of the highway. There’s not too much of a trick to this, except once again you’ll probably have to swing around the cars to the right to flush out a few gunmen.
Getting Glazer’s Limo to Safety
As the limo drives forward to the left, it should be fairly safe. You can actually use Glazer’s limo for cover on this brief segment, although the car next to it is just as good. There aren’t too many specific threats to watch out for. Just lay down fire and try to clear the way.
The final leg of the highway is the roughest. There are gunmen everywhere and there are a few hidden ones behind trucks that will usually swing out behind you as you run to keep up with the car. You need to watch the right side and basically strafe them as you run past on the left. The real danger is one gunman that seems to always wait right by the spot where Glazer’s limo stops. You need to take him out or he’ll do a lot of damage quickly. Once he’s down and the first gunmen are flushed out, you can move up to a car on the left and take cover.
If you are having a lot of trouble protecting Glazer’s limo at the end of the highway, then you can do a bit of a risky maneuver. Run forward to Glazer’s limo as soon as it pulls up to the end, which should hopefully trigger it to move forward. At the end of the highway, it will just swing to the right and pull onto the exit ramp. It should be safe here, since the gunmen are mainly concerned about the people shooting back at them. You can then run back to Kane and take cover.
Either way, once the car’s safe you can just grind through the remaining gunmen that are around the exit. You should have plenty of time to pick them off as you go. Grab some more ammo from the bodies and then head on up to Glazer’s limo and chase it down the ramp. Of course we’re not done escorting Glazer just yet.
Run off to the right side. I believe that the first volley from the ambush will always knock you down, so get back up and take cover behind the power box on the right. Take the free moment to return fire and watch for one gunman that should run up to Glazer’s limo. Take him out if you can.
The car is wrecked and Glazer’s hurt, so you need to pull him out. Run up to the front window and hit “E” to pull him out. Run back to your cover by the power box and start wearing away at the men ahead of you. Note that Glazer also has a bodyguard with him, so you just gained a third ally. He’s actually pretty useful and should do a fine job of protecting Glazer. The escort side of this is basically done, unless you just run away from Glazer and let someone flank him.
The Ambush
Going straight up the right side isn’t a good idea. There isn’t enough cover and there are still shooters on the left. Try to swing over to the left and clear out the few people on that side. Use the cars for cover and pick away at the shooters under the overpass. Ideally, you can take out a few and then move up to a better firing position.
The police finally responded and actually cut off our main escape route. They are barely a threat though. If you made it this far, then a few cops with revolvers should barely be a challenge. Take them out with a quick flanking maneuver along the right side. Make sure that you grab some more ammo before you go. We still have some fighting to do. Once you’re ready to go, join up with Glazer at the entrance to the garage.
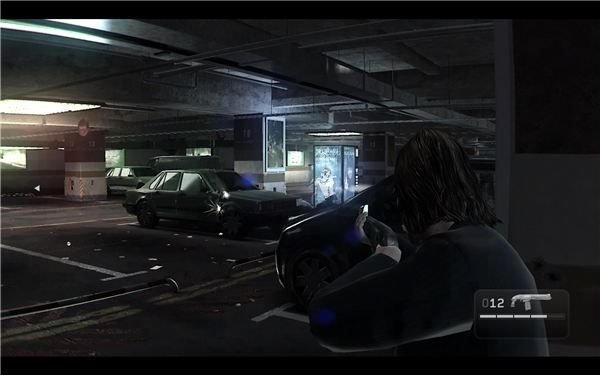
The Garage
There’s nothing too technical about this part. Walk through the first section of the garage and get to the steps in back. There’s a getaway van coming but it’s a little ways away.
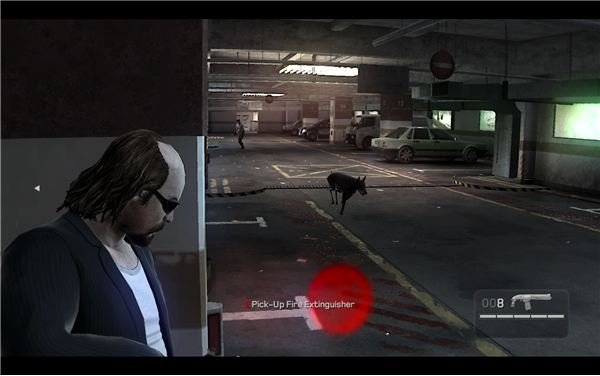
Once you go up the steps, you’ll run into the second wave of police. As a general warning, there are at least two police dogs that they will let loose. They will knock you down in the first attack and probably kill you with the second. Don’t just jump right back up, try to take them out from the ground. In the time it takes to steady yourself and aim at the dog, they will have already killed you. Also try to stay close to the group. Kane and the bodyguard are pretty good at killing the dogs or at least keeping them off your back. Note also that Glazer is fairly safe. The only damage he took on my run (when I didn’t really watch him) was from a dog rushing him and getting in a bite before the bodyguard killed it.
Toss a fire extinguisher out and try to shoot it as the dog runs past it. You can hopefully at least get the first dog and one of the two cops. Swing to the left and stick to the cars for cover. Remember to move back to the center of the car if you need a moment to heal, since they can probably nick you around the corner.
Move up to the left and watch for the main group that should be close to the middle. The cops with the white hats also have nice submachine guns, so try to take out a few of them and grab one. You can also grab a fire extinguisher off of a column to take out a group, if you see them cluster together.
Once you get a good gun, it’s actually pretty easy. There’s plenty of ammo for the cops’ SMGs, so you should just be able to grind your way up to the exit if you move carefully. The next burst of officers will come out as you approach the exit. I suggest that you grab another extinguisher and toss it at them. You should be able to move up along the left side and flank them while Kane and the bodyguard tie them up in the front.
Once the exit is clear, you just have to keep moving. Kick in doors and work your way downstairs.
Escaping with Glazer

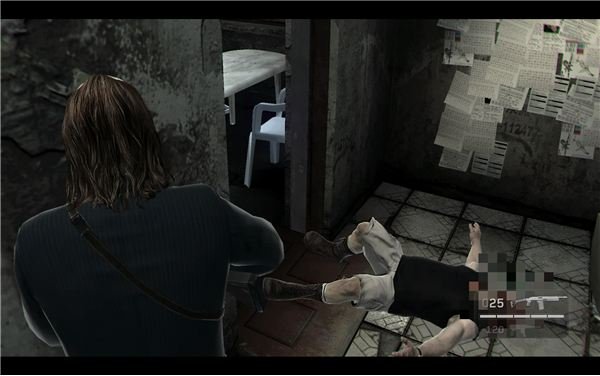
You should be able to swing out into the lot in the destroyed building and just take up a good firing position behind the downed pillar in the center. Kane and Lynch should have a fine killing zone right in the center. Wipe out the guards as they try to take positions on the ground and then look to the left and right for officers in raised positions. You’ll know that you cleared the area when you hear Glazer start talking.
Go out into the apartment and get into cover quickly. You should be able to set up a great kill zone again with Kane and kill the cops in the room. Once you take out the bulk in the middle you should be all set. Pick off the rest and then go out to make it to the street.
You should see the getaway van approaching. Turn to the left and fire at the cops moving up. We’re not clearing out everyone, we’re just clearing a path. Stay in cover and make sure that the cops are at least supressed. Once the getaway van arrives, you need to get ready. If you wait for very long, then the van will get shot up. Just sprint with the group and make it to the van. A cutscene will play and you’ll escape.
This post is part of the series: Kane and Lynch 2: Dog Days Walkthrough - Part 1 - A Simple Arms Deal
Kane and Lynch get off to a bit of a rough start in Shanghai. A bit of a mishap with Brady may put the arms deal with Glazer in danger. I’ll take you through the first chase, the battle on the freeway, the attack on Hsing, the battle in the restaurant and finally the fight in Xiu’s apartment.
- Kane and Lynch 2: Dog Days Walkthrough - Chapter 1: Welcome to Shanghai
- Kane and Lynch 2: Dog Days Walkthrough - Chapter 2 - The Details
- Kane and Lynch 2: Dog Days Walkthrough - Chapter 3 - Blood, Sweat & Tears
- Kane and Lynch 2: Dog Days Walkthrough - Chapter 4 - Laying Low
- Kane and Lynch 2: Dog Days Walkthrough - Chapter 5 - Coming Home