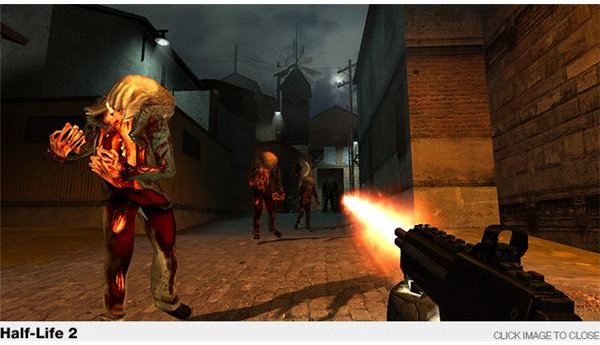
We’ve got a long way to go to get the antlion essence for the vortigaunts back at the base. if you want to save Alyx, you’ve got a lot of zombies and antlions to kill before you’re done. You’ve also got an antlion queen to outrun. If you need any help surviving, then look here.
The Elevator
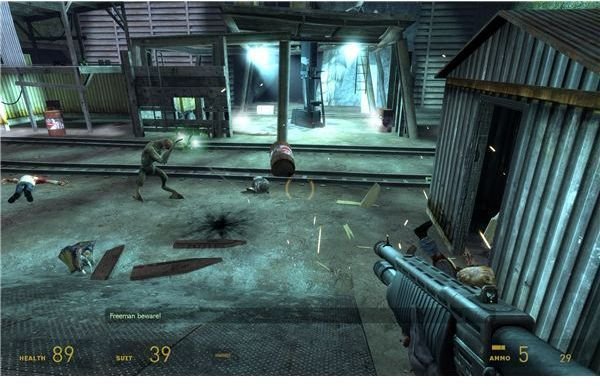
Go down the fence and into the little control area. Kill the zombine as soon as he stands up by the controls. Flip the switch on the control panel to send the elevator up. The problem is that it rises far too fast for us to run out and jump on. While it’s up, walk out and use the gravity gun to lift the metal bundles and put them aside. Then go back and flip the switch to bring it back down. Put the 2 bundles you pulled out onto the lift. Then grab a third bundle from the back corner. This will keep it from lifting up. Run back and flip the switch. Then walk back out and jump onto it. Push one of the iron bundles off of the lift to get it to rise slowly. Go ahead and kick the second off to rise at a reasonable rate. You’ll end up on the other side of the fence. Help the vortigaunt kill off the new zombie wave. Then twist the winch to let him rejoin you.
The Mine Path
Go down the line and wait for him to fire up the generator by the gate. Then go through along the mine tracks. Look to the right and notice the boxes on the mine cars. You can pull the box on the middle supply crate off without any danger. Pulling the crates out of
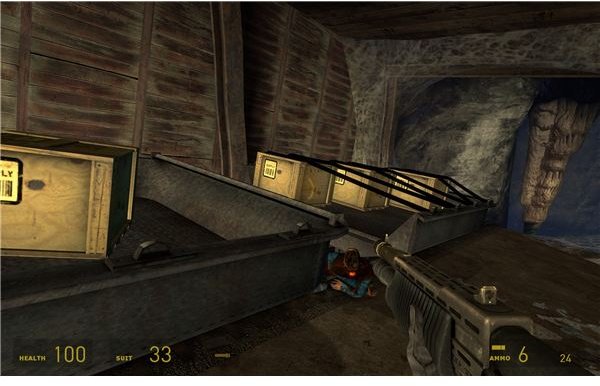
their restraints on the front will send it over the ledge. Stand to the side and pull them out quickly. You should be able to get one or two off before it crashes. Enjoy your supplies and then move on to the next area.
Kill the zombie and look up the tracks. Knock off the boards and step through. Then quickly move to the right to avoid the incoming cart. Keep your back to the wall and use the shotgun to blow away the zombies that are moving down the tracks. Hang back for a second though. You should see acid flying. There are 2 acid-lions above you also attacking the zombies. Once most of the zombies are gone, step out and blast them both. There might be one more up the tracks, so stay alert. Go up to the end and use the ladder to get to the next area.
Look at the big mixer in the room. Go ahead and use the gravity gun to pull the grenade out of the Combine’s hand. Throw it into the corner for safety. Crouch under the big mixer and drop down for a wild cart ride. Just hang on and make sure you land in the water. Move over to the ladder and climb up. The vortigaunt will be waiting for you at the top. Come out and go into the tunnels on the left. We just need to get to the “vibratory heaven” for now. Did I mention I love the vortigaunts? Anyway, move along the cliffs and get over to the pounder. Run right next to it and enjoy the brief safety. While you’re here, use the pistol to hit each of the zombie bodies on the other side. We might as well start up a three-way fight.
The Elevator Battle
Okay, once you’ve thinned the room out a little, move over to the elevator area on the other side of the pounder. Hit the big green button to call it. The whole area will start spawning acid-lions, antlions, zombies and zombine. You just need to hold your ground until the lift gets to the bottom. The vortigaunt will alert you when it does.
The big dangers are the 2 houses by the elevator. Groups of zombies will break out of them as the elevator gets close. The biggest danger is the acid-lions, since they’ll temporarily knock down your health with their toxin. This naturally leaves you quite vulnerable.
Just move around and let the 2 sides fight it out. Focus on killing the acid-lions with your shotgun. The zombies and antlions should keep each other in check for the most part. Watch out for any zombine that might show up though. As soon as the lift reaches the bottom, jump onto it. It will immediately start to rise and you’ll be safe. The antlions will try to jump up to you, but they should just hit the metal and fall. The acid-lions might hit you, but they’ll be busy with your vortigaunt friend.
After a minute, he’ll also jump on a lift. Meet up with him at the top and just enjoy the fight below you.
Your Biggest Fan
Move forward and grab all the ammo and grenades on the floor. He’ll fire up another generator. Move forward a bit more to run into the Queen Antlion. You’ll be seeing a lot more of her before we’re done here.
Advance further and blow away the boards holding up the grate. It will fall and create a bridge. Then turn to the right at the intersection and knock down the board holding up the second grate. Go up and around this path to get to the next area.
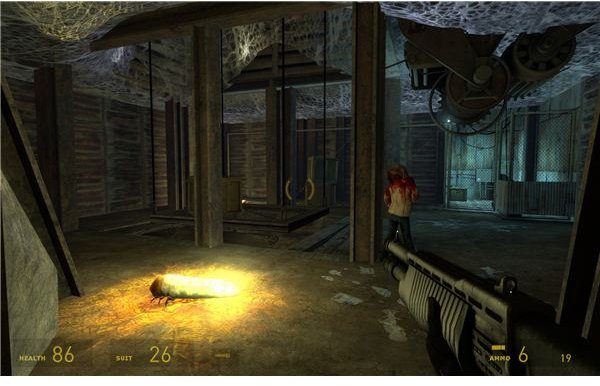
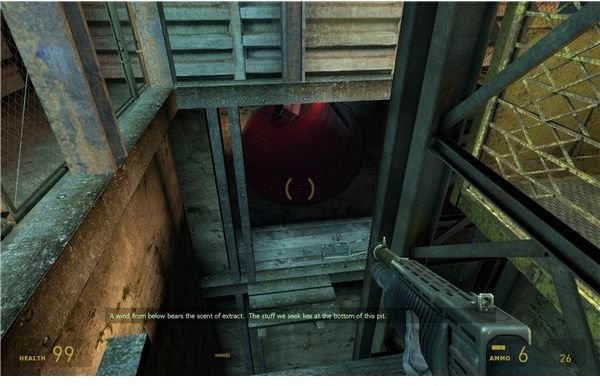
We can’t use the lift ourselves. Go to the other side and jump down into the lit tunnel. Use the gravity gun to pull the table out of the fan, and then start walking forward. You need to offset the wind for about 10 seconds while the fan burns out and breaks. Use the gravity gun to punt the fan blades until the opening is on the bottom. Then crawl through. Move forward until you see a bunch of larvae around a hole. Drop down and break away the webbing to get to the main hive.
The Antlion Queen
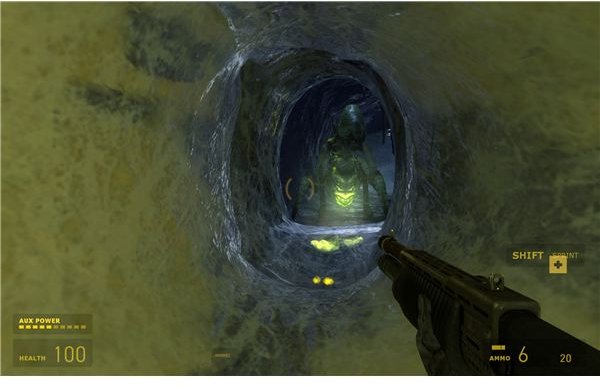
Peak out and blow away the acid-lion waiting for you. Then drop down and walk along the cavern. Just keep heading further in until there’s a drop. Hide behind the pillar and wait for the queen to come in and ram the pillar. Sprint past her while she’s dazed and get into the tunnels. Get into the little burrow ahead. Crawl through it and come out of the next area. Don’t go out just yet though.
Wait for the queen to kick at the hole and then move on. Jump out and rush to the next burrow down the line. Go through it and drop down. You should be able to exit near an odd circle shape. What you need to do is dodge the rocks the queen throws. Then you need to lure her out just a bit. As soon as she starts to run down one path, you have to run up the other and through the door she was guarding. Sprint and try to make it to the little burrow around the turn. This doesn’t go anywhere, but it will hide you for the time being. If it hits you first, just shake off the initial damage and go further down the path. You should be able to jump into a burrow just off the next cliff. This is the real one you need anyway. Go through it and pop out when it’s safe.
Okay, the door you need is a boarded up door just a bit further on the path. Save and then dash out. If the timing is right, you won’t meet the queen. If you’re timing is bad, it will be waiting for you. Run back to the burrow if this happens. Hide and go back out. Time is crucial, so just use the shotgun to blow the boards away. Jump in and get to the back. The queen will pick at the boards and make the whole thing collapse.
Antlion Genocide
You’re fairly safe on this lower level. There are a few barnacles and a headcrab, but that’s it. You need to get that elevator working. Look over in the pond in front of it to see a gear sitting on a pile of garbage. Grab it with the gravity gun and try to pop it into place on the machine. A barnacle should grab it from you. Shoot the barnacle and then put it on properly. Pull the level to return power to the elevator. Then go up and around to hit the button and summon the elevator. Our friend will ride it down.
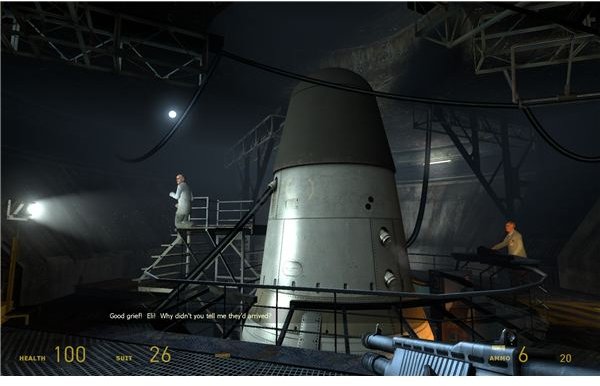
Just follow him out to the actual hive. Watch him collect the essential essence. Once he has it in hand, walk back to the elevator and get into it. It will let you off back at the base with Alyx. Go ahead and join the Vortigaunts when they ask you to join them. Then sit back and enjoy a visit from another old friend.
Once you regain control, just wait for Alyx and the vortigaunt to get into the elevator. Once they’re inside, you can jump in and ride it to the surface. Walk forward and have another brief run in with the queen. It seems that it isn’t too thrilled with you. That’s a battle for next chapter though. Break the boards and go up the ramp. Then just drop down through the hole to bring up the next chapter.
This post is part of the series: Half-Life 2: Episode 2 Walkthrough - Part 1
We’ve got a long way to travel with Alyx and her vital information. We need to make it through the long forest path all the way up to White Forest to join the rebel base. If you need any help getting past the antlions, zomies, and combine in your way, then look here.