The next part of the walkthrough, or Interval 04 – Top, will look at how to re-join Stokes who’s now in a bit of trouble and dismounting (or destroying) an enemy Turret. But most importantly, we’ll get to control one of those giant powered units: pity anyone that stands in your way.
1. Interval 04 – Top
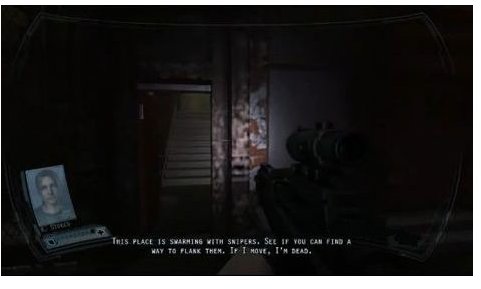
You start the level inside, and you need to follow the corridor; there is a reflex injector straight ahead that you’ll want. Go through to the right, then right again, where the tipped vending FEAR 2 Walkthrough: Stairs inside machine is. Take out the first two guys. This level will be mostly shooting snipers, and you will need to be alert throughout since agent Stokes needs your help.
Move ahead through the door and turn left, where there will be other Ops soldiers ready; you can use the remaining office cubicles as cover if you like. Go straight ahead through the door once it’s clear and turn right to go outside again. You’ll see agent Stokes crouching behind the fence on your left, and she mentions that you need to take out the snipers before you can move onwards. Turn right and find a flight of stairs heading into another building.
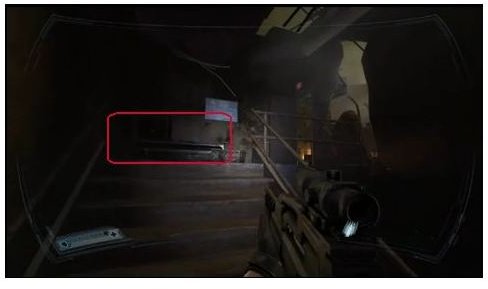
Go all the way up, where there is a sniper rifle on a crate. Head right and the first sniper will be positioned in the room ahead; pick him off and be aware there is another sniper on the building left of you, as you head into the building. You can use your sniper rifle to take him out if you like, but do that before he has a shot. You might want to crouch and hide behind the fans on this level, but be aware that the two or three other snipers are positioned in the building straight ahead of you (the one with the Park sign near it). It seems you will have to destroy an enemy APC soon.
2. Get Inside The Armored Unit
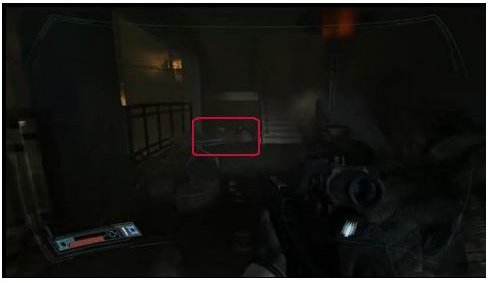
When it’s clear head right into another building, then ahead through a destroyed door, then left to a smaller door. Turn right again, and from here you can pick off the automated turret; you can pick up the missile launcher on top of a case and take it out with that if you wish. Snipers are going to start attacking now, so you can take them out or turn around and make your way out, taking the stairs. Take two flight of stairs and you’ll see a door which you can go through. Turn right, then left and be ready for more shooting. Head downstairs and follow the corridor straight ahead until you come to a blown up wall; there will be snipers and soldiers aplenty so take cover and clear the way. Remember you can spot the snipers by the red-beam, so if you see it, you’re in trouble and need to move out of the way.
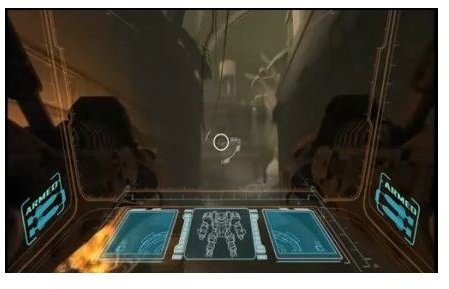
At some point you’ll need to move out, even though there are still more guys out there. Head towards the left of the fenced area and pick up a medi-pack nearby which you’ll need. Turn left again past a burning car and downstairs and follow the corridors. You’ll come to an open area with a Powered armor unit standing by: do not destroy it. Take out the soldier near it and try and make your way into the powered unit. Once you do this you’re essentially invulnerable and what’s better is that you can use missiles to take down anything hostile (in other words destroy everything here).
You’ll end up in some kind of garage; find a fence with a padlock, and shoot it to get through. Go straight ahead and a cut-sequence will begin eventually. Once over, climb down the ladder and through the door to end the chapter.
This post is part of the series: Do Not Fear: Walkthrough of Intervals 02 - 03 and 04
Here we look at the Interval 02 - Withdrawal, plus Interval 03 and 04. Interval 03 consists of chapters ‘Recognition and Replica’ whilst 04 of ‘Ruins and Top’