We finally can make our way out of this hell-hole, after having killed most of the black-ops’ here and other unknown perils. This part of the walkthrough third chapter of Interval 02 will show you how to make our way out unscathed.
Interval 02 – Withdrawal
This chapter is rather short and quite easy to go through. There isn’t much worthy of note except that you are still trying to escape the hospital, avoiding being blown to pieces; time becomes essential particularly when you need to run for the lift right at the end of the chapter. You’ll see that the game will auto-save at this point, as it usually does when you are about to encounter a dangerous situation.
1. The Way Out
You’ll start the chapter in the middle of a section of the hospital with all the doors blocked by furniture and chairs. The run-through here is pretty short, since all you’ll essentially need to do is switch something on and keep moving ahead in order to get out, whilst ignoring most of the other stuff. The way to the exit is pretty intuitive, but you’ll still need to watch out for ops and a few of the strange abomination creatures.
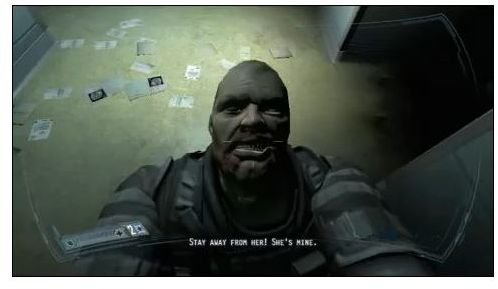
Move ahead and turn left, ignoring the double doors in front of you and the small room on the right, and head straight forward for the small door; you’ll see some computer monitors and here is where you can activate a panel which will shut-off the X-ray machine and allow you to enter the sliding door (which you just went past). Enter the door, turn left, and go through the small door. At this point Fox will jump out at you and grab you mentioning to ‘Stay away from her’ only to be blown away by a huge tentacled monster shortly after: not cool at all when playing with no lights on (for effect). After this all you’ll really need to do is keep moving ahead through rooms and corridors until you come to a set of double-doors which someone (or something rather) will shut on you. You go through the door left for a medi kit and continue moving on. You can explore of course, if you wish to do so, but there isn’t much else around here.
2. The Freight Elevator
Move right, into the room, and keep going until you hear someone pleading for their life (seemingly); there are more ops here standing by the pillars, one of these is carrying a huge gas-canister. You can use the explosive tanks around here to take your enemies out faster. Bear in mind that the Ops on this level are carrying grenades so if you shoot make sure it’s quick; they will throw frags at you and you’ll be pancaked. If you notice the grenade in time just run for cover behind a wall or move further back. Ultimately, you won’t be able to save the doctor anyway, as you will have seen before, so move to the small room on the right.
Head through the grating and straight ahead; you’ll come up to some sliding doors which you’ll go through. Find a door with a flight of stairs and you’ll head down into a badly lit area, where another of the ‘abominations’ will attack you so get ready. These guys are just quick as mentioned, so use a powerful weapon once you have a shot and they’ll be easily killed.
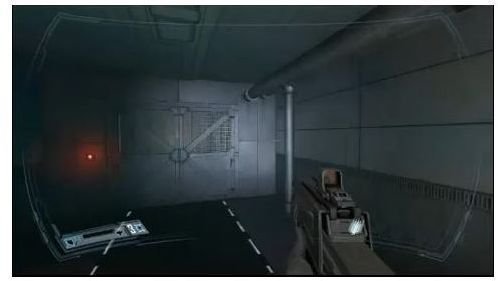
Keep following the way ahead: you’ll come to a small corner with a flight of stairs on your right. There is a medi-kit nearby at the end of the room, so grab that if you need it. Go up the stairs and the whole place will begin shaking: it looks like you need to run as the hospital will explode at any moment. Move forward and you’ll eventually come to a freight elevator; activate the panel and you can finally get out of here, before the place explodes, and move onto another level of the Armacham facility.
Agent Fox And The Freight Elevator
This post is part of the series: Do not fear: F.E.A.R. 2 Walkthrough
A detailed walkthrough for F.E.A.R. 2, with step-by-step info on how to complete each interval and how to gain access to items such as intels.