Our mission into the Tai Yong facility will be a little difference. It’ll mix platforming and stealth, with a bit of impersonation once you grab a few vital keycards. Look below if you need help getting through the restricted labs and into the well protected data core, or escaping from Zhao’s office
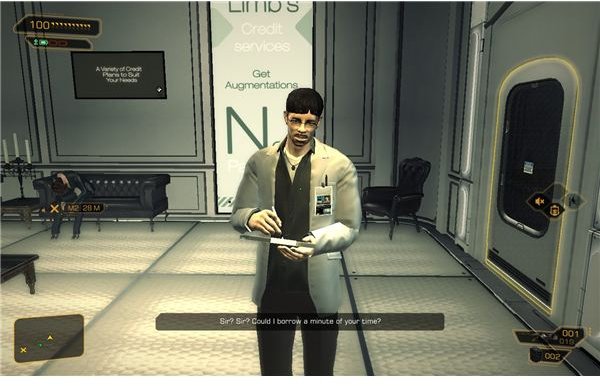
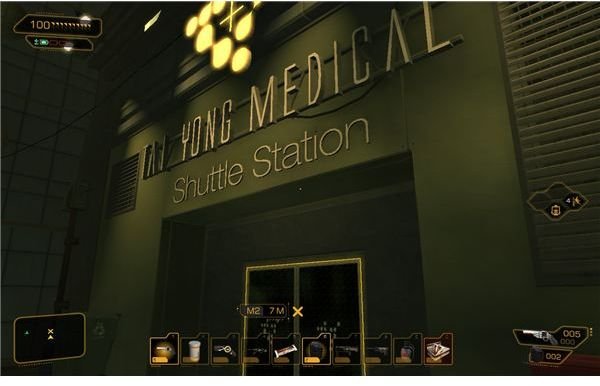
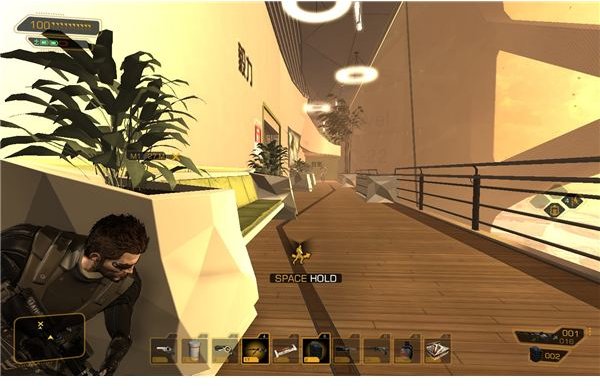
It’s time for the big mission. Note that starting this mission will cause you to fail any outstanding side quests, so take care of all of your business now. When you’re ready, walk up to the Tai Yong shuttle. It’s right next to the LIMB clinic, and there are a few street signs pointing to it. Just follow the markers and signs to reach the station, and then take the automated shuttle into the maintenance level of the building.
As a general tip, I suggest either hoarding a few EMP grenades now, or working toward the hacking augmentation for disabling robots. It’ll help with the end of the level.
Saving Lee
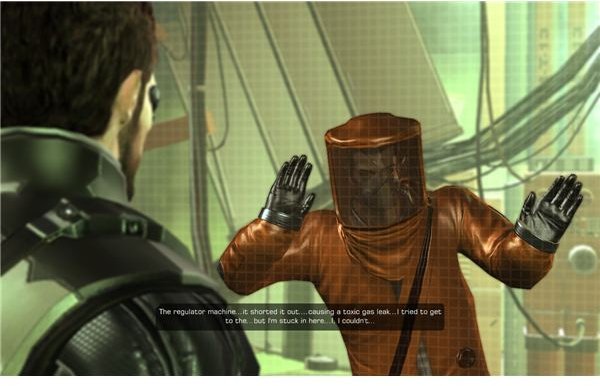
You’ll need to just walk forward for the time being. Hack doors and move forward until you wind up in the underground lab section. There should be a short scene when you enter. A man will be trapped inside a room filling with gas, and he’ll beg for you to save him. You actually don’t have to, and if you don’t want to save him, just skip the following sections.
You have two options to get inside. If you have the power to hack a level three keypad, you can just hack the keypad to the left and then twist the valve. If you can’t hack that, then you’ll need to walk around to the entrance to the poison filled room. It’s just a level one lock, so hack it and sprint through the gas to make it to the valve and shut it off. You should be able to make it, if you actually use the sprint key right as you enter and jam the button to open the door.
When you’re done, move the boxes aside and talk to Lee. You’ll have earned a very big favor from a friend of his, Kim.
Go up a level to learn that Kim is a security guard in a fairly vital area. You can call in your favor to get him to turn a blind eye for a bit. If you didn’t save Lee, you can talk to Kim and bluff that you’re with maintenance and responding to a gas leak. He’ll then allow you on this level and walk down the steps, where you can easily do a takedown and hide the body.
From this point, you have a few options. If you can hack the panel on the research console by the window (next to the two scientists) and you have an Icarus jump system, you can take the high road and have an easier time.
The Catwalk Path
If you have to, knock out the scientists. Hack the panel and go through the clear doors to the left to find a ladder. You can climb it to reach a section of catwalks that will take you above the laser grid and to a section of tubing that will let you drop down right into a vent next to the security room, if you have the Icarus system.
From there, just swing into the security room and take down one of the guards. Stun the second. Drag the bodies behind the console to hide them from the patrolling guard, and wait for him to walk past the camera and into a blind spot. You should be able to hit him with a tranquilizer and then drag him away. If you do this right, the sentry will not spawn and things will be a lot easier.
You can then just walk through the glass doors to find a way up to the Pangu. Walk through the upper levels and then ride the elevator up to the next level.

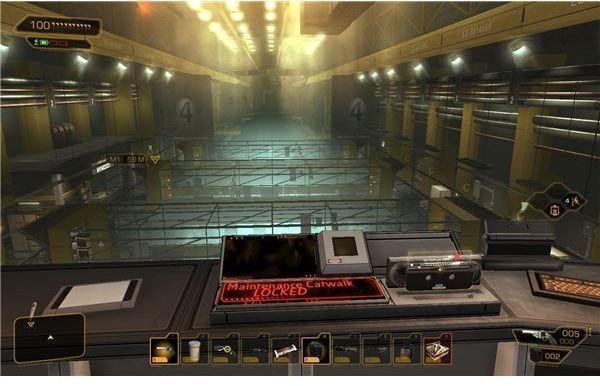
The low road of is a little harder, and requires more stealth. You’ll need to move down a level and then swing around to the laser grids on the floor. There’s a level three keypad that you can hack to get into a nice supply closet. Move down a level and sneak past the camera while watching for the patrolling guard. He’s on a simple square patrol, so just stay low and watch the minimap.
The first set of lasers is probably going to stop you, but the second set has a faulty laser on the bottom. You can just watch it flicker and then move under it while using the boxes for cover. If you move down this walkway, you’ll be right at the security station. Camera slip past the camera. You can either take out the guards by going to the left, or you can swing over to the right and make your way up to the Pangu by moving a few boxes around.
The Pangu
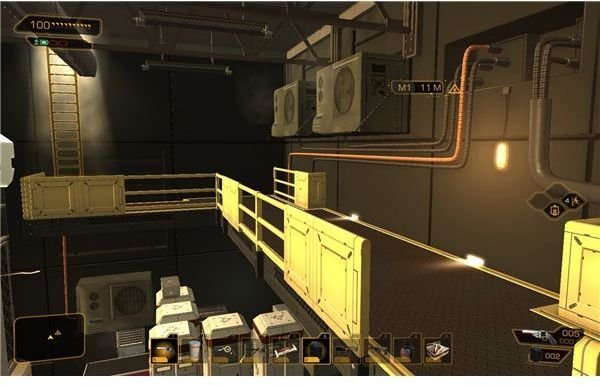
This is actually fairly easy. You have a few options for paths here. Basically, you just need to find a way onto the boxes and then climb up to the next elevator. If you can hack the keypad on the metal cage ahead, then do it. You will then be able to flip the breaker box and shut off the electricity flowing into the room. There’s another cage with some weapons in it if you need something else.
Move forward into the room. The water has a loose electrical cable in it, so if you haven’t shut off the power you’ll need to be careful. Make a makeshift bridge of boxes and crates to stay alive and look for a set of crates that you can move to make another makeshift bridge, which will take you up to another elevator.
A Path Through the Restricted Labs
We’re in the real building now.
Note, that as usual, there are a few ways to do this, but I think that there is a clear best way. It’s possible to never alert the beginning guards to the fact that you’re hostile, so I’m going to assume that you’ll do that. It just makes sense, since it’s still possible to
As Pritchard suggest, keep your gun holstered. Security is friendly for the moment, but they will suspect that something’s up if a scientist brought a small arsenal with him.
As you walk past, you should hear the irate scientist yelling at his assistant to get his keycard back. If you check a few computers in the public area, you should see the email explaining that his keycard is currently waiting for him inside security.
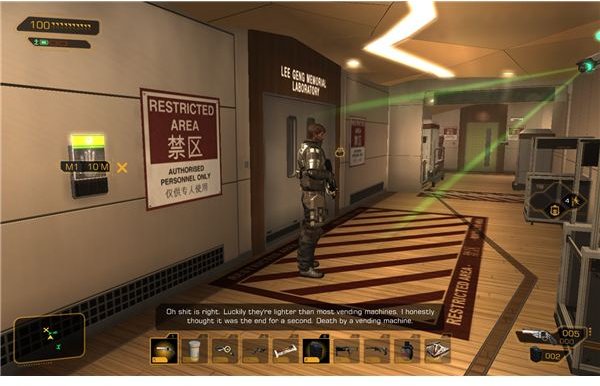
Walk over to the marked entrance to the big laboratory, and you’ll be stopped by security. Just keeping walking down the hallway. The security room next to the entrance has the keycard, but it’s being watch from the front. If you go around to the supply closet, you’ll see a vent blocked by two boxes. Just pull the cardboard boxes aside and use the path to get into the security room. Make a save here, since things can easily go wrong.
Once you’re inside, just walk up to the little table near the vent and grab the keycard off of it. You may have to stand up briefly. Don’t hack anything or wait around for long in here, since the patrols will spot you easily through the windows if you’re standing. Quickly leave through the vent, and then just walk back to the guard. Hand over your newly found access pass and he’ll let you into the lab area with full privileges.
You can look at any unlocked computer, and hack a few in the side rooms if you close the doors. The real goal is to go upstairs. Just climb the steps and move forward and around until you make it up to the data core.
Getting into the Data Core
This area is simply off-limits. You can’t get a keycard to get inside, you have to sneak in.
There are a few things to note before you go in though. If you talk to the main guard with a persuasion module, he’ll reveal the layout of the area (verbally) and make a big note on the vent that runs from the data core into the main security room. That’s the big clue that’ll keep coming up from conversations and emails.
Keep that in mind. You can go around to the left to spy on a few offices, but the real game is to the right of the data core. Move up to the corner and hack the laser grid. This will let you then round the corner and takedown the guard quietly. The main data core guard doesn’t move at all, so he won’t see down the hallway or note the body under normal conditions.
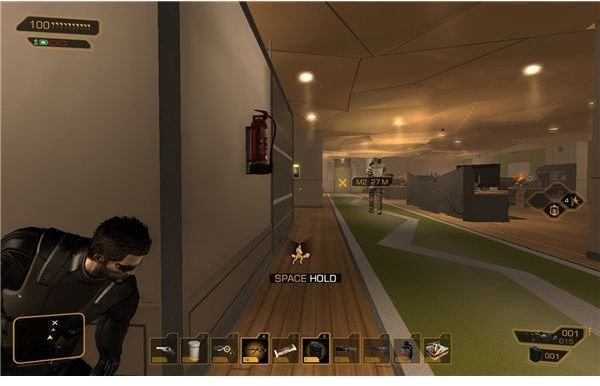
Move forward, but watch for the guard with the heavy rifle ahead. Use the planters and alcoves for cover as you move down the line, and try to hit him with a tranquilizer round at some point. Do not go into the first hallway on the left. There’s a guard patrolling it and there’s a better path ahead anyway. Move all the way to the end and then turn to reach a small room that should let you into a closet with a vent that will take you over to a security room.
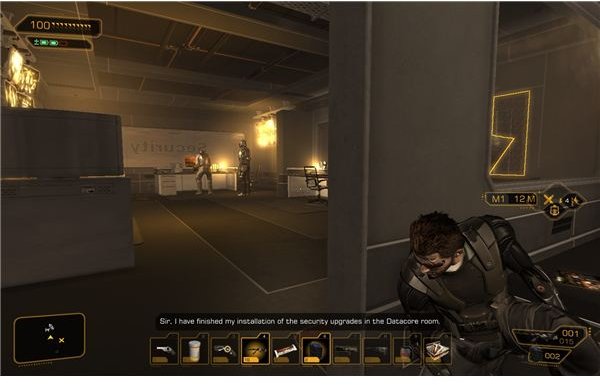
Take out the two guards and then hack the security hub inside to open the sealed doors for the data core. While you’re on the security terminal, also click on the two camera feeds to shut down the cameras and make the area easier.
When you’re ready, move into the data core.
The Data Core
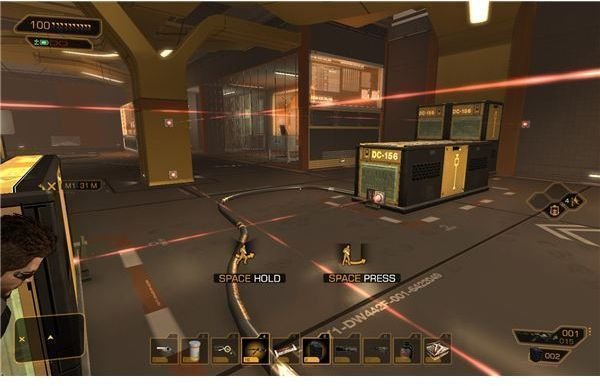
The data core is full of moving lasers. The good news is that the first room just has lasers in it. You need to watch for the lasers and wait for a gap to move up to the first set of cover. After that, it’s just a matter of noting the next set of cover ahead of you and waiting for the lasers to pass. Since they can’t penetrate cover, it should be fairly easy to reach the boxes at the end of the room with just simple crouching. The only tricky set is the final set of lasers, which don’t present much of a gap. Instead, you need to walk a step behind the lasers as they approach the cover to get to the open area that leads to the next room.
This second room has even more lasers, along with a security room full of guards and a sentry that will rush out if you trip a laser or get spotted. You can skip most of this though. Remember the complaints about the cold air? It seems that the cold air flowing out the vent makes one of the lasers short out. That’s our easy way in.
Move with the lasers to the first set of cover and then turn around to the small room full of servers. If you watch, the bottom laser flickers in a pattern and then shorts out for a few moments. If you wait, you can just crawl under it.

Once you’re inside, go through the vent to come out behind a guard. You can take him down without the other two knowing. His computer is the security terminal, so you can use it to shut down the remaining cameras, and even the sentry if you have the augmentation for that.
If you can, I suggest that you take down the other two guards, too. If you have the right augmentation, you can take them out at the same time. Otherwise, do a stun gun shot and a takedown to easily finish this.
You’ll have no trouble reaching the elevator up to the higher level. Go to the marker to get a very informative cutscene.
Finding Zhao
Start out in the laser grid hallway. Just wall forward while crouching and either stick to the walls or run the middle as the lasers pass.
There is just a little bit further to go. The first room has two armored guards. They have somewhat predictable patrols, so it shouldn’t be too hard to wait for the one to branch off for an easy takedown. If you can, ignore them at first and cross the hallway to get into the side office on the right. You can then hack your way inside and hack the security terminal to shut off the camera (and the sentry if you can)
Do the takedowns, or just fight it out with them quickly, and then move to the next room.
The admin offices have three guards on duty and a robot patrolling the hallways. There are a few vents that you can go through, but the patrols are a bit of a pain to manage. If you want, it’s actually not a bad idea to shoot out the glass. The guards and robot will rush to the noise, which makes setting up an ambush or slipping past them quite easy.
You just have to get into the elevator to reach the next level.
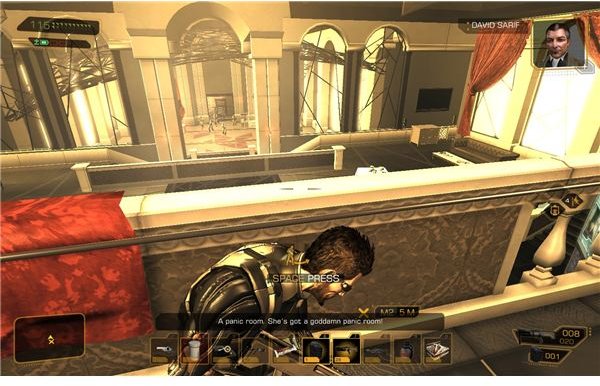
Once you’re in Zhao’s office, you can move up a bit. If you want to make your rockets heat seeking, you can get the mod for that in the safe behind the receptionist’s desk. Hack as you go through, and then move on up to her personal quarters at the top.
Once the cutscene finishes, your priorities will change a bit. It’s now time to leave, very quickly if possible.
Escaping Zhao’s Office
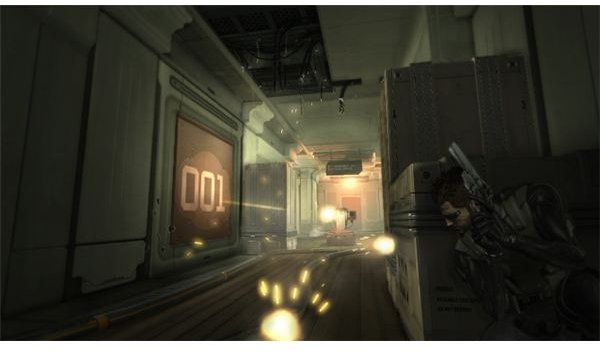
Start by moving forward quickly and go down the steps. Fire a few shots in the general direction of the entering guards. You will want to draw them up to your position to make the next section easier. If you don’t draw them up to you, they will leave a guard group at the exit, which is fairly hard to sneak past without something to aid you (a stealth augmentation, well placed concussion grenade, etc.).
Once they are in a yellow state, quickly move down the steps to the right and look for the vent in the corner. Quickly get inside and slip past the incoming soldiers and come out at an unguarded exit. Slip into the hallway and then run forward until you make it to the hangar.
There are two robots inside. If you have an EMP, you can take them out with that or any other grenades or rockets on you.
If you have the ability to hack a, just run around to the left and around to reach a staircase up to the office on the right. Sneak up the steps, or at least stay low to avoid gunfire. Crouch and go across the catwalk to reach the security terminal. Once you’re here, you can use the terminal to hack the robots and disable them.
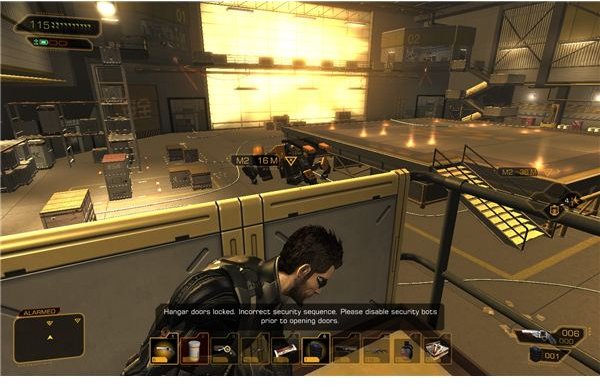
If you can’t hack them and don’t have the equipment, then you’ll need to scavenge. If you’re comfortable with a rocket launcher, look for some crates near the big back window of the hangar. You should see a rocket launcher lying in back. If you want to use grenades, you should be able to find some EMP grenades in a desk drawer in the office to the right.
Once they’re dead, you can go into the office on the right and hit the marked button to open the hangar doors. Faridah will then land, and you’ll be able to jump in and go pay Eliza a visit in Montreal.
References
- All information and screenshots from Deus Ex: Human Revolution
This post is part of the series: Deus Ex: Human Revolution Walkthrough - Part 3
We’re looking for justice in Hengsha. This means a raid on the Tai Yong Medical building, a bit of a detour to Montreal, and a trip back to an embattled Detroit to follow the loose ends of the Illuminati and track down the missing scientists.