Picus Communications will soon be our battleground, it seems. Our little visit to Eliza will end up being fairly eye opening, as you face an army of mercenaries, a painfully slow elevator and the second boss fight with a very sneaky mercenary called Yelena.
A Little Visit to Eliza
Note: You will probably gain some Praxis Points during the mission. If you want to make the boss fight easier, look into upgrading your dermal armor to level 2 with EMP protection, get the smart eyes upgrade and pick up the Typhoon weapon. You should be able to find some ammo for it in the armory here, if you don’t have some already.
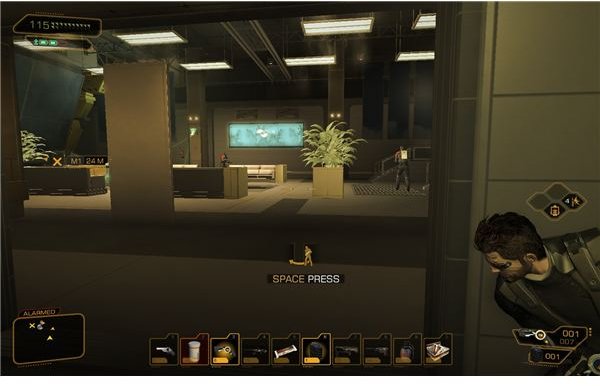
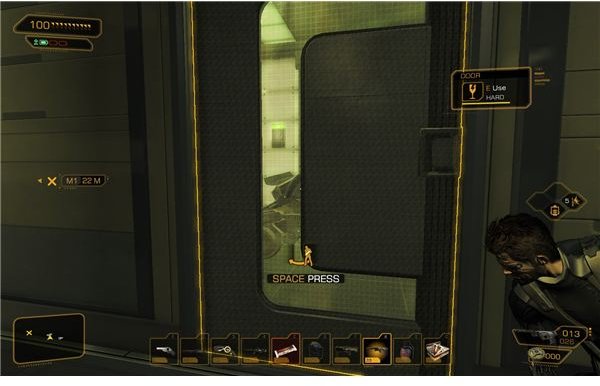
You can start out by walking into the marked building. There’s a weak wall that you can punch through on the right, if you want some more supplies. Note that one of the desks on the main floor has a Praxis Kit in the drawer, so it’s worth a look. The main focus is the office though. If you want, feel free to just look around for awhile. There’s no real rush. When you’re ready, go into Eliza’s office to trigger the expected trap.
Escaping the Ambush
Once the scene is over, run out of the office and swing to the right and get into the office at the end of the hallway. You an just jump up and go into the vent to dodge most of the soldiers. You’ll wind up right behind some of them. Wait for the guards to split and note the pattern. There’s a bunch of guards downstairs, but they’re focused on the right side of the desks. The two up here just move back and forth, and leave a nice gap at the end.
Unless you want a firefight, I suggest that you go to the left and take cover behind the blocks. You can roll between cover until you reach the end, and find the stairs. Move down the steps. Take cover on the railing and watch for the guy at the bottom. There should just be a single guard over here. If you wait for him to turn back around and head toward the desks, you can sneak right past him to the left. This will get you past the bulk of the attackers.
Move forward to the elevators, and note that there’s a camera at the entrance and two guards inside. You can avoid the camera by going through a vent in the bathroom to the side. Move forward and peek out the end of the vent with a tranquilizer gun. It should be easy to knock out both of the guards with it or a stun gun, and easily slip past the camera to reach the elevators.
If you have Icarus, then jump down the open shaft to get a little loot and a slightly faster path. Once you land, go through the vents to make your way up. If you don’t have Icarus, just go down the elevator to come out in the lobby.
Reaching the Funicular

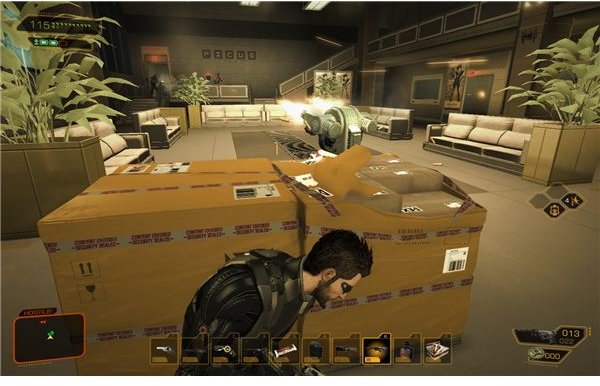
Regardless of how you get down a level, make sure that you end up on the second floor. If you came through the elevator shaft and vents, then you’re there already. If you’re in the lobby, just look to go up the steps to an overlooking spot. There’s a very nice armory behind a keypad on this level, hack it if you can.
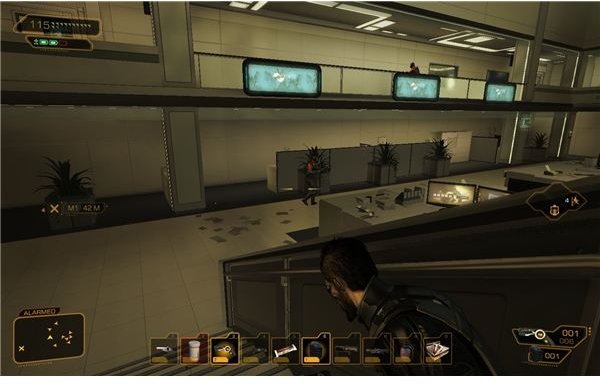
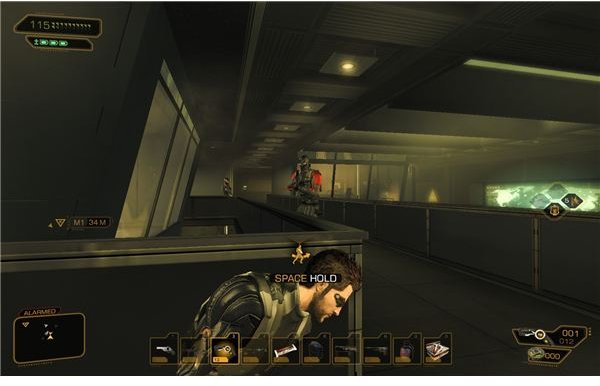
The main objective is to get past the TV studio full of soldiers. There is a turret on the main floor, three guards by the desks, two on top and one heavy that likes to patrol the whole area. Get on the second level and use some takedowns to knock out the two men on top. There’s a sniper rifle up here with a few boxes of bullets. I strongly suggest that you grab it. It’ll come in very handy in a little bit, and you should have room for it.
If you aren’t committed to a stealth run, I suggest that you use the sniper rifle to pick off a few of them. You should aim for the heavy first. A headshot will still kill him. If you want to stay quiet, look around for the “ogre” class mercenary. If he’s walking up the ramp, wait for him and ambush him. Otherwise, go down the steps and use a desk for cover to pick off the first patrol. Swing to the left and stun the second. The third should be by himself still, so move between a few more desks and bring him down. Look to get behind the heavy on his patrol and you can wrap this all up.
Once the area is clear, use the desks for cover to keep the turret from seeing you and head out to the locked door. You can either hack the keypad and use the ramp to get down, or break through the wall and come out a vent. It honestly doesn’t matter much.
There are two guards walking together here. If you have the reflex booster augmentation, you should easily be able to sneak up behind them and knock them both out. A stun gun and takedown combo will work too at close range. Once they’re down, you’re free to explore. There isn’t much of note though.
The real objective is the Funicular. Don’t go through the main marked door. It’s too easy to be spotted. Go to the left and look for the open side entrance. If you have the strength augmentation, you can pull the nearby vending machine out and use the vent to get behind the security terminal for the turret. You can also slip through the open side door and use the pillars to avoid the two patrols, or pick them off with a stun gun. There’s a vent in the back wall under the stairs that will take you under the floor and past the turret too.
Regardless of how you do it, you can sneak over to the security terminal behind the turret and shut the turret down if you can, or reverse its codes to make it fire on the mercenaries.
Waiting for the Funicular
Before you trigger the elevator, note that there will be a massive attack once you give away your position to the mercenaries. There are a few concussion mines lying on the box behind the turret, and a mine template that you can also use to make whatever you want. Players not doing a non-lethal run should consider doing a fragmentation mine. Put them in front of each of the entrances and then put one in the center.
You can then make a fairly good stand by using the concussion grenades to give you a nice period of free fire on the attackers. If you’re focused on a non-lethal run, use a tranquilizer gun or a stun gun to hold them off from the cover behind the turret. If you don’t care about saving them, then you can reverse the turret on them, and hide behind the barrier and just let it kill them all. It can even target the ones that try to cloak. You may also be able to hide under the turret or in a vent, but don’t expect it to be easy if you can’t cloak yourself.
Pritchard will update you on the slow journey of the Funicular. There will be two groups of four mercenaries that will come in the two doorways. Handle them in whichever way you see fit, then get into the Funicular when it arrives and ride it down into the basement.
A Path Through the Basement
Once you’re inside, you’ll have a few options. Stick to the left side to avoid the camera. You can either wait for the camera to look away and quickly hack the terminal holding up the laser grid, or you can punch through the wall and take the side route. It’s up to you and what augmentations you have.
Note that if you take the hidden wall path, don’t follow the vent all the way out to its exit. The end will drop you off in clear view of a bunch of guards. Get out in the hallway just past the laser grid hallway that you avoided.
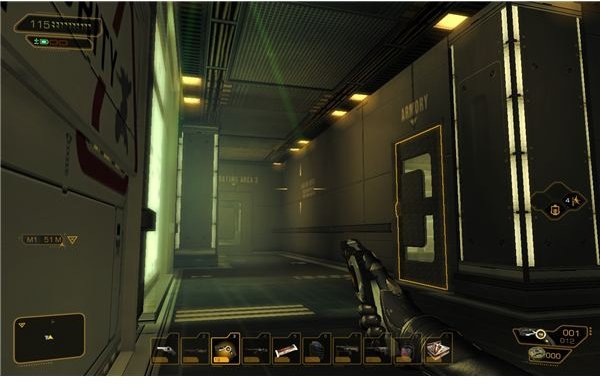
Walk forward and up the steps. Watch out for cameras and stick to the corners to get past them. You may want to take a detour to an office and the armory. The office has a code for the armory on its poorly secured computer, so it’s worth a stop. The real challenge is just ahead though.
There are several guards on the floor and two on the raised portion. You can easily move forward while crouched and tranquillize or take down the first one. The sniper in the stealth armor shouldn’t see the body, as long as it isn’t at the intersection. Then tranquillize or takedown the sniper. Note that they can easily hear you if you run up here, so stay crouched as you move.
The office on this level has a security terminal that you can use to disable or turn the sentries against the guards. If you reverse their targeting computers, you can just sit back and watch while it kills most of the men. Just stay up here and watch out for any new guards that show up and move up the other set of steps.
If you don’t want to raise an alarm, just move down the stairs and take cover by a desk. You can move between cover and then clear a path leapfrogging from guard to guard until you find the door out of the room.
The Office Corridor
On the path, move down and note the robot patrolling the hallway. There’s only one other human down here. It should just be a single heavy patrolling the office on the right.
There are a few ways inside. You can punch a hole in the wall while the robot is away and slip inside. There are a few vent paths that will move you along the left side. The best path may just be moving to the right. If you can hack well, you can go in the back door of the right office. If you can’t the door in the robot’s hallway is unlocked. Follow the robot and open the door to enter the office. Do a takedown on the guard to make things a bit easier. Close the door, hack a few computers and shut down the camera.

You can also just toss an EMP and be done with it though.
Regardless of your decision, get to the end and move forward into the last section. If you can, just hack the marked door to reach the main data storage area and find the signal. If you can’t hack it, just go to the right and take out the two guards in the data storage control room and swing back to the right path.
Note that there is a heavy rifle and a ton of ammo for it lying in the room next to data storage. That’s a hint. If you don’t have a shotgun with a lot of ammo, or some other fairly good weapon, grab what you can from here. You’ll need something that packs a punch for the boss fight ahead.
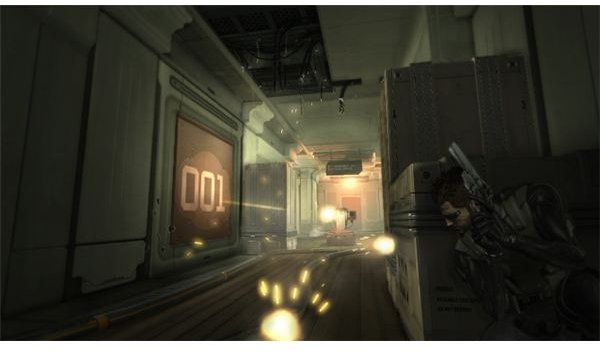
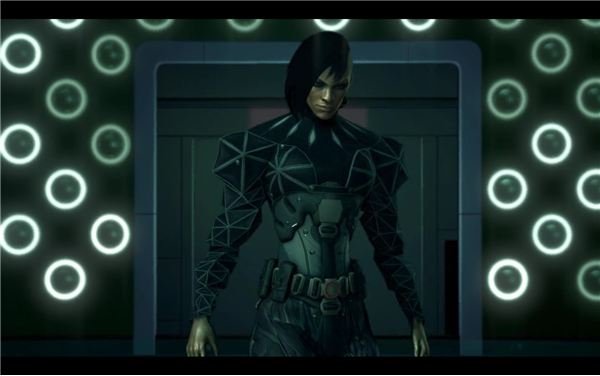
Once you talk to Eliza in the room, you’ll end up in a fight with Yelena (The Mantis).
The Second Boss Fight: Yelena
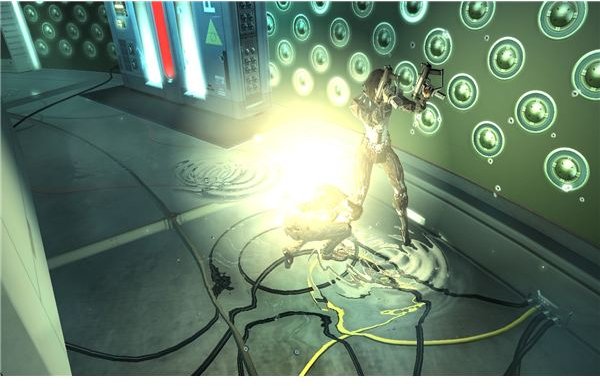
Let’s start by noting her attacks. She can fire a machine pistol at you if you engage her from range. Trade fire with her for a bit, and then run into cover behind a computer in the center. Her main attack is to run straight at you and try to cut you up. This can be dodged if you jump back or just run backwards as she approaches. She will also usually break computers with her attacks, which makes the water electrified for a bit.
Of course, she will also be cloaked for the vast majority of the boss fight.
Augmentation Uses
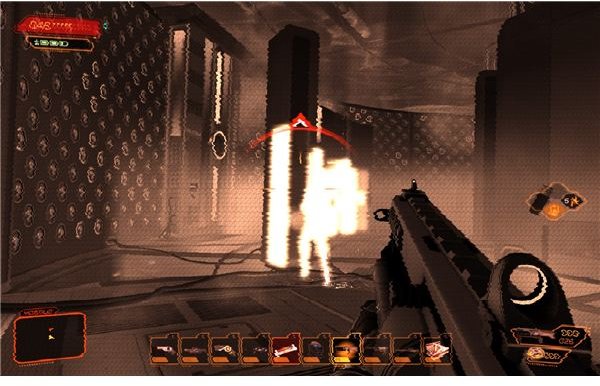
Smart eyes makes this really easy. Just turn them on and leave them on for the fight. You will now be able to see through her cloaking. The real benefit of this is that you will be able to actively hunt her. While she attacks viciously, she will actually spend most of her time sneaking around. If you get the drop on her, you can easily do a lot of damage and then fall back when she returns fire.
If you have the EMP protection, then electricity won’t hurt you either. Breaking any computer will cause the coolant around you to become electrified for a brief period of time. This will damage you without the augmentation. If you are immune to it, then you can actually use this against Yelena. When she attacks, move near a computer so that she’ll break it and stun herself with the attack. You can then return fire with impunity. You can also break computers yourself at close range to do some free damage.
The typhoon is a perfect weapon to fight her, especially if you have the EMP immunity. You can just wait by a computer and look for her to rush you. When she’s close, fire the typhoon. This will do a lot of damage, stun her and then continue to hurt her with the electricity and a few bullets to the face.
If you don’t have these augmentations, then you’ll need to do a little more.
Tips for Killing Yelena
Note that the secret is to get into a good spot (preferably against a wall), and watch for footsteps in the coolant on the floor. Eliza will call out to you when Yelena’s beginning an attack run, so aim toward the footprints with a heavy rifle or shotgun and take her down.
That’s about it. If you’re vulnerable to electricity, shoot a few computers yourself and wait for the effect to die out, then stick to your little safe zone. Remember to fall back as she attacks to defend yourself better. After a bit of point blank weapons fire, she’ll die.
Once you’re done talking to Eliza, you should stop and loot Yelena’s body. She has a lot of credits on her, along with some typhoon ammo. Take it and then go through the exit to the alternative helipad and join up with Faridah to head back to Detroit.
References
- All information and screenshots from Deus Ex: Human Revolution
This post is part of the series: Deus Ex: Human Revolution Walkthrough - Part 3
We’re looking for justice in Hengsha. This means a raid on the Tai Yong Medical building, a bit of a detour to Montreal, and a trip back to an embattled Detroit to follow the loose ends of the Illuminati and track down the missing scientists.