A Bioshock 2 walkthrough, covering the last three levels of the game which are Fontaine Futuristics, Persephone and Inner Persephone.
Bioshock 2: Walkthrough for Fontaine Futuristics - Level Start
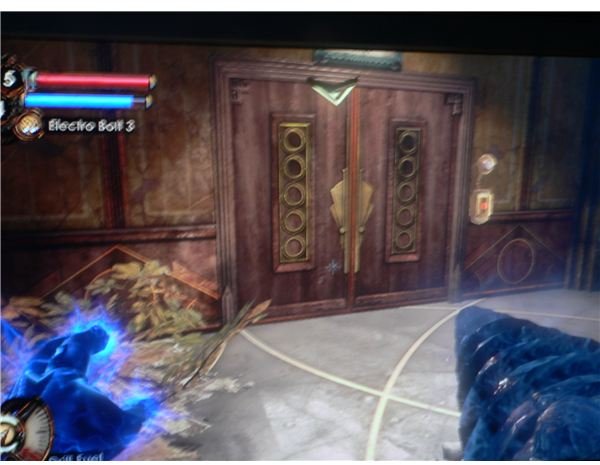
Head out of the tram at the start of the level and Sinclair will contact you as is customary. Head through the gates, following the quest objective arrow and go down the stairs. Head into the room to the left after taking care of the Splicers. There’ll be a Gene Tonic here called Damage Research. Take it and go down the stairs, where a character called Gil Alexander will talk to you. From here, proceed forwards and press X on the Airlock Control.
Before heading into the next unflooded area, there’s an ADAM Slug you should pick up.
Bioshock 2: Walkthrough for Fontaine Futuristics - Meeting the First Alpha Series Big Daddy
Cycle the next Airlock Control after you’ve found it. Head up the stairs and go in the direction that a Security Bot went in. Now, when you look into the next area past the stairs, you’ll find that the bot has purple lights on it rather than red or green which is odd. Walk forwards a bit more and it should kill the Splicers for you, while leaving you alone. Splicers will attack then, so take them out and head up the stairs.
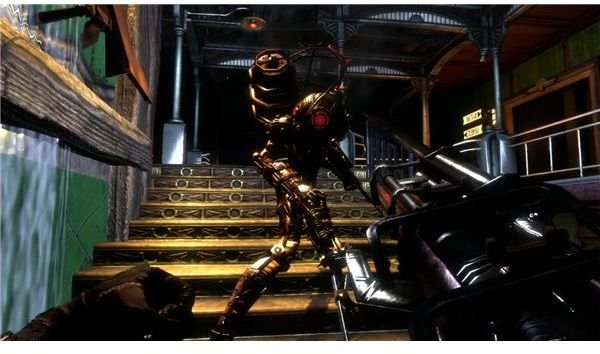
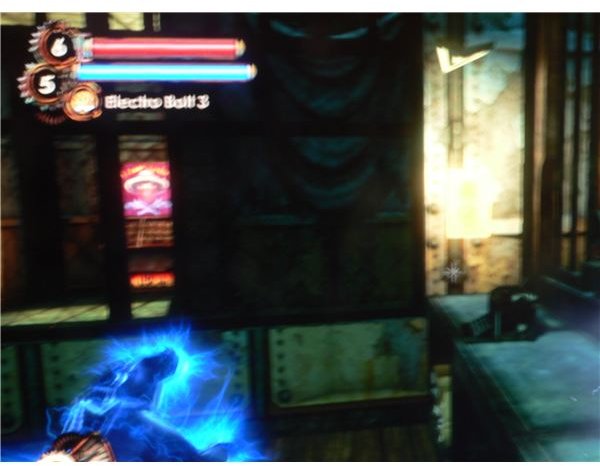
Use the Bio-Scan and you’ll attacked by a new enemy, an Alpha Series Big Daddy. Kill it and proceed through the doors by the scanner. Grab the Audio Diary here as Gil Alexander mentioned it in the latest dialog. Then use the recorded message to gain access to the next area. Play the message again just ahead.
You won’t be able to gain entry though, so just move into the area that Gil just opened up, taking out any enemies.
Bioshock 2: Walkthrough for Fontaine Futuristics - Disabling the First and Second Signal Relays
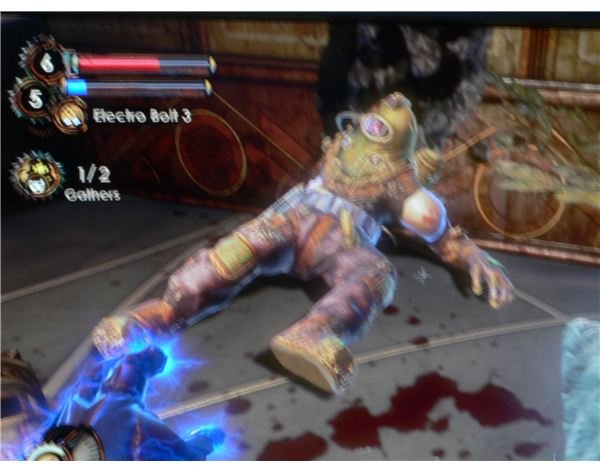
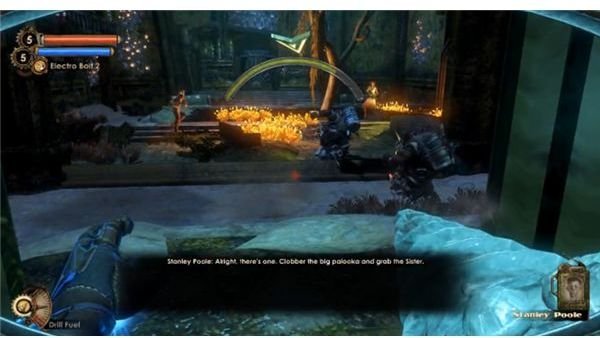
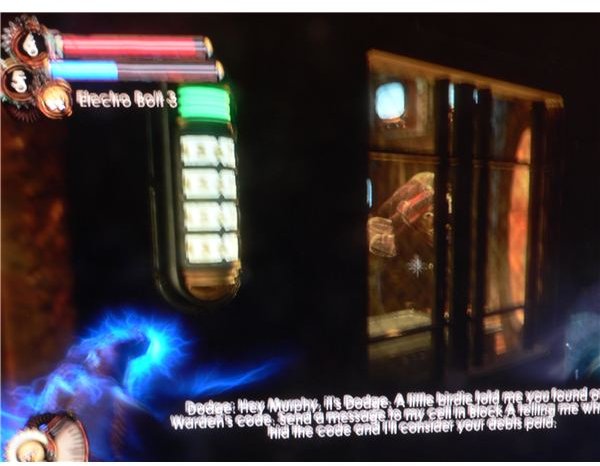
You should run into your first Little Sister here. You know the drill as well regarding them. The first corpse to harvest should be in this room. After defending her, you should be able to find a Signal Relay which you need to interact with in the same area. Next, after defeating the Security Bots, use the red switch just opposite the Signal Relay for some dialog to listen to. Afterwards, harvest the next corpse in the same area, which should be upstairs. Then take her to a vent and rescue her.
On the same floor, duck to enter a hole in the wall and hack the turret. Then find someplace where you can drop down for a Drill Power 2 Gene Tonic. Take the stairs back up then and head to the Office of Frank Fontaine. Kill the Alpha Series enemy in here and destroy the Signal Relay. Head out and go to the Marketing Administration section of the area on the same floor.
Bioshock 2: Walkthrough for Fontaine Futuristics - Disabling the Third and Fourth Signal Relays
Take the Splicers out and shock the Door Control. For some fun, use the Unstable Teleport Plasmid. Keep using it when you see it for a Gene Tonic. Next, head around the other side of the office. If you open your map, the room’ll be a darker colour. Disable the third Signal Relay there. After that, open your map and head into the area just below the Security label one floor down.
When you come to a room with a Splicer banging on a machine, walk into the light after Gil Alexander has finished speaking. Kill all of the Splicers and then the Alpha enemy, before going through the smashed window and destroying the final Signal Relay.
Bioshock 2: Fontaine Futuristics Walkthrough - Activating the Circuit Breakers
Head back to the security room. You can find it by following the quest arrow. Play the voice recorded message then. Use the switch inside once it’s revealed.
Head to the Labs area by following the quest arrow and once you get near, enemies will swarm you. So, kill them. A bit further ahead, you’ll to need to use another Airlock Control. Jump down the hole when you come to it and then take the stairs up for an ADAM Slug, before draining the next area by using the Airlock Control.
Proceed forwards. You’ll get another message and your first goal will be to activate the Circuit Breakers. You’ll find one by taking the stairs down where the vending machine to the left is. You’ll find the next by taking the stairs up and going down by the other vending machine (for ease of finding them, refer to your map). Once they’re activated, head back up and flip the switch while following the quest arrow.
Bioshock 2: Fontaine Futuristics Walkthrough - Finding the ADAM-Infused Plants
After the dialog, take the plant. Your goal now is to find three ADAM-Infused Plants. Take out the Alpha enemies that attack you and then begin looking for the plants. It should be much easier to navigate the area now with the lights on. You’ll also find that your quest arrow shows you the way. So, open up your map and you’ll see where you need to head, indicated by the goal symbol.
Once you reach the plant and take it, you’ll be attacked. Kill the enemies and then continue following the quest arrow. You should also be able to find a Big Daddy and Little Sister in the main area where you activated the Circuit Breakers. You know the drill regarding them. So, let the Little Sister harvest the corpses. After she’s rescued, continue following the quest arrow for the next plant. On your way to the second plant as well, you should run into the third and final Little Sister. Again, take the Big daddy out and then defend her as she harvests corpses. Take the plant first though. Also, to find the last plant, you just jump down a hole in this area and follow the arrow. Before doing that though, harvest the corpses. After rescuing her, kill the Big Sister and find the final plant.
Bioshock 2: Fontaine Futuristics Walkthrough - Getting Gil’s Key
After acquiring the final plant, head back to the big tank where Alexander is by following the quest arrow. When you come to the switch, you may want to put a defensive perimeter in place and make sure you’re fully stocked up. When you’re ready, interact with the switch and you’ll come under attack. After holding them off, you’ll be told about the genetic key. Take it from the console, where you flipped the switch.
Bioshock 2: Fontaine Futuristics Walkthrough - Leaving the Level
After collecting the Gil Alexander’s genetic key, go down to the Gatherer’s Garden and collect the gift that should be there if you haven’t already. Then, go back up and you’ll have to decide whether or not to kill Alexander. So the walkthrough’s accurate, I chose to kill him.
Now head back, use the Airlock Control and use the switch where the Oxy Fill station is. Go through the opening that was created and again, use the Airlock Control. Take the elevator down to begin the next level.
Bioshock 2: Persephone Walkthrough - Reaching Eleanor
When the elevator stops, move forward and follow the quest arrow. After leaving the tunnel area, don’t forget to use the weapon upgrade machine just after Eleanor contacts you. You can’t miss it. Continue following the quest arrow then. When you reach the Atrium where Eleanor is, you’ll have to use the controls by her room to get her out. Before doing this though, make sure you swap out your Gene Tonics that help with protecting Little Sisters and gaining ADAM for something more useful via the Gene Bank here. You won’t be running into more Little Sisters from this point on. Also, create a defensive perimeter first as you’ll need to fight two Big Sisters.
When you’re ready, use the door switch and kill the Big Sisters, then rush into the quarantine area. A cutscene will play now. Enjoy the revelations.
Bioshock 2: Persephone Walkthrough - Taking Control of a Little Sister
When you next have control, you’ll be controlling a Little Sister. Crawl through the vent when prompted. Head to the next vent after the dialog. Follow the quest arrow from here and free Subject Delta. Next, follow the quest arrow to find the Big Sister suit pieces for Eleanor. After you’ve found them, continue following the quest arrow to bring them to Eleanor. Give them her.
Enjoy the next scene as Eleanor rescues Delta.
Bioshock 2: Persephone Walkthrough - Freed
When you regain control of Delta, loot the area first and then take the Plasmid that Eleanor offers you. Now head out and keep following the quest arrow. After killing the two Brute Splicers in the Atrium area where you found Eleanor, she’ll come to your side and you’ll receive a message from Sofia Lamb.
Now just follow the quest arrow to find the entrance to the Inner Persephone level.
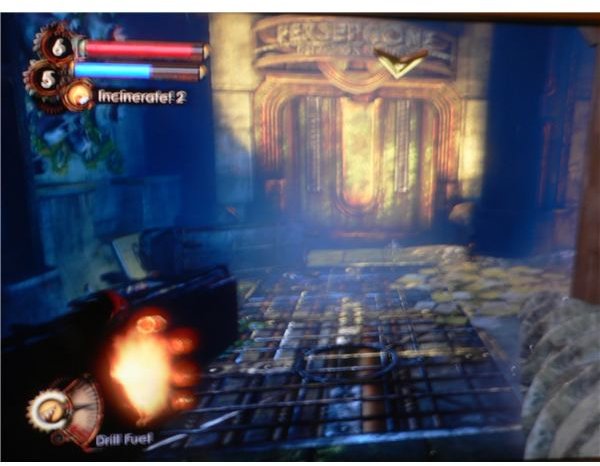
Bioshock 2: Inner Persephone Walkthrough - Level Start
At the start of the level, just move forwards following the quest arrow. After going up the stairs, you’ll come across Sinclair’s lifeboat. However, as probably expected, you can’t reach it yet as entrance to it gets blocked off. Your goal will be to reach the Holding Wing.
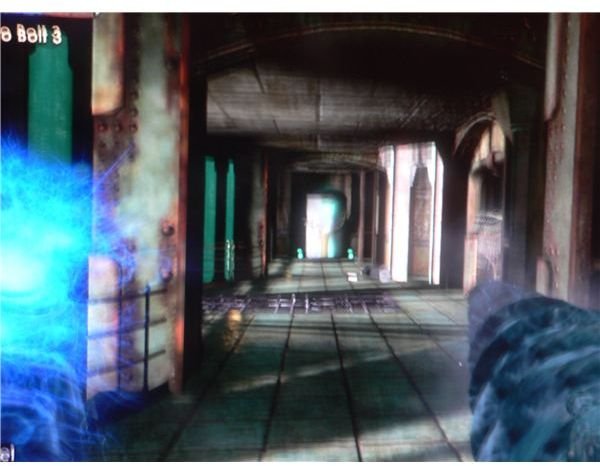
So, start heading there by following the quest arrow. Make use of the Gatherer’s Garden if you want when you come to it. Regardless, continue on into the next room and hack the Door Control preventing progress. Move forwards then and once out of the tunnel like area, press the Prisoner Admittance Button.
Bioshock 2: Walkthrough for Inner Persephone - Entering the Prison Area
(Continued from the previous page)
After pressing the Prisoner Admittance Button, enjoy the next plot twist. Go through the door that opens then following the dialog and head on after Sinclair, in the direction the quest arrow shows like normal.
Hack the camera in the next room that you come to. Kill the Brute and Houdini Splicer in here as well. Continue on into the Cafeteria area. Kill the Brute here and make sure you melt the ice for the items if needed. Proceed forwards then and shoot the traps first before moving past them.
Bioshock 2: Walkthrough for Inner Persephone - Getting Sinclair’s Key
Go up the stairs in the next area and kill the two Splicers, before heading towards the Showers and Cell Block North. Once you move ahead a bit further, the gates/doors will shut behind you. You’ll have a new goal now, which is to defeat Sinclair. Go up the stairs and you’ll find that you need the keycode to reach Sinclair. So, head back down the stairs and go into the Cell Block South Quad area. Hack the camera and kill the Splicer. Once you find a hole in the wall, go inside and you’ll find part of the keycode.
Now go back up the stairs and head into Block D for the first digits of the code. Enter the keycode then. When he dies, take the key and use the console in the room he was hiding in.
Bioshock 2: Walkthrough for Inner Persephone - Heading Back to the Lifeboat
All of the convicts will be let loose then and while you’re locked in the room, make sure you upgrade your weapons with the machine just opposite the console. Once the doors open, head out and fight your way through the enemies, while following the quest arrow. Essentially, you want to head back towards the area where the Lifeboat is.
Once you’re there, you’ll find that you have another task to complete. You’ll have a multi-part goal here and you’ll need to decide which route to take. I chose to head into the Therapy area first. So, head there.
Bioshock 2: Walkthrough for Inner Persephone - Gathering the Little Sisters
Follow the quest arrow and when you find the Pediatric Ward, head inside but prepare for a fight by creating a defensive perimeter. Eleanor will tell you about signalling her. But before doing that, defeat all of the enemies. Once they’ve been dealt with, signal Eleanor.
Now backtrack and head to the Pediatric area of the Infirmary wing. When you reach the flooded area, you’re nearly there. Proceed up the stairs just past here and again, follow the quest arrow. You’ll reach the Pediatric area of this wing soon and when you do, kill all of the Splicers before signalling Eleanor.
Bioshock 2: Walkthrough for Inner Persephone - Heading Back to the Docking Platform and Escaping Rapture
After you’ve signalled Eleanor, it’s time to head back to the Docking Platform. While you’re heading back, it’s possible to open some of the doors by pressing the red switches to create a shortcut. Regardless, head back the way you came, always following the quest arrow. Make sure you stock up on items as well.
Now then, when you do reach the Docking Platform, you’ll want to create a defensive perimeter as you usually do for fights against Big Sisters and the like. When you’re satisfied, head up to the glass window.
After this, the Splicers will begin attacking. So, hold them off and when Eleanor prompts you to do so, summon her. Eventually, they’ll stop coming and when that happens, go up the stairs and use the Docking Clamp Release. Once that’s done, shoot the areas that are glowing towards the ceiling. Next, head to the Docking Tunnel by following the quest arrow once the water floods in. Once you reach the elevator, the game’s ending will play. Enjoy.
Links to Other Bioshock 2 Articles
Below are links to other articles that may be of interest:
Guide to Bioshock 2’s Multiplayer Weapons
Bioshock 2 Multiplayer Plasmid Guide
This post is part of the series: Bioshock 2 walkthrough
A walkthrough for Bioshock 2, covering all levels.