At the beginning of “Baldur’s Gate II: Shadows of Amn,” the evil wizard Jon Irenicus holds you and your companions captive. You must solve several puzzles to escape this dungeon and make your way to the surface.
Freeing Your Companions
The first order of business is to free your companions. You can find the key to Jaheira’s cell in a table in the room to the north, along with a Dagger +1 and some other equipment. There’s also a locked and trapped compartment behind the picture, where you can find three Potions of Healing. Free Jaheira from her cell, then get Minsc free by making him mad enough to break the bars. If you haven’t played through the original Baldur’s Gate, you can talk to your companions to get caught up on the plot; then equip your party and start exploring the dungeon.
Map
First Level
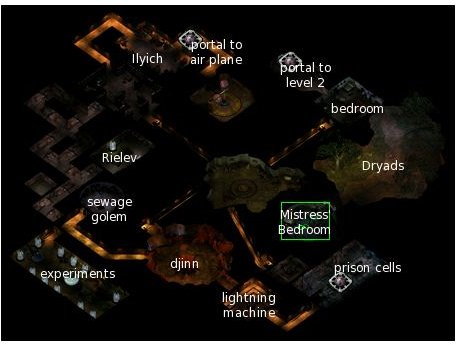
Head west to find a room with a lightning machine. Activate the switch on the east wall to turn it off for 2,000 XP.
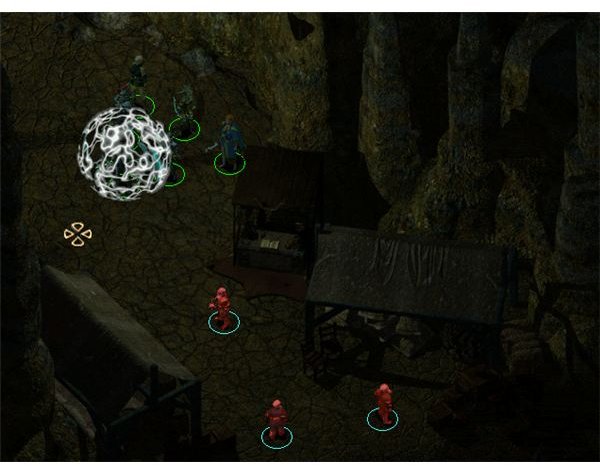
In the next room you’ll find a djinn, Aataqah. He will ask you a riddle of sorts, a variant of the prisoner’s dilemma . If you give the noble answer (you push the button), he will summon an Ogre Mage to attack you. Defeat him to earn 650 XP, plus 3,500 XP for your answer.
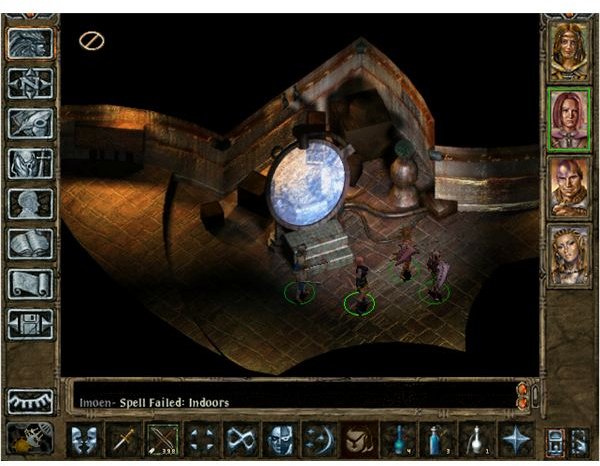
Aataqah will direct you to Rielev, whom you can find down the hallway in the second room to the right. Rielev is one of Irenicus’ experiments, his body suspended in a tube in a state of non-death. He will ask you to remove the energy cells so he can die. Search the room to find an activation stone and some Potions of Extra Healing, then take the energy cells to the large room to the west and talk to some of the other experiments.
Use the activation stone on the Sewage Golem in a small nearby room. He will believe you’re his master and open the locked doors on this level. In the large central room, you must battle an Otyugh, who drops the Wand of Frost Key. The next room is a bedroom, where you’ll find an Air Elemental statue, the Wand of Lightning Key, the Helmet of Balduran and a Metaspell Influence Amulet.
Finally, talk to the Dryads in the next room. They’ll ask you to kill Ilyich, located at the north end of the dungeon, and retrieve some magic acorns for 9,500 XP. The Mistress’ Bedroom is attached to the Dryad Room; in it you’ll find the portal key, as well as Bracers of Defense and the pommel jewel for he sword The Equalizer.
Air Plane
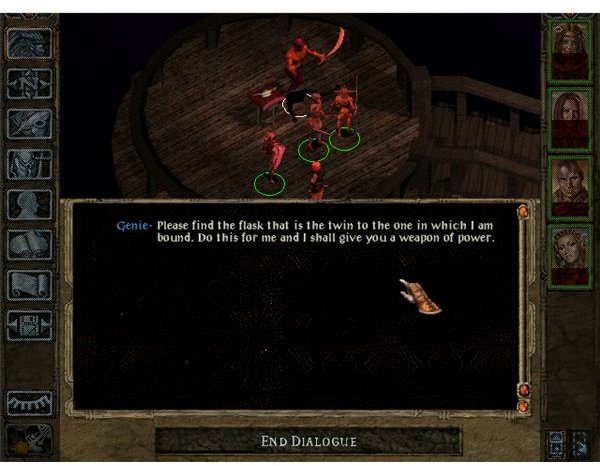
Open the portal to the north of the dungeon using the Air Elemental statue. This will take you to an air plane, where you must fight Air, Steam and Smoke Memphits. Open the golden lamp to release the Genie Maalaq. He will ask you for a flask to release him from his prison in exchange for one of the weapons Jon Irenicus stole from you.
Return to the Dryads for the flask; they’ll only give it to you if you agreed to retrieve their acorns from Ilyich. Bring the flask back to the Genie to receive 15,000 XP and the Sword of Chaos +2. This two-handed sword is an excellent weapon that deals 1D10+2 damage and gives you a +2 THAC0 bonus.
You can also find a scroll of Conjure Air Elemental at the end of the lower walkway on this level.
Second Level
Open the portal near the Dryads’ garden using the portal key from the Mistress’ Bedroom to access the second level of the dungeon. Near the entrance, you’ll find the bounty hunter Yoshimo; let him join your party.
The nearby room is filled with continually respawning Memphits. You must kill the Memphits inside the cages on the lower wall to close the portals and keep them from respawning. Jaheira will find the body of her husband Khalid here. You’ll also find the Wand of Cloudkill key, the Wand of Fire key, the Wand of Summoning key, some potions and other loot.
The door to the left leads to a room with another experiment, a cloned woman who has gone mad. Kill her to retrieve the final Wand key.
The door to the right takes you down a hallway to the Throne Room, which is full of traps. You must place the Wand keys in the pedestals on the north side of the room, which will deactivate the traps and produce a Wand for each pedestal. The throne at the end of the room contains a Ring of Protection +1.
Some Assassins are attacking the vampire Ulvaryl in a chamber to the north. She’ll usually turn into a bat and fly away after defeating the Assassins, but if you’re quick you can kill her for 8,000 XP.
There are three hallways to the south of the Throne Room. The eastmost leads to a room of Duregar; defeat them and pick up a Girdle of Bluntness. The middle hallway leads to a prisoner, Frennedan, who asks you to free him but then turns out to be a Doppelganger. Loot the room for some missiles, scrolls and a Potion of Firebreath. Finally, follow the third hallway to find the exit to the surface.
This post is part of the series: Baldur’s Gate II Walkthroughs
Check out these “Baldur’s Gate II” walkthroughs to help find your way through the RPG “Baldur’s Gate II: Shadows of Amn.”