The Planar Sphere is an optional sidequest in the Slums District of Athkatla in the RPG “Baldur’s Gate II: Shadows of Amn.” This “Baldur’s Gate II” walkthrough will show you how to access the Planar Sphere – and how to get out alive once you’re stuck inside.
Baldur’s Gate II Walkthrough – Accessing the Planar Sphere
The Planar Sphere is at the northwest corner of the Slums Distrct, but the door is locked. Only Valygar, the descendant of the man who built the Planar Sphere, can open it.
If you visit the Cowled Wizards in the Government District, they will ask you to track down Valygar and bring him back, dead or alive. You can find him in the northwest part of the Umar Hills. Valygar will ask to join your party and explore the Planar Sphere; you can either accept him, or kill him and take his body. Either way, the door will now open. (If you don’t want Valygar in your party, however, you can drop him and add someone else once he’s opened the door for you.)
The first room to your left is a storage room, guarded by a Clay Golem. Defeat the Golem and take the Planar Key, as well as a Golem arm and some coal that you’ll need later. To the right is the Observation Room, where you can see the location of the Planar Sphere. Once you use the Planar Key to open the door to the center room, you’ll be stuck in the Planar Sphere until you can solve the quest.
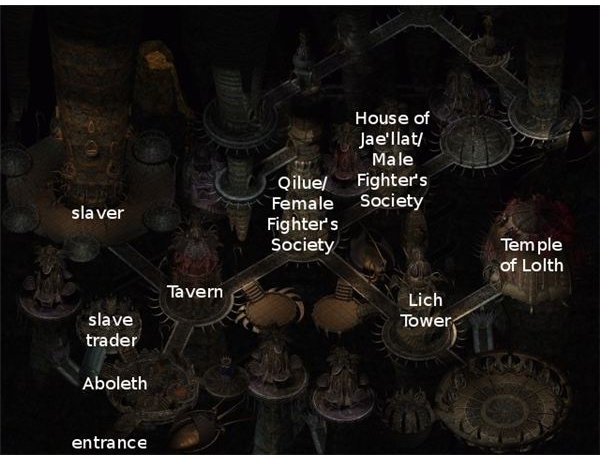
Planar Sphere Map

Baldur’s Gate II Walkthrough – Navigating the Planar Sphere
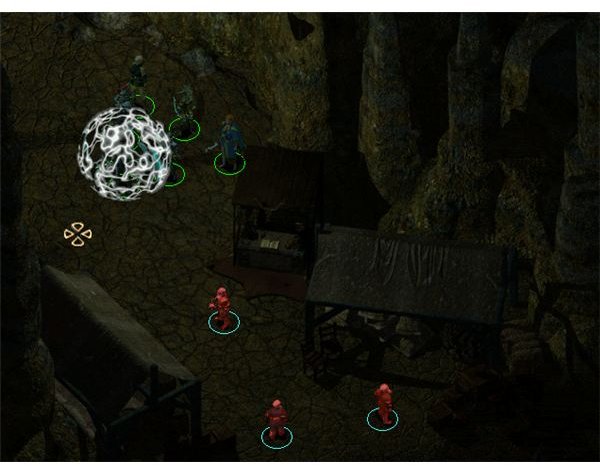
The room you opened with the Planar Key holds three Knights of Solamnia (from the Dragonlance setting) who are stuck in the Planar Sphere. They will give you some information about the surrounding rooms.
The room to the north contains several Sahuagins. Among their loot is a Cloak of Protection +1.
The room to the west contains bloodthirsty Halflings. They drop the Gauntlets of Ogre Power (needed to craft the powerful hammer Crom Faeyr) and the longbow Ripper +2.
Continuing to the north, you’ll find a half-finished Golem. Use the machine to attach his arm.
The next room contains several furnaces, guarded by Halfling warriors and wizards. Defeat them, then use the coal from the Golem room and the entrance room to activate the furnaces. Activating each furnace summons a fire elemental.
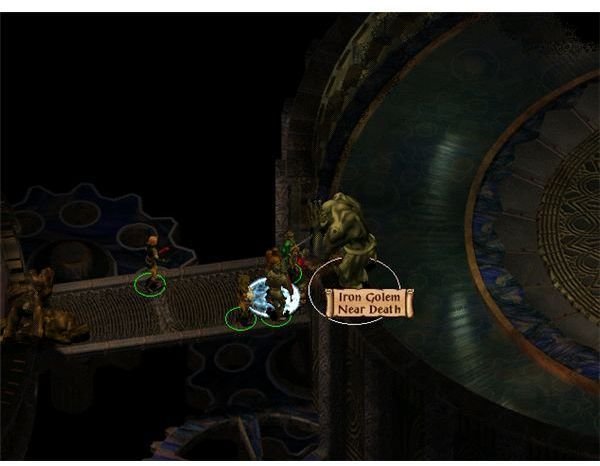
The clock room down the hall holds a difficult enemy, the Iron Golem, as well as some smaller Golems. You need at least +3 weapons to injure it. You’re aided, however, by the fact that it’s too big to fit through the doorway. The best strategy is to open the door, cast Haste on your party, stand in the doorway, and wait for the Golems to rush after you.
Once you’ve dispatched all the enemies, take the Golem head from the chest and attach it to the half-finished Golem. The activated Golem will detect an intruder and head east to take down an Elder Orb. This will open the way to Lavok and the Planar Sphere Core.
Finally, the room with strange symbols on the floor is a puzzle. Activate the runes in the order of top, bottom, right, and left. This will open the door to the final area of the Planar Sphere.
Baldur’s Gate II Walkthrough – Activating the Planar Sphere
The door from the puzzle room leads to Tolgerias, the Cowled Wizard who wanted Valygar’s blood. He and his assistant will both cast magical protections on themselves, so be ready with spells to remove them. Tolgerias will drop the powerful Ring of the Ram.
The two doors off of this room lead to a room of fire and a room of ice, both with enemies of that element. The ice room treasure includes a Helmet of Defense, while the fire room treasure contains a Large Shield +1, +4 vs. missiles. Both rooms lead to the Planar Sphere Core.
Return to the rune puzzle room and take the exit to the east. This leads to Lavok, the maker of the Planar Sphere. He is half-crazed and will attack you; once you’ve beat on him for a while, however, he will overcome the evil that’s overtaken him and ask you to spare his life.
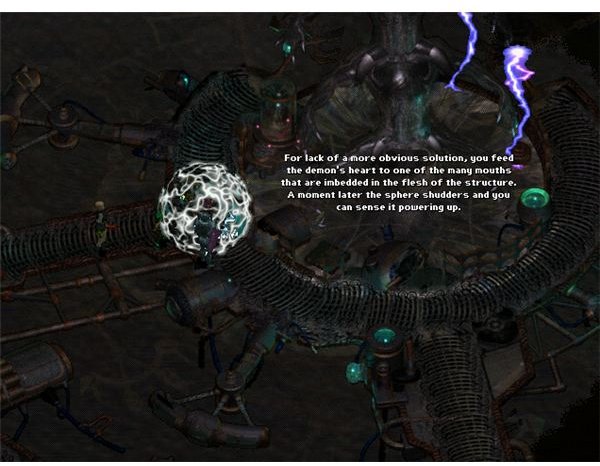
Tavok will also tell you how to get back to the Slums: apparently the Planar Sphere is now on a demonic plane, and needs a demon heart to refuel it. You can find the heart by going out the front door of the Planar Sphere and killing a Tanar’ri. Take the heart to the Planar Sphere Core, where you must fight past several powerful Golems. Use the heart on the center of the core to return to the Slums. Don’t forget your treasure: a Ring of Danger sense from a chest in the Core room, as well as loot from the Spore Colony and Lizard Man rooms off of Lavok’s chamber.
Finally, return to Lavok to exit the Planar Sphere. He will die after he sees the sun. If you’re playing a Mage, you can take the Planar Sphere as your Stronghold.