Act 1 of The Witcher releases Geralt of Rivia into the outskirts of Vizima. There are lots of quests in the main questline to do. You’ll need to earn the trust of the Reverend and the townspeople to ultimately bring out the Beast for the final battle. If you need any help, look here.
Lighting the Holy Fires
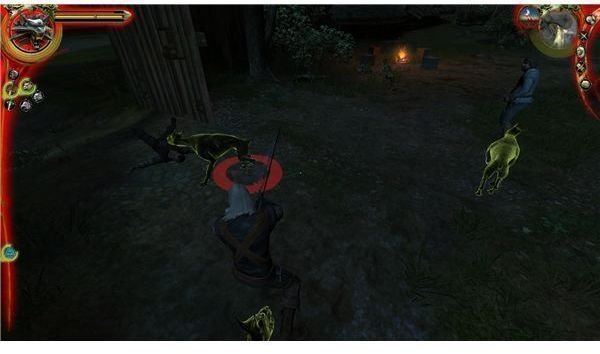
Another rude surprise. A group of barghests attacks the inn and manages to get through the gates. Just go ahead and kill them all. They’re pretty easy to hit with group style. The only real challenge is punching through the barghests without accidentally killing the guards. Watch your clicks. You don’t want the guards to be mad at you for a stupid accident.
Once you’re done you can talk to your old friend Shani to learn more about the Salamandra and their recent activity in the outskirts. It seems like things aren’t going to happen until you talk to the Reverend. You should be able to open the far gates and leave if you want. You might want to talk to all of the people in the inn and get the lay of the land though.
The Reverend lives in the main village near the big bridge into town. You can try to visit him now. You’ll have to fight a lot of barghests spawning along the road though. You might want to wait until morning.A campfire should already be burning.
When you’re ready, go into town and talk to the Reverend. He’ll either be outside the chapel or inside of the marked house next to it. Just talk to him. Ask about Salamandra and keep the conversation going.
Before you do anything though, he’ll need you to light all of the holy fires at the 5 shrines. They are marked on your map. There is no trick to this. You might want to walk along the shore and kill some drowners for brains and XP Then light the fire at the far shrine. After that, just backtrack to town and light the shrines along the way. You can light each fire by dragging a candle from the quest box over to the “give” area.
A group of barghests will spawn at each shrine. Just kill them with some quick slashes. Group style also works. Remember to collect their skulls if you can.
Once you’re done, you can report back in to the Reverend for your payment and reward. Also ask him about gaining help againt Salamandra. He should give you your next step and the Eternal Fire Signet Ring you need to pull it off. Put it on now.
*Note - You can also get one from an old woman in the outskirts by giving her some white gull. There’s no real benefit for getting it from her though. The only reason is that it is worth 50 orens, so you can just sell the extra one.
Helping Mikul: Buried Memories
In order to advance the main questline and get a pass into town, you need to help all of the prominent members of the outskirts and gain their approval. You might as well start with Mikul over at the merchant bridge.
All he needs you to do is clear out the ghouls haunting the crypt. Just go to the marked crypt on your map. The crypt is very dark. You will need to either bring a torch or drink a Cat potion if you want to see. You can get through this quest without using either. I know because I’ve done it. There are only 6 ghouls and they are easy to spot and kill. You also don’t need to worry about loot. We have to come back again. We’ll use a Cat potion on that trip though and pick up any leftover loot.
Go inside the crypt and examine Isla’s dead body. This will come up a bit later in the plot. Just keep her in your mind for now. Go deeper into this chamber. The first ghoul is near the back. Kill him with a few strong style combos. Go into the chamber and repeat this step for the group of 2. They shouldn’t be too tough either. The group of 3 in the final tomb might be a little tough, but you should be able to take them if you weren’t too wounded by the earlier groups. Remember to use the Igni stone to learn a useful new sign.
When you go back to report, Mikul and Kalkstein will come under attack from Salamandra. If you fought the Frightener, then they will also have an armored hound. Just help out the guard and use your combos and group style. If you killed the hound, make sure to get its red meteorite ore.
Either way, Mikul will usually quickly run off to take up a new post at the mill gate. You can swing by there later to report.
Helping Odo: Secret Garden
This is actually one of the easiest helping quests in the game. All you have to do is go over to Odo’s house. It’s at the far south of the map. Go inside and talk to him about any problems that he might be having. It turns out that there are a few nasty plants in his garden. He’ll ask you to stick around for a few drinks until nightfall. You might want to wait until you have the journal entry for echinops. There’s no reason to let these 2 fairly rare plants go to waste. it is also nice to have the roots ready for a later contract in Act 2.
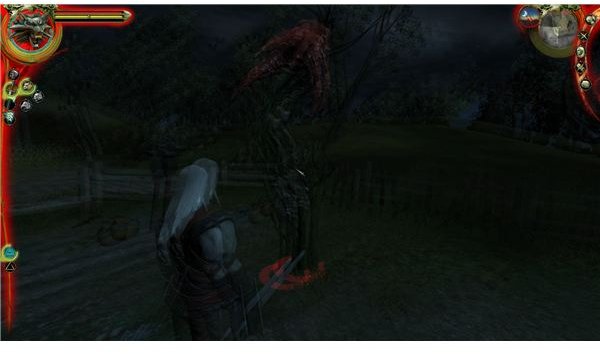
This prep work is the only hard part though. After Odo finishes the conversation, Geralt will go outside and fight the 2 plants. They are on opposite ends of the garden. The only trick to this fight is that Geralt is fairly drunk. His movements are a bit more sluggish and he’s going to miss more. The fight isn’t’ too hard though, so just tough it out. Charge one of the plants and nail it with a few strong style combos. Then go kill the other one. They’ll do some damage, but Geralt is going to rest after the fight anyway. Once they are both dead, loot the remains and go back inside to talk to Odo.
Go ahead and sleep at his house for a few hours to get sober. It’s no fun walking all the way to the inn drunk.
*Note - In case you’re wondering, the barking dog is a clue to the secret. Echinops spawn from the graves of murder victims. The dog is also barking at a specific spot on the ground. Odo’s brother, a strong warrior, is mysteriously missing. Odo is rich for an unknown reason…hmm. Interesting.
Helping Haren Brogg: Strangers in the Night
This is another fairly simple quest. Go over to Haren’s place by the lake. You’ll probably run into Zoltan and the racists. Go ahead and help him out. That’s another side quest, but it doesn’t harm this one.
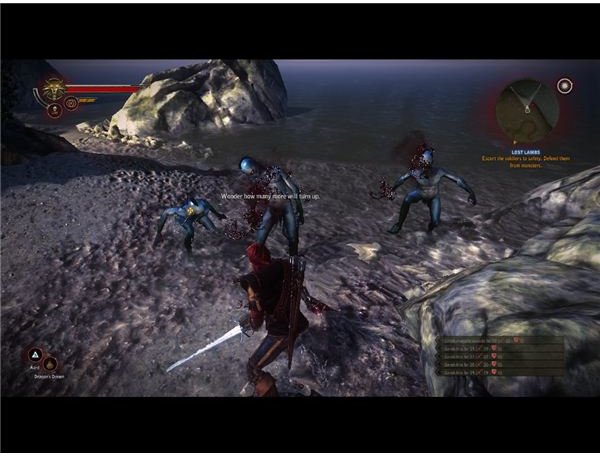
Haren is either inside his marked house or outside on the docks. Talk to him and show him the signet ring to get the quest. You need to go defend his shipment from drowners. That’s pretty easy. Go out at midnight and just fight a few waves of drowners. They should present no real challenge. Cut through them with strong style or group style.
The real trick is what happens afterwards. The Scoia’tael come by to get some weapons from Haren. It seems that he forgot about his deal. You have 2 choices.
Give Them the Shipment - Haren is trading with them and it really is their shipment of stuff. If you plan to side with the Scoia’tael later on, then this is a no-brainer. Just give them the weapons and tell Haren. This has one drastic impact though. A character called Coleman in Act 2 will be assassinated by the Scoia’tael, so you’ll have to follow my instructions in that act if you want to do his little side quest.
Naturally doing this quest gives you a boosted relationship with the Scoia’tael and their blacksmith in Vizima.
Refuse - They really want the weapons, so they’ll fight for them. This saves Coleman in Act 2, but it also causes a minor inconvenience concerning Vivaldi. It basically adds about 200 orens to our future expenses. These rebels aren’t pushovers either. The archers are annoying and it will take a few good combos to take out the 2 swordsmen. Once you do kill them, make sure to grab the 4 beggartick flowers off of one of the bodies. Those will come in handy in Act 2.
Rejoin - Either way, go back and talk to Haren and tell him that the drowners are dead. Also report your choice. Make sure you also get the “Hot Potato” quest while you’re here.
This post is part of the series: The Witcher Walkthrough - Act 1
Act 1 of The Witcher drops Geralt into the outskirts of Vizima for a lot of exploration and adventure. There’s plenty of work for a witcher to do. If you need any help with the side quests or help advancing the main quest, then just check out the relevant sections of this guide.