Flotsam is an interesting town with a number of diversions for Geralt. He has the option to gamble in dice poker, win some fist fights and become a champion arm wrestler, and there’s even a wrecked ship with a lost journal that can be found for a very long-run quest.
Dice Poker
Dice Poker is a pretty good way to get money, since you’ll get some nice rewards for beating the upper level players, aside from any winnings that you get from the game. The setup is fairly standard. You’re trying to get a combination of numbers that is ranked higher than your opponents’ combination.
To make sure that you don’t overthrow the board, I suggest very gently moving the mouse or just dropping the dice onto the board. It doesn’t really affect anything. Don’t bother holding ones or twos unless you’re just trying to get a straight or you have three of a kind already.
Hold any pairs that you have, and if you don’t have anything, hold fives or sixes and shoot for a pair or higher. Unless your opponent has a sure win, I strongly suggest that you just go for it. You never now when you’ll get lucky, or when your opponent will make a weird decision.
If worse comes to worse, just save before playing and reload after a series of losses.
There are five different people who you can play in Flotsam. The first three are in the basement of the inn. Just walk toward the fighting area and look for the players at a table on the side. You will need to beat the beginner players, Casimir and Bendeck. Once they’re beaten, the experienced player at the table, Zindrab, will be willing to play you.
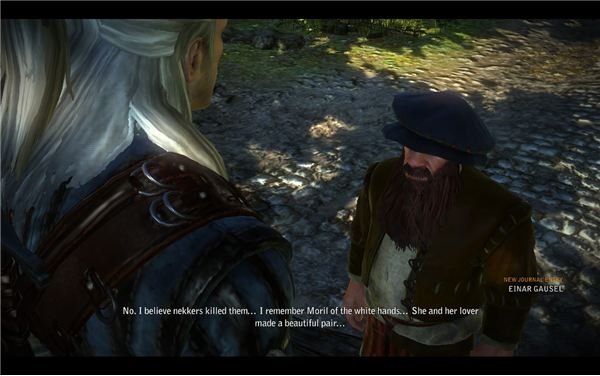
After you’ve handled them, go out and look for the book dealer, Einar Gausel. He will either be in his home or at his stall in the street. You can track the quest to put a marker on him. Just walk over and play him too. He shouldn’t be any tougher than the ones that you just beat.
Once this is done, you can go out to the village in Lobinden and find Sendler. If you also plan to do Troll Trouble, then it’s a good idea to do it at the same time. Sendler will play you for the big championship. If you beat him once, you should be offered 150 orens, or the designs for one of three traps. If you’re doing Troll Trouble, you can also ask for the she-troll’s head and give it to the Troll to net some experience and a reward.
Arm Wrestling
This is a bit easier. In order to arm wrestle, you need to move the mouse and keep the marker over a moving bar at the bottom. This symbolizes the pace of the arm wrestling match, so it should be moving steadily to the right.
Note that this shouldn’t actually be that difficult for you. If you’re having trouble moving the marker, then you may need to turn down your graphics settings for the current session. It’s fairly easy to not notice any significant problems while you’re slightly overtaxing your system. Combat may just seem slightly slow. The arm wrestling game requires incredible precision though, which makes any lag very noticeable.
Your goal should be to ride the bar to the right. It will steadily shrink, and eventually get to the point where it’s just the size of the marker. Note that this means that the match gets increasingly harder to win. If you mess up at the beginning, it is very hard to recover. If you accidentally overshoot the bar, immediately start moving to the left. The trick is that you can’t overshoot again though. Overreacting will just make things worse and doom you. You just want to get back on the right edge of the bar, so that when it starts moving to the right again in a few seconds, you will be in the perfect spot.
Ideally, with a little practice, you can just ride the bar across to the left in one shoot. Staying just to the left of the middle should serve you well.
You can start this by challenging Zoltan to a practice match in the inn, who will then point you toward the three other local champs waiting in the tavern. Beat each of them in turn using the above tips. They’re all about the same.
The last one is the only tough one, Bartholomew Bargee. You can find him out in Lobinden village. Turn the quest tracker on to find him. He’ll either be in his house near the water, or he’ll be working on the boats on the shore. There isn’t much of a reward for beating him, but you can beat a fair amount of orens on the fight. If you save beforehand, and you’re ready for a slightly tougher fight, then it can be easy money.
Fist Fighting
Fist fighting is fairly easy. It’s just one long QTE. If you have trouble seeing the key in time, you can just watch the sides of the screen for the flash. That can serve as a better signal. Other than that, you also need to watch for continued slow motion. If time slows again right after you hit the right key, then Geralt will need to counter a counter-attack. Make sure that you hit it in time. The same often goes for failing a first hit. Be ready to quickly hit a separate key to pull off a counter move.
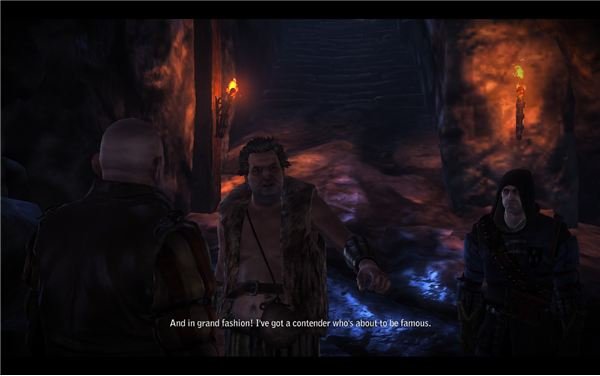
The fights occur in the basement of the inn, and they’re fairly easy to find. Just listen for the sounds of the tournament and walk up to the men in the corner. You can talk to the announcer to join in and win in a fairly easy set of fights. Once that’s over, a man called King Ziggy will run up and offer to take you to the real action.
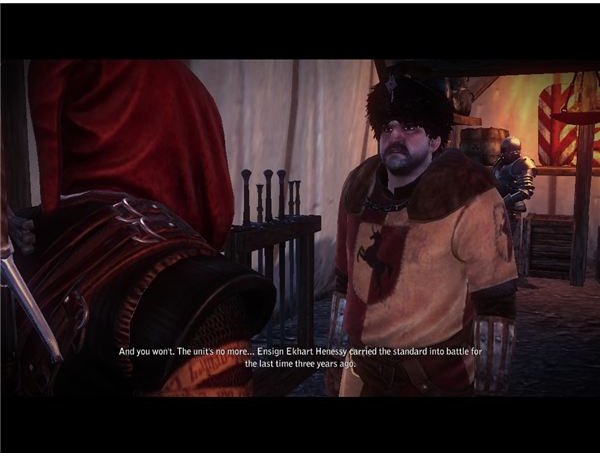
Go back to the inn at night to find Ziggy waiting outside. You can then talk to him and follow him up to Loredo’s camp. Agree to drop off your weapons, and then wait for the fights to start. The opponents in here will counter a lot more, but that’s about it. The only issue of note during “Fight Club” is that Loredo will demand that you take a dive at the end for a cut of the money.
It’s up to you. Just note that the winnings for an honest win aren’t too shabby either, and Loredo’s big threat is just sending two thugs with clubs to ambush you in town. As long as you have a sword, they are laughably easy to kill.
Mystic River
This one is a bit interesting. This quest will actually run for the length of the game, if you decide to do it. It will ultimately give you some fairly nice armor,
if you follow it to the end.
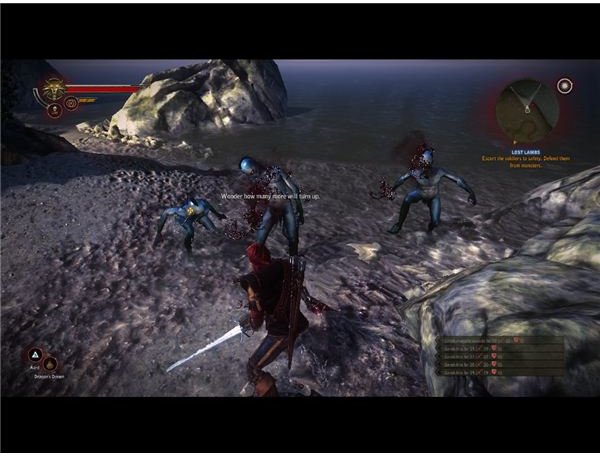
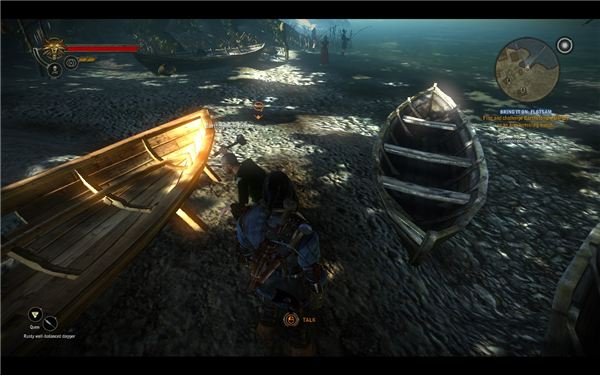
For now, just go to the area where the Kayran has been seen. You’ll walk with Triss to this location at one point. Watcher out for drowners. If you have a silver sword and use Quen, then you should just be able to run right through them. The real area of interest is the wrecked ship behind the swamp.
If you walk over and behind some logs and rocks, you will be able to enter the shipwreck. Search the skeleton of the captain to find the key to his chest. Opening this up will net you a letter detailing a betrayal on a long voyage. You can help out by taking the letter into the house of the local postmaster. This is just off of the market square. You should be able to just go right in and drop them into the royal mail.
While you’re here, you can also use your signs on Louis Merse, to get him to hand over the key for the royal mail. You can then open it up and read his incorrect report about the state of Flotsam, and confess to killing the government informant in town.
That’s it for this quest though. You’ll need to keep your eyes open for the next wrecked ship in Chapter 2.
A Good Path
It’s generally a good idea to get all of this done as quickly as possible. Raising the orens for a nice silver sword and some bomb designs is generally a good idea. Make sure that you talk to Cedric and get the trap designs early. It’s also a good idea to then grab as many plants and minerals as you can find along the path. It’s nice to be able to get a lot of bombs together for some of the tougher fights ahead.
If you can, try to start moving on the Kayran quest as quickly as possible. There’s a good reward for that, and gathering up the Kayran skin will let you get some very good armor quickly. You can buy the needed leather and cloth by visiting the various merchants around town, and by searching through every chest in town. If you don’t feel like gathering up the required materials for that, then the hunter’s armor that the troll can give you in “Troll Trouble ” is a good alternative.
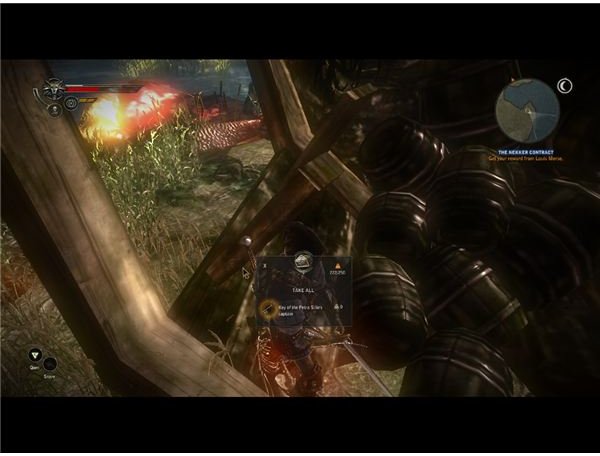
If you need the money, you should be able to carry out the Nekker contract and Endrega contract with your new skills. Malena’s quest should also be quite possible, if you just use some bombs and traps. Once you’ve taken care of that, you’ll be able to finish up the course of the chapter as expected.
References
All information and screenshots from Witcher 2.