You need four symbols if you want to break the curse over the battlefield, which means a very long and high risk scavenger hunt and a very dangerous trip into Vergen. If you need help with this series of quests, you can look here for the directions
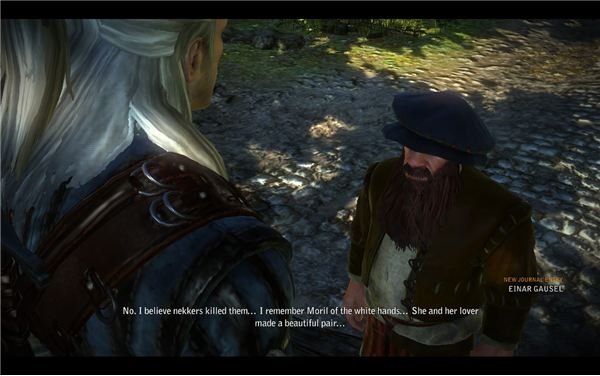
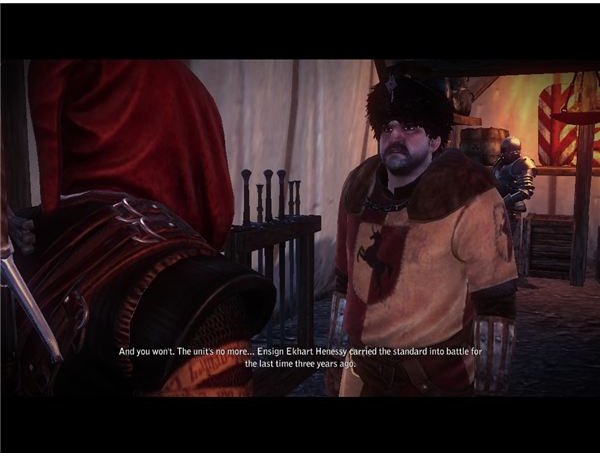
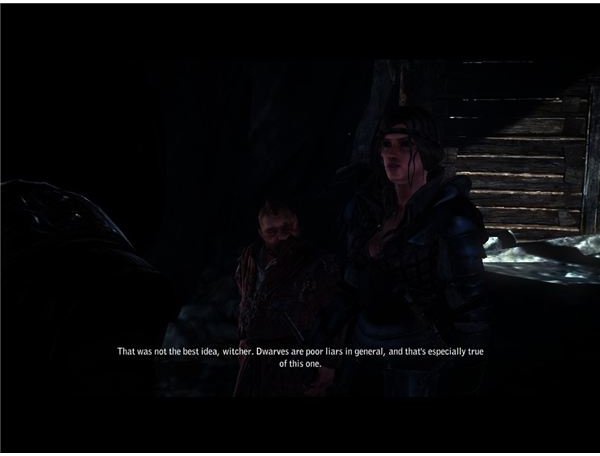
For Roche’s side, you’ll need to gather up four symbols of the last battle. You need something for courage, faith, death and hatred. If you want to do the research for this, you’ll need to talk to Zyvik. He was around at the time, and he’ll be able to give you a story of the battle that will tell you just about everything that you need to know.
In case you didn’t pick up on the story clues, you need Seltkirk’s Armor, Henselt’s Medallion, the Dun Banner and Vandergrift’s sword.
The Easy Ones
Seltkirk’s Armor is actually easy. You’ll come right across it after you kill Traut for “Conspiracy Theory .” Just kill him and pick it up on your way out.
Henselt’s medallion will also come in time. Once you save him from the curse and the inevitable assassinations. As the main quest comes to a close, you’ll be able to get it from him.
A Trip to Vergen
The other two are the real challenge. You’ll only be able to get the Dun Banner and Vandergrift’s Sword when you cross over to the other side. Saskia has the sword, and the Dun Banner is entombed in a crypt on the other side of the mist. You will only be able to cross when you make a few steps toward helping Henselt.
You’ll need to push the Blood Curse quest forward, until you get the notice that the spear you need for the quest has also made its way into Vergen. Once Dethmold and Henselt understand that you need several things from inside Vergen, you should be able to move the quest along further.
In order to cross the battlefield, talk to Dethmold to get the artifact and some basic instructions for surviving against the wraiths that flooded the field. Once you talk to Dethmold, Zoltan should also show up. He’ll agree to tag along with you so that he can join the rebels in Vergen. If you aren’t ready to go, he’ll wait for you near the camp’s exit.
When you’re ready to leave, I suggest that you make a permanent save and then head out the main gate. Pick up Zoltan and go straight ahead toward the exit into the fog. Getting through the fog isn’t that tricky once you understand the basics. One of the most important things is that you have to be a fool to try and stand your ground. Keep your silver sword out so that you can quickly kill any wraiths that get too close, but your main focus should be running. Zoltan can take care of himself, so just focus on moving forward.
The main aid that you’ll have is your artifact. Now, using the amulet will not just highlight items around you, but highlight a glowing orb that will lead you through the fog toward the other side. For the most part, it’s a straight run, a quick trip under a bridge and a long awaited exit on the other side. Once you break through the mist, you’ll be fairly safe.
Vandergrift’s Sword
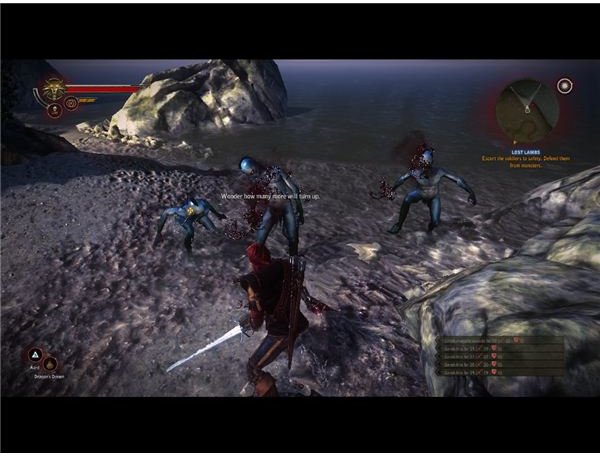
The Scoia’tael will not be too happy to see you at the exterior camp, so Zoltan will make the good observation that you will need to sneak Vandergrift’s sword out. To find Hatred symbolized, you’ll need to go into the marked mines that are on the right side of the elven camp. Go into the locked door, but I suggest that you go ahead and meditate. There will be a lot of enemies inside, and it will be very dark. If you can’t fight well in the dark, drink a Cat potion. I personally didn’t, because they hurt my actual eyes, but it is worth it to drink a Swallow potion and and pull out a good silver sword.
There are a bunch of nekkers inside, along with rotfiends, and a bullvore at the very end. The tunnels are very confusing. For the most part, just consult the map and watch for doors. The nekkers shouldn’t be any real threat for you, but you will need to watch for the groups of rotfiends. If you don’t remember to roll away, it’s easy to take a lot of damage.
The bullvore is a tough enemy, but it may be a bit of a cakewalk compared to the others that you’ve seen so far. He can take a lot of damage from simple silver sword attacks. He’s also a bull, at heart, which means that you can easily bait him into attacking a wall and then hack up him up while stunned. Using some necrophage oil on your blade will make this go very quickly too.
Once your path is clear, you’ll be able to find Saskia and Zoltan waiting in the tunnel. Saskia will actually hand over the weapon right away, and simply ask that you end the curse. After that, you can turn around and leave along the same path that you came. Just watch out for any enemies that may have wandered in or spawned.
The Dun Banner
To get the Dun Banner, you’ll need to go into the outskirts of Vergen, and follow the walls to reach a rear section of the city. A few of the locals should talk about the dangers of the tomb, if you ask. The heart of it is quite simple though. Just wander inside through the fairly big entrance.
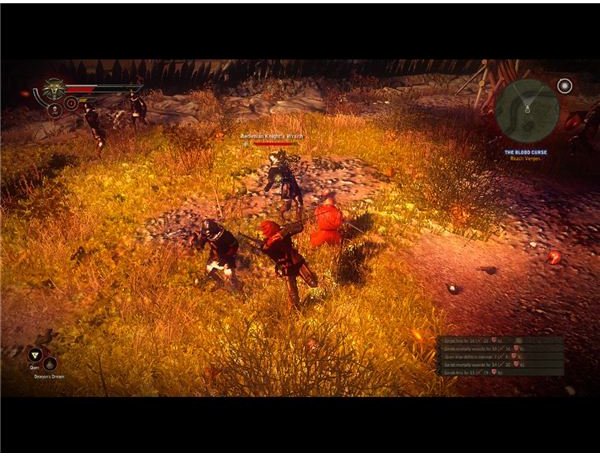
You will probably want to put some specter oil on your silver blade, to make the fights with the wraiths fairly trivial. You shouldn’t find more than a few of them. For the most part, just walk down and through the rooms. You can use Aard to knock down most of the walls. Since we don’t have the quests tied into the Vergen side, we just need to look for the marker and then knock down the wall in front of it.
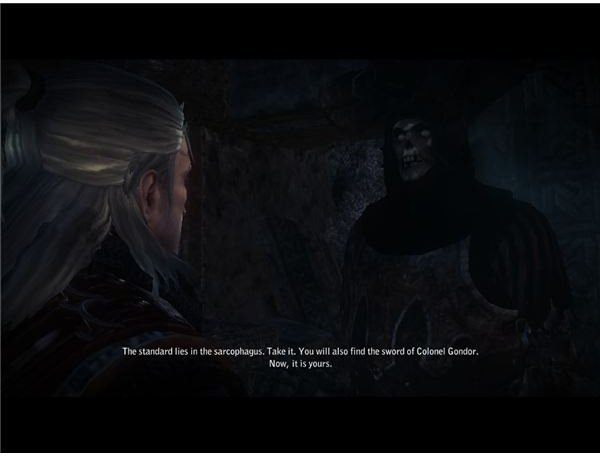
When you find the wraith of the Dun Banner inside, you should be able to talk to him. You’ll then need to make a decision. If you want, you can just kill him and take the banner. It’s better to deceive him, since you’ll also be able to get a really good sword out of that path.
If you tell the wraith that you also fought in the Dun Banner, you can use your knowledge of the battle to convince him. He’ll lie about various things that happened, and you’ll have to answer him properly. Note that if you have Zyvik’s beaver cap, you can use that to get one free wrong answer.
Start off by telling him that he’s wrong in his account of the battle, and properly name the enemy as Menno Coehoom. Point out that Menno is already dead afterwards. You can then successfully name the two heroes as Vandergrift and Seltkirk, and finish it up by saying that a priest rescued you.
After that, he will accept that you were part of the unit, and allow you to take the sword and the banner found inside the tomb.
With these items, you should be able to successfully head on back to Henselt’s camp. Do remember to get the spearhead from the dice poker game though. You do not want to cross the battlefield two more times for no reason.
After that, just repeat the dangerous run across the fog and make your way back to victory.
References
All information and screenshots from Witcher 2.
This post is part of the series: The Witcher 2 Walkthrough - Chapter 2 - Henselt’s Side - Main Quests
Chapter 2 will offer different main quests for players, depending on their plot choices. This walkthrough will focus on the quests available in Henselt’s camp, and cover how you can break the curses and seek out the kingslayers hiding in the region.