The game introduces a few more steampunk elements into its Wild West setting. You finally get to see an airship and you will see the return of the steam-powered motorcyle that you will ride in many sections of the game
Completing the Damnation Team’s Rescue Mission
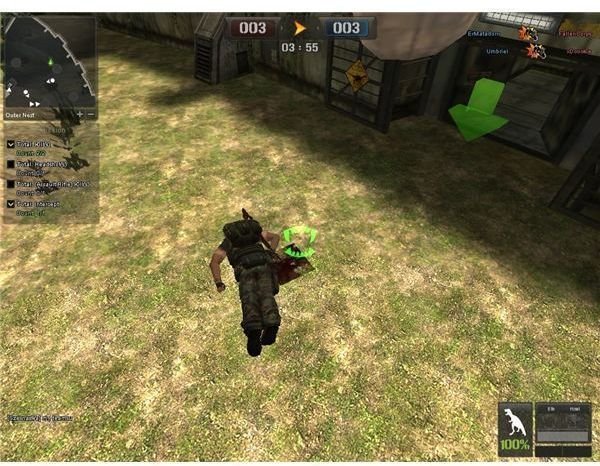
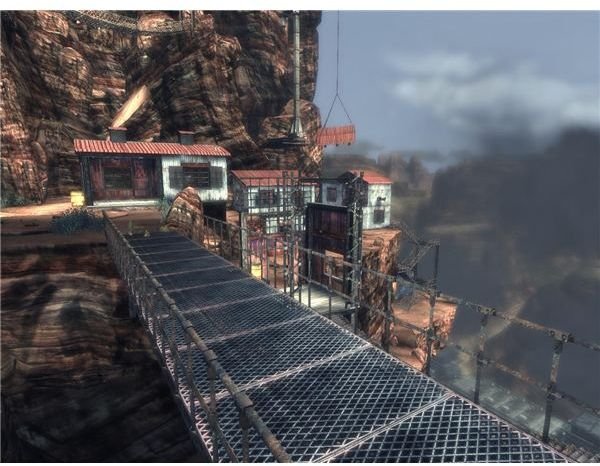
When you exit the tunnel, you will find a small western town. You will not see many Victorian references in this Wild West steampunk mix, nor does their absence detract from the story in any way. This charming town is comprised mostly of one story buildings. You will see one two story building at the center of the town. Head to the two story building and shoot the miners and other enemies here from one of the windows. If you go to the two-story building building, you should have scene a cut scene that shows you the vehicle you need to use because the bridge is out.
Find your way to the neat steampunk motorcycle here. Get on the bike. It allows you to jump across the bridge. Ride the motorcycle to the end of the tunnel. Dismount from the motorcycle and load your weapon. Kill the enemies waiting for you and get back on your motorcycle. Ride it until you come to another bridge. Even if you do not have to destroy the buildings as part of the mission, you feel obliged to do so when you have several tons of firepower at your disposal.
More Bread and Circuses in Damnation

Winslow would never be able to do the motorcycle trick he shows you in a real circus of the 19th century. If you have seen the motorcycle riders travel in a spherical metal cage, you have an idea what to do in the next part. You must use the bike to go on the walls. Travel around until Zak interrupts and shows a cut scene that shows the exact path you must take.
When you get to the end of the path, get off of the bike. Climb to the low ledge nearby and scout out the enemies. This is another excellent time to use your sniper rifle. Take out the enemies you see here before you proceed forward to the buildings. Work your way forward and take out any enemies you missed. You’ll eventually come to a tower in front of the gated building. You must get into the gate. You can either use the tower to do this or you can use the nearby building.
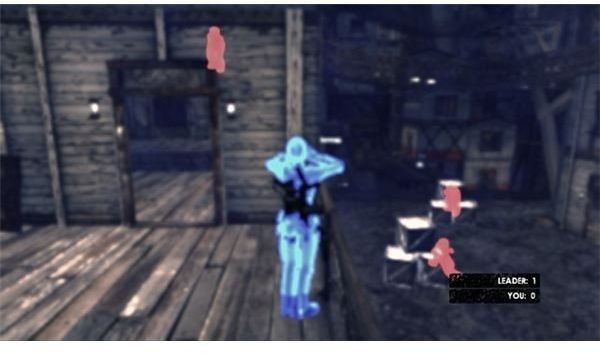
Take out the miners and go forward until the team goes to take out some snipers. Help them until Zal tells you to open a door. He may say we, but this is not what he means. Go forward until you come to what amounts to a kill zone. There are turrets alongside of the barrels. The cut scene the game displays here does not help you in anyway. Crouch down and use your gun to take out the barrels and clear a path between the turrets. You will take damage when clearing this section.
When you get to the end, climb the ladder there. Walk to the end of the path and jump to the nearby foot bridge. Repeat the same process when you come to another cut scene. You’ll find a huge pile of explosive barrels at the end. Target it and fire. Damnation displays another cut scene and rescue your intended target at the end. Now that you have Winslow’s daughter with you, it is time to go to the next mission.
Mission 2, Act 3
The steampunk western continues. You have rescued Winslow’s daughter now it is time to get her back to her airship. Go up ladder, up some stairs and up a ramp respectively until you have to take out your sniper rifle again. Take out any miners you see. Pick up additional ammo where you find the sniper rifle. You will need to use it to take out two snipers. Zal will help you with this part, but it is a little tricky.
Walk until you go to the end of the catwalk. You’ll see a pipe and a lever here. Pull the window and take the pipe. The lever moves a piston. Jump from the wall to get to the piston. Use the piston to jump onto the beams.
Get to the walkway and run outside. You have a high vantage point from the walkway, but you do not need to use it. Zal, your over-eager teammate, runs forward and takes out the enemies wielding shotguns. Remote heal him and go into the building on the left. Jump up to the upper deck. Use the ladder on the deck to climb up to the deck. Go through the window here and jump down to the first floor. Walk to the vertical pipes here.
Jump up a series of pipes. When you get to the top, use the gift of the shaman to scout the locations of the enemies. Figure out where you can easily snipe them. Jump from the pipes to the walkway. Go along the walkway and take out the miners. Feel free to use the barrels to accomplish this task.
A big building that should be ahead of you. Use the wall jump maneuver to get to the top of it. Walk to the deck and jump over the cap. You haven’t seen any cool steampunk elements or enemies in a while. Don’t worry, they’re coming soon. Take the window on the left and go outside until you find machine gun ammo and a Gatling Gun.
Get to the next zip line, but backtrack and find collectible cog #4 first. These collectible cogs seem to be necessary to build something. Go back to the zip line. Use the sniper rifle to take the people on the other side out. Use the rope. Run to the conveyor belt. It ends at the stairs. Take the stairs up until you come to a tunnel.
The Damnation Team Has a Hankering to Be Extracted
Get to the catwalk on the right. Jump across the two catwalks and find another catwalk. Walk to the end of that catwalk and jump down onto the pipe. This steampunk western has made this section feel like a stagecoach chase without the stagecoach. Climb up to the nearby roof and jump down another metal platform. There seem to be a lot of literal ups and downs in this level.
Continue the jumping procedure. Be sure to take out as many miners as possible along the way. The sniper rifle helps you a great deal here. Continue the jumping procedure across the town taking out miners on the way. The strategies for this level are somewhat repetitive. If you take the time to look around, you should get the idea where you need to go. You have rescued Winslow’s daughter. Now you must begin a more serious battle against your real enemy.
Damnation Mission 3: Mesa Dorado
The next mission starts by giving you some background information. Damnation ’s Mesa Dorado mission then goes into a fast moving game that is easy enough to figure out, but difficult to explain.
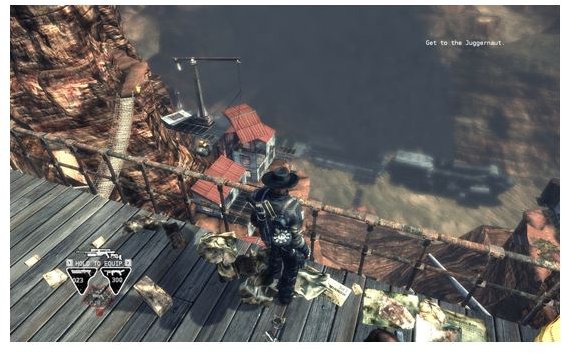
When the mini-game ends, you should be on the outside of the building. Use these cables to get down to that neat steampunk motorcycle that you used earlier in the game. You get to perform a few more physics-defying acts, acts. You’ll need to stop to take out enemies occasionally. Eventually you will come to another motorcycle. (The first one ran out of fuel, perhaps?)
Do some more hopping and lever pulling here. Pull the lever on the lower floor first. When you pull the level on the second lever, you will see a brief cut scene that involves the firing of a rather large gun. Continue using the motorcycle until you are forced to dismount from the bike.
Scene 3 does not have any tricky bits either after the motorcycle chase ends. Use the remote healing trick to heal the members of your party as necessary. The sniper rifle is not as useful in this mission as it was in the last one.
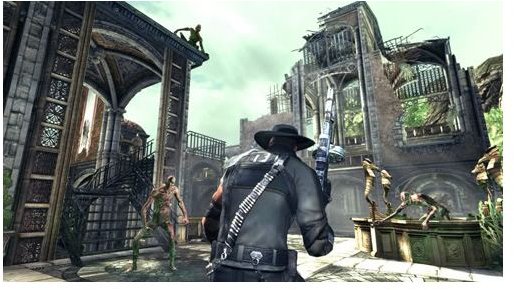
Walk forward until you see another cut scene. The convenient location of the two motorcycles tells you what is likely to follow. You get challenged to a race, but this does not matter. Simply follow your partner and let him win. He takes you to the end of the level. You will come to another boss fight at the end. The boss is not difficult, just shoot at it and dodge it attacks. It also looks like it might have come from the Girl Genius web comic Enjoy it as it is the only boss that reinforces the steampunk theme in Damnation.
This post is part of the series: Damnation Steampunk PC Game Walkthrough
Help Rourke stop a dictator from taking over the Wild West completely.