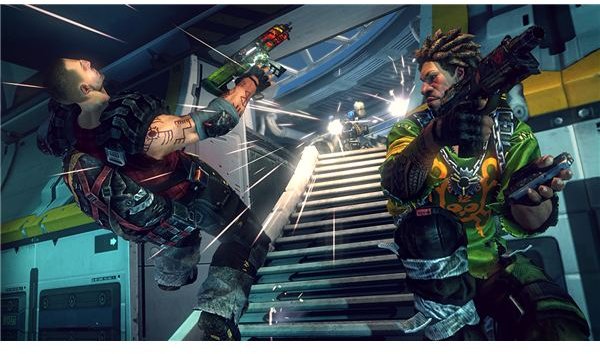
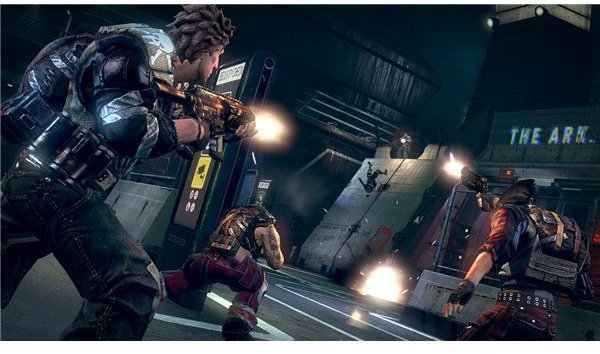
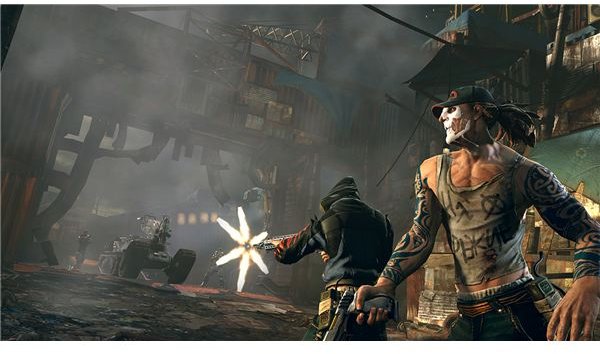
Brink’s Resistance campaign is one half of the ‘single-player’ mode of the game, taking the part of the freedom fighters in the civil war that is threatening to break out on the Ark. Your goal is to save the Ark from the harsh dictatorship of the Security. This guide will give you all the details!
The Brink of War: Brink’s Resistance Campaign Intro
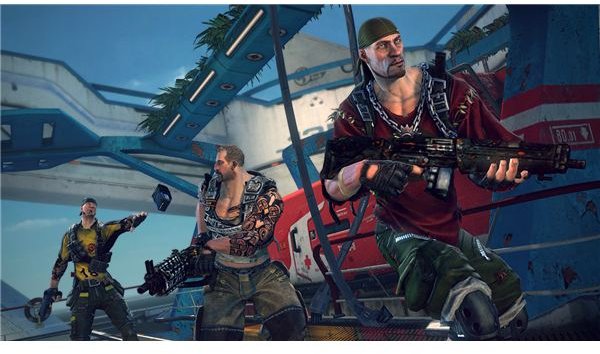
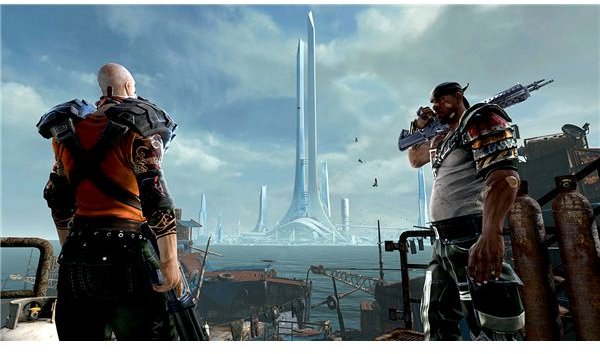
The game starts with a narrator explaining the backstory of the setting, which is really quite interesting. The Ark was created as a floating experimental city, set to house enough people to form a self-sustaining metropolis. Unfortunately, a disaster took place, and people began to flood into the city as though it was the last remaining place to live. The once-beautiful city transformed into a trashed slum, riddled with disease and violence. The people of the slums, angry that they’re being oppressed and given barely any means on which to live, are beginning to revolt.
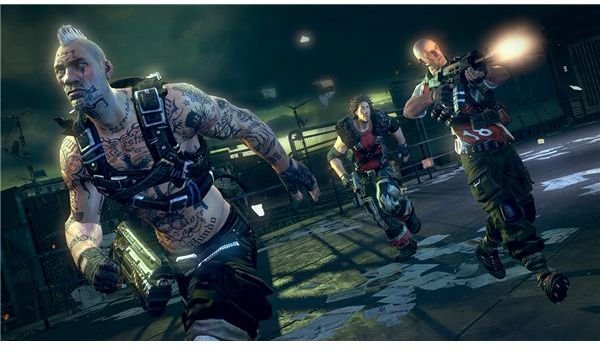
You take the role of one of Chen’s resistance fighters, fighting for equality or either an attempt to escape. The Ark is no longer a place to live, it’s just a horrid slum. Keep in mind that once you start a mission you can change your class and your weapons, but you can’t customize your weapon attachments, change your body type, or change your perks. And with that, we continue with the Brink resistance walkthrough!
Day 1: Getting Answers
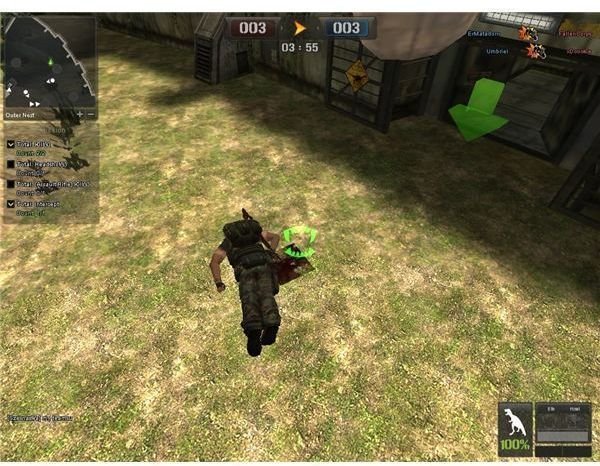
In a mirror of the first mission for the Security , you play the resistance fighters. Chen’s agent is being debriefed, and you have to defend him until he’s done. You need to keep the agent from being captured at all costs.
Objective 1: Defend the Door
As an Engineer, you need to be ready to disarm any HE charge that enemy Soldiers put on the storage room door. This is a defense mission, and the door you need to defend is relatively close to your spawn point, so you’re pretty well situated to defend the door. As an introduction mission, it’s pretty easy.
Objective 2: Stop the Agent
If the door is breached, the enemy will try to escort the agent away. You simply have to track him down and kill him. Given that it’s the intro match and it’s on defense, you probably won’t even get this far.
Side Objective: Defend the Lift Generator
Like all side objectives, the lift generator is basically a shortcut. In this case, the generator is broken and the enemy needs to repair it to use it as a shortcut; your goal is to keep them from doing so. Fairly simple.
Day 2: Breakout
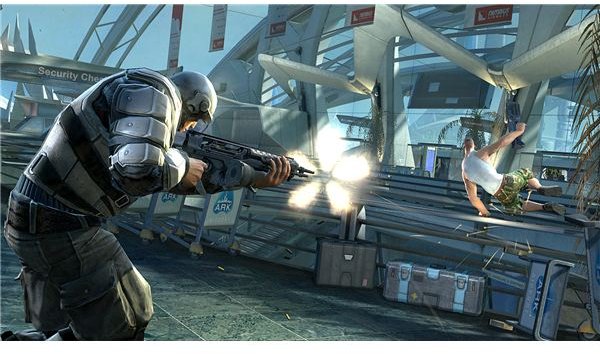
The Security forces are holding Nechayev, your one reliable pilot, hostage. You have to break in and bust him out. If you’ve played the security campaign, this is the opposite side of the prison break defense mission. It’ll be harsh, as offense missions tend to be, and it has a number of objectives to complete.
Objective 1: Destroy the Power Conduit
An Engineer needs to push forward past security defenses and open the panel to the conduit quickly. It only takes a few seconds and will probably be done quickly. Then, as a soldier you need to push past the first line of Security defenses and plant and defend an HE charge on the conduit. This will blast open the first entry point, and let you push into the next section of the mission.
Objective 2: Hack the Safe
Once you’re in, you need to push your way into the warden’s office and crack open a safe. Unlike other missions, you need to be an Operative for this one. As usual, an Operative gets the bad end of the stick, because an enemy engineer can come along and ruin any progress you’ve made almost instantly.
Objective 3: Deliver the Pass Code
This objective can be done as any class, so you may want to switch to Medic so you can heal your comrades as they fall. You need to take the passcode from the safe all the way to the entrance of the Infirmary. If the one who is carrying the pass code dies, the briefcase drops. If it’s free, enemies can return it to the safe just by running onto it, or you can pick it up if it’s not returned. Once you get the pass code to the Infirmary, your prisoner is freed and you have to escort him out.
Objective 4: Escort Nechayev
Nechayev moves slowly and you have to be near him to keep him moving. If he goes down, a Medic needs to come revive him. Thankfully, he can’t be reset progress-wise, so every step he takes is a step closer to victory.
This mission has no side objectives, unless you count capturing command posts, but every mission has those as an integral part of the game.
Day 3: Chen’s Plans
Chen’s plans are cached in a mainframe in an airport terminal. If you are compromised, a data burn will be activated, but it takes time. You need to defend the key from being found, and if it IS found, you need to stall long enough for the data to be burned away.
Objective 1: Defend the Mainframe
This is the only one of the three objectives in this mission that requires a specific class, because the Mainframe needs to be hacked by enemy Operatives, and hack boxes can only be removed by Engineers. Run as an Engineer anyway, because mines and turrets are always useful for defense missions.
Objective 2: Defend the Safe
If you can’t stop them from hacking the terminal, you need to go to the large open room that’s quite complicated to assault from the Security side. Use the open terrain to your advantage and keep enemy Engineers away from the safe. Unfortunately, any progress they make can’t be undone.
Objective 3: Defend the Data Key
If it gets this far, you need to keep the enemy from carrying the data key from the safe to the exit. If you kill the enemy carrying it and step on it, you can return it to your safe. If they get it all the way to the exit, you lose.
This mission has no side objectives.
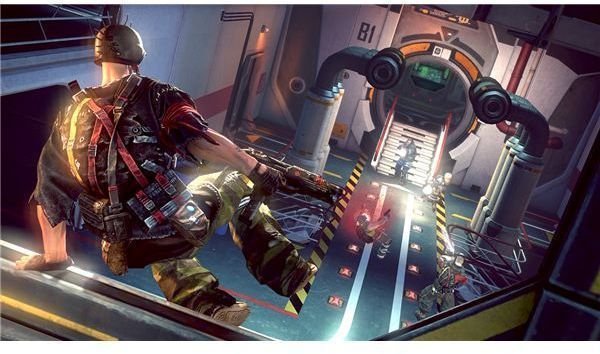
Day 6: Black Box
All Chen needs is a Nav Computer. When the Security managed to stop your missile in a Security Mission, they gave you the primary opportunity to retrieve the computer from the ship.
Objective 1: Destroy the Pillar
The pillar is a large tree-looking structure that needs to be destroyed. You need to be a soldier to plant an HE charge and blow it apart. Any other class has the objective to defend the area. Plant the charge and defend it until it explodes, while the enemies attack from various angles. It shouldn’t be too difficult, your spawn is relatively close.
Objective 2: Escort the Bot
Now that the computer has been loaded on to the bot, you need to escort it. Engineers are necessary for repairing the bot when it breaks down, and your teammates will be bad at it, so it’s best for you to be the Engineer yourself. Don’t forget to buff everyone’s damage as you go.
Objective 3: Destroy the Bridge
Once you’ve escorted the bot far enough you need a Soldier again to destroy a bridge that’s in the way so the bot can keep moving. As usual, it’s a matter of planting a charge and letting it sit for half a minute until it explodes. The enemies will flood in from the other side of the bridge, but it’s a good bottleneck for a turret.
Objective 4: Hack the Gate Controls
For the final objective, you need to have an Operative run and plant a hack box on the gate. Once the gate is hacked, it opens and allows the bot to escape and get the Nav comptuer to Chen. As usual, using an Operative and hacking is a tenuous prospect, as an Engineer will undo all your progress if you’re not around to defend it.
Side Objective: Hack the Shop Door
As usual, yet another shortcut. Use it if you need to, otherwise just ignore it. It’s only relevant for the first small section of the map.
Day 7: Attack on C City
Container City is being attacked. The disease that’s been running rampant through the slums has been cured, and the Security forces are trying to steal the cure to keep it away from you and your families. You need to defend your homes, defend Container City, and keep them from stealing the sample.
Objective 1: Defend the Gate

If you’ve played this on the Security side, you’ll recognize each of the set pieces. You need to be an Engineer to defuse any HE charges that the Security places on the gate. Turrets help too, to keep the enemy back and stuck in their spawn. Unfortunately, they have the advantage of being much closer. Given that the charges take only a few seconds to go off, it’s easy to lose this point.
Objective 2: Disable the Maintenance Bot
Once the gate is blown apart, the Security will try to escort a bot through the city to the Crane. Dealing damage to the bot will disable it, and that forces the enemy to bring Engineers to repair it. Keep shooting the bot and anyone trying to repair it and you shouldn’t have too much trouble.
Objective 3: Defend the Crane
If the bot gets this far, the Security will try to repair the crane controls to lift the bot across the gap. This is a repair job for the enemy, so there’s nothing you can do to defend it besides kill the people trying to do it. Set up turrets and mines and you should be able to stall them out.
Objective 4: Defend the Sample
If you’ve let the enemy get this far, you have one chance left. The enemy has to grab the sample and run it back to a side exit. If you kill the person carrying it you can return it to it’s initial placement. Keep the Security forces from bringing the sample to the exit and you’re set.
Side Objectives: Shortcuts
As always, the side objectives are just shortcuts for you or the enemy to take to get from spawn to objective easier. In this case you want to defend them so the enemy can’t get through. The longer they have to run, the more time they waste getting from point A to point B.
Day 8: Airborne
Chen’s plan is almost complete. You have everything you need to escape the Ark and contact the outside world, but the Security forces are planning a raid.
Objective 1: Destroy the Storage Depot Door
You need to be a Soldier for this one. It’s easy for a first bit of objective; plant and defend an HE charge, as usual for a Soldier mission. HE charges go off in 30 seconds, so it’s never hard to defend them for long enough.
Objective 2: Deliver the Hydraulic Fluid
This objective you can be any class for. A Light body type is useful for running quickly, getting the item and running it to the objective in an attempt to complete the mission as quickly as possible. The enemy will pretty much be surrounding the objective, unfortunately, which means you need either your whole team focused and together, or you need to be fast and accurate with gunning down the enemy.
Objective 3: Hack the Warehouse Controls

This is another of those frustrating Operative objectives, and this late in the game it’s bound to be hard. Once you get the fluid to the plane to get it working, you need to go get the Warehouse controls under your control. Operatives are hard to play and disguising yourself as the enemy only works to get to the objective. As soon as you try to hack the controls you remove your disguise.
Objective 4: Deliver the Avionics
This is another package transport mission, and as such can be done by any class. Once the warehouse control terminal has been hacked, you need to bring ANOTHER package to the plane, from the terminal this time. Once again the enemy will be clustered around the plane, and you’ll need to force your way through until you can successfully plant the Avionics.
Objective 5: Repair the Fuel Pump
The final objective of the final mission, you need to be an Engineer. There’s only one thing left to do to get the plane moving. Repair the fuel pump and you can finally fly this plane out of here. The fuel pumpm is quick to repair, which is good, because it’s a very contested area. Use a Light and don’t worry about dying, because the progress can’t be undone.
There are no side objectives in this mission, which is good because it’s so long.
Finale and Credits
Now that you’ve completed the final mission you get to see how the Resistance side plays out. If you want more, you can play the Security campaign, which shows things from their point of view. Or, you can play the What If missions, which depict a few alternate scenarios. If neither of those appeals to you, you can always play multiplayer. Check out the related link for the Security campaign walkthrough. Thanks for reading!
Article information from User’s Own Experience
Images from Brink’s official webpage.
This post is part of the series: Brink Walkthrough
Splash Damage’s Brink, a new game published by Bethesda, is a game not unlike Team Fortress 2. Take on one of several classes to complete objectives in this team versus team shooter. Learn each mission with these walkthroughs for each campaign, Security and Resistance!